Your Own Machines
Deploy on existing servers
This method is suitable for deployment on existing servers, whether with another cloud provider or in your own data center.
Prerequisites
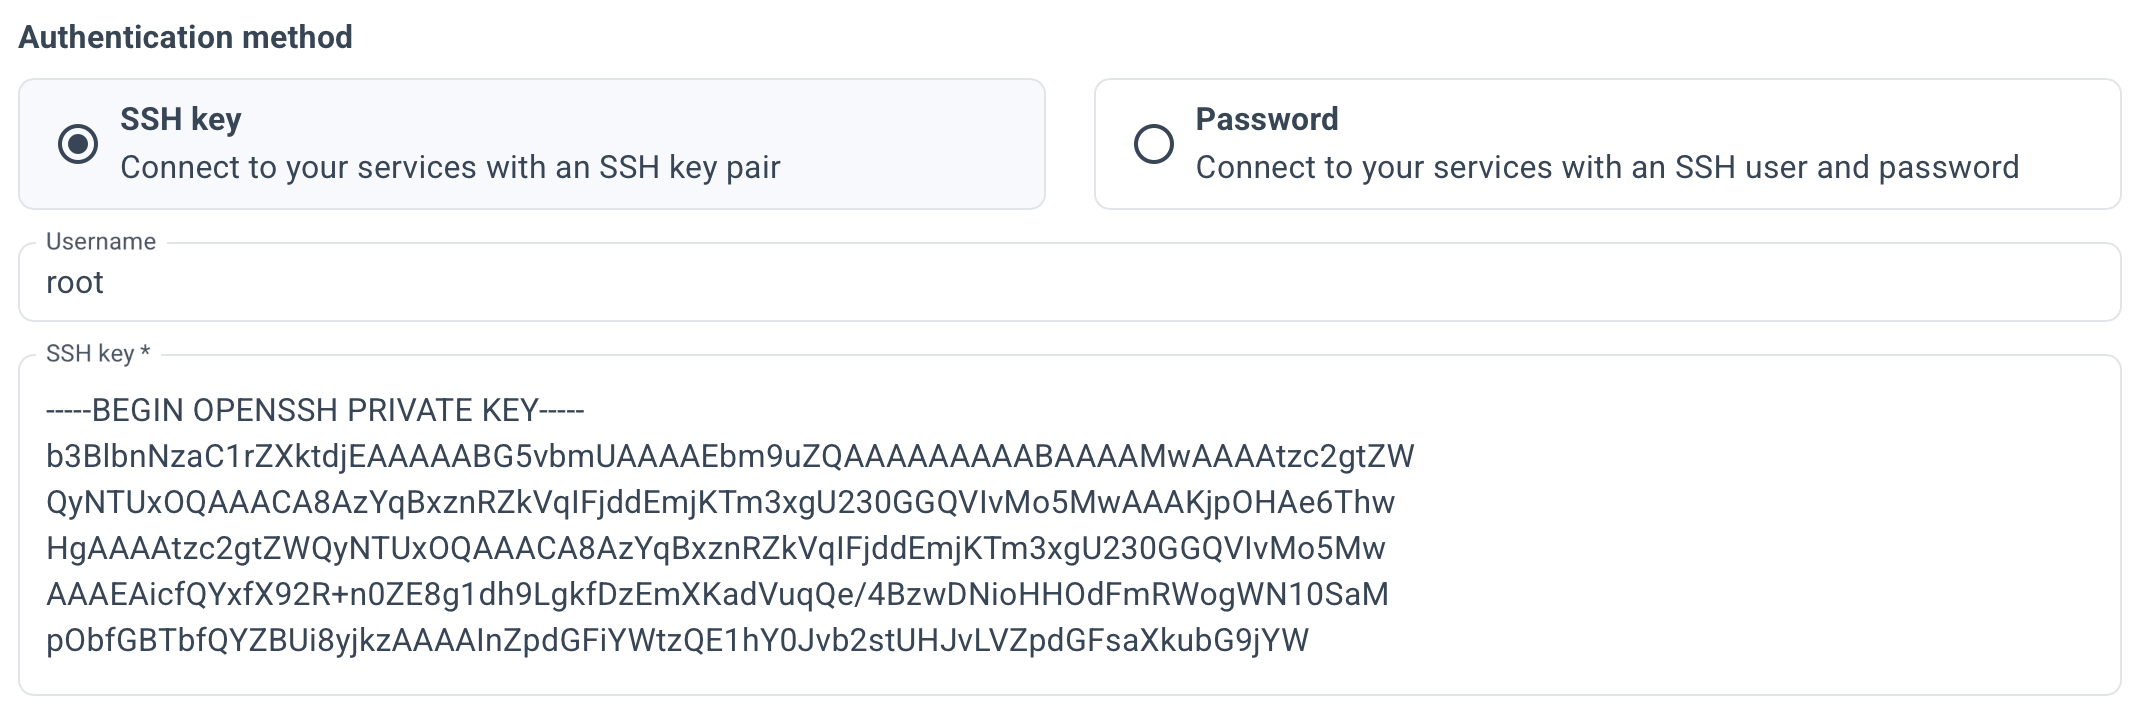
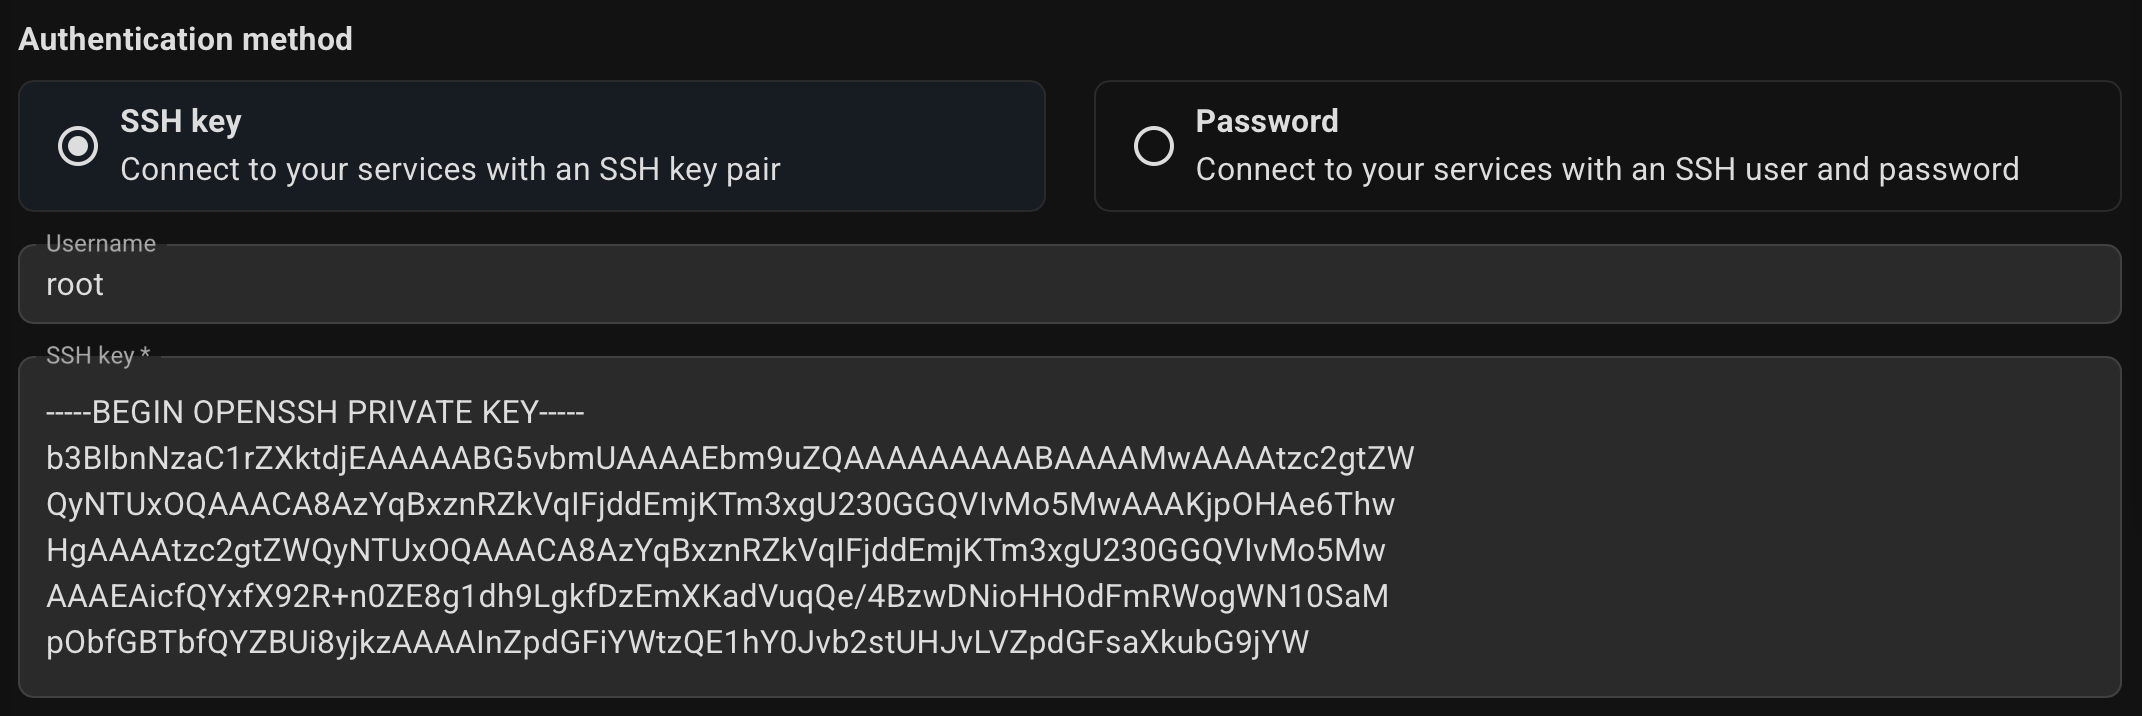
You will need root access or a user with sudo privileges to access the servers via SSH. You can use your private SSH key (assuming the corresponding public key has already been added to the servers), or a username and password if password access is enabled on your servers.
See also the Requirements and Compatibility pages.
- Console (UI)
- Command line
- Basic
- Expert Mode
- YAML tab
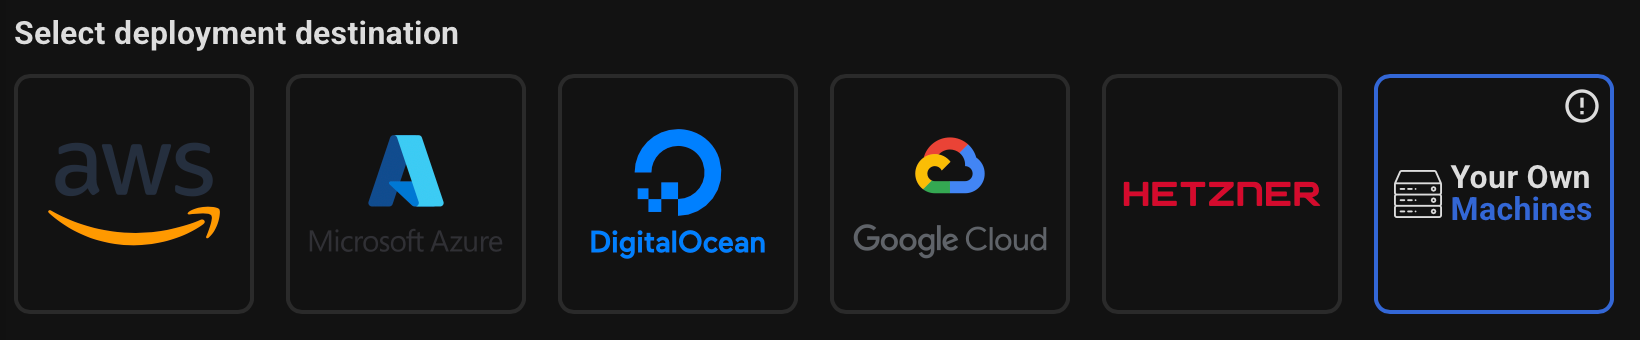
Select Your Own Machines in the deployment destination.

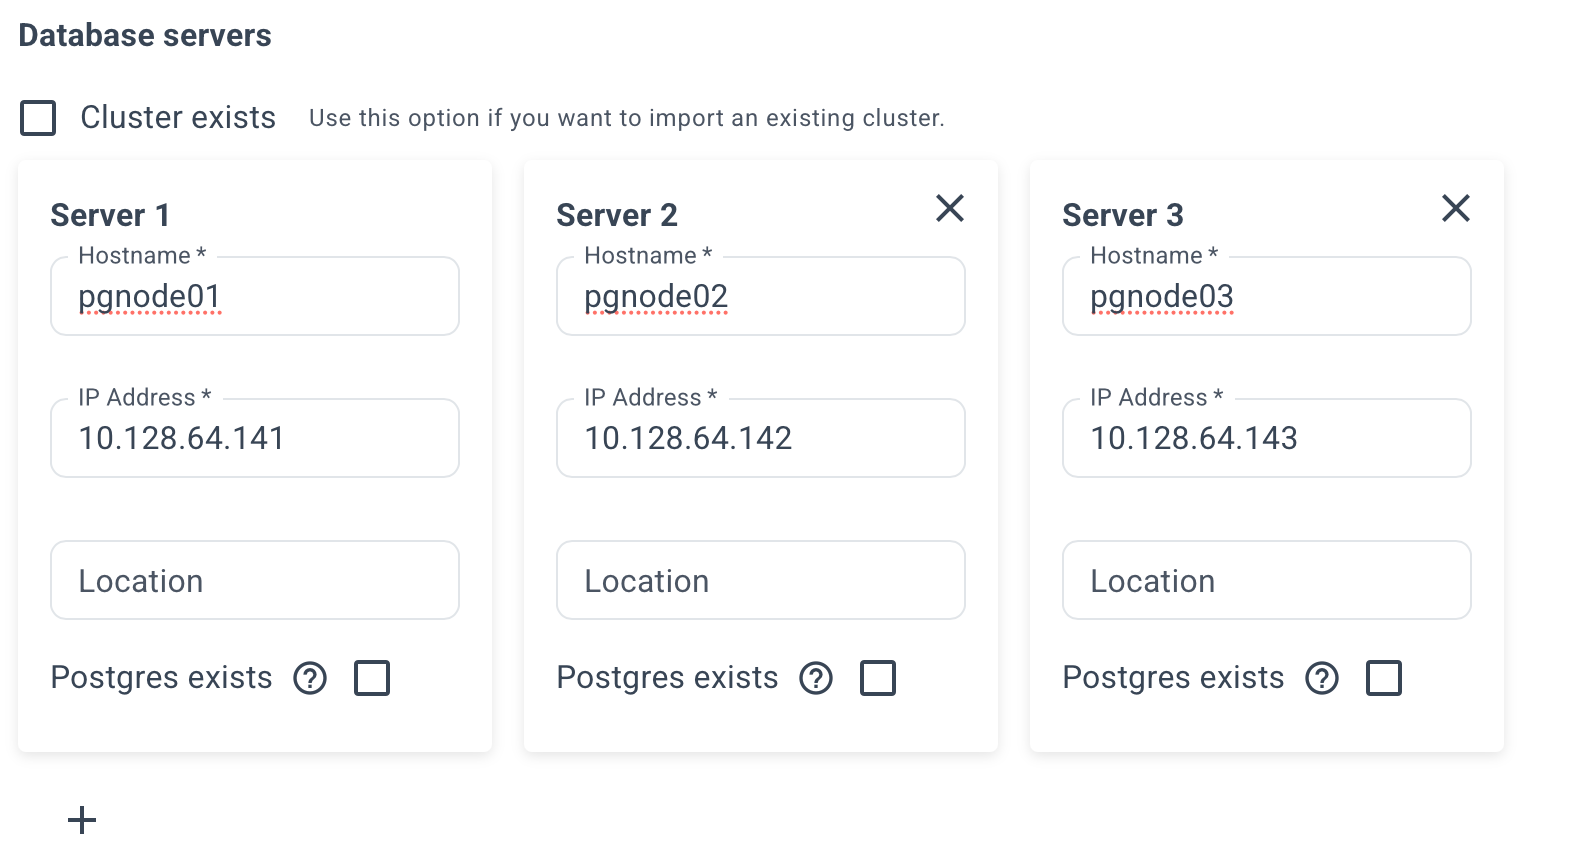
Specify the name and IP addresses of your servers. Example:
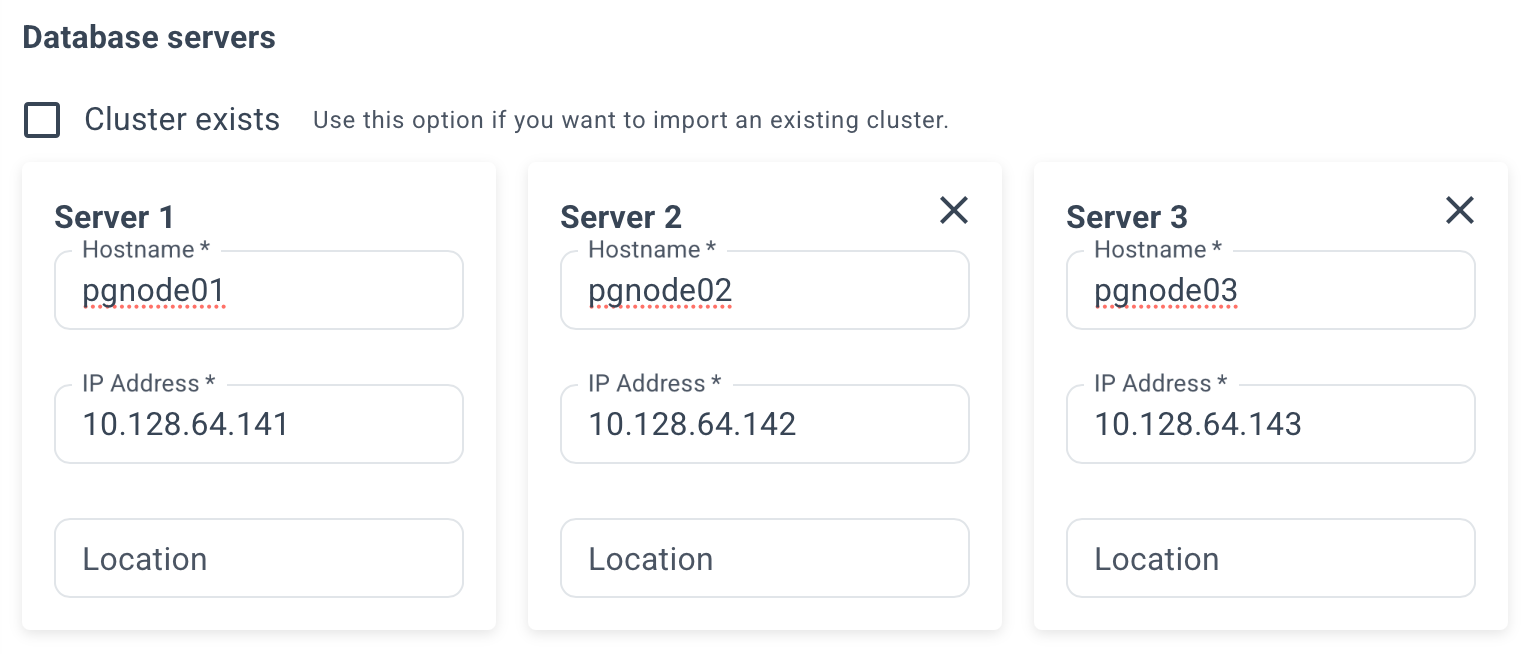
Please note that at least 3 servers are required to ensure high availability.
Select authentication method.
Optionally, specify an IP address to provide a single entry point for client access to databases in the cluster. Example:


This must be an IP address that is currently unused on your network. The address will be assigned to the cluster after deployment.
Not for cloud environments. Because VIP-based solutions like keepalived or vip-manager may not works in such environments.
Optionally, check the box for "HAProxy load balancer".


This feature supports load balancing for read operations, facilitating effective scale-out strategies through the use of read-only replicas. See the details on the Architecture page
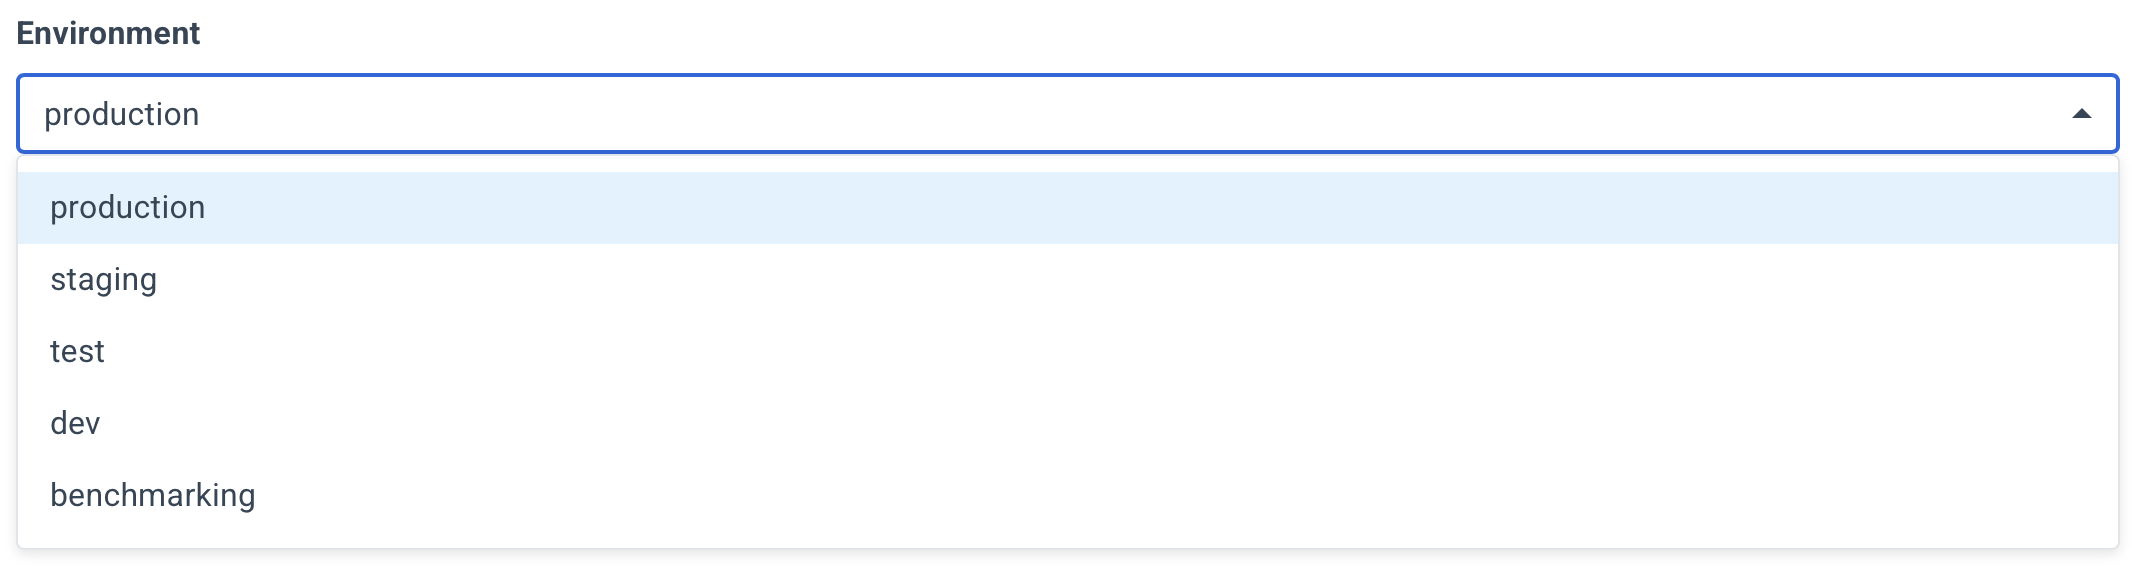
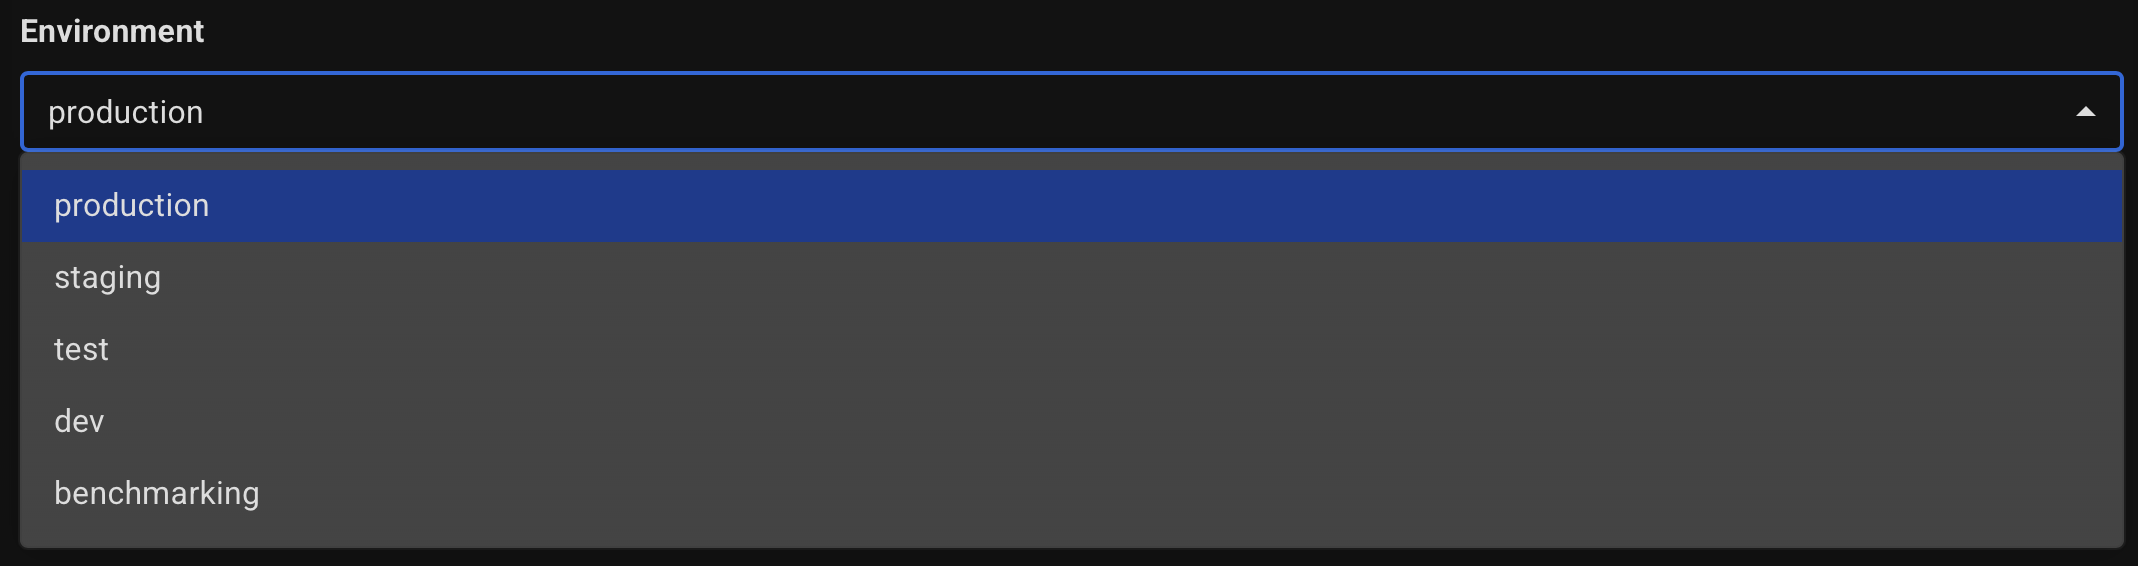
Choose which environment your database cluster belongs to.
Specify a name for your cluster.


Optionally, specify a description.


Select the PostgreSQL version to install.


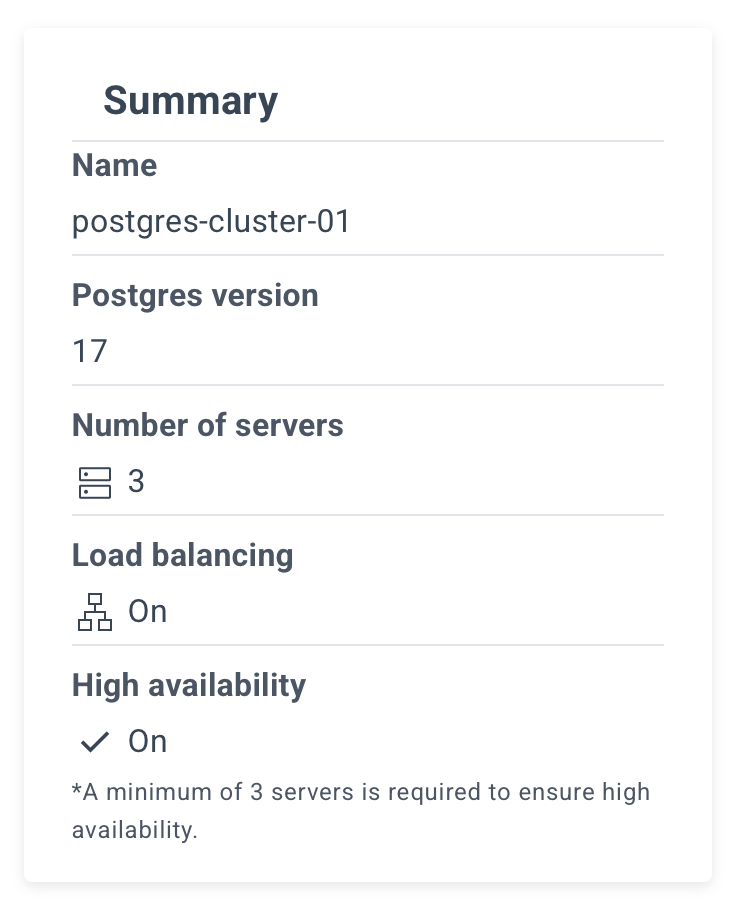
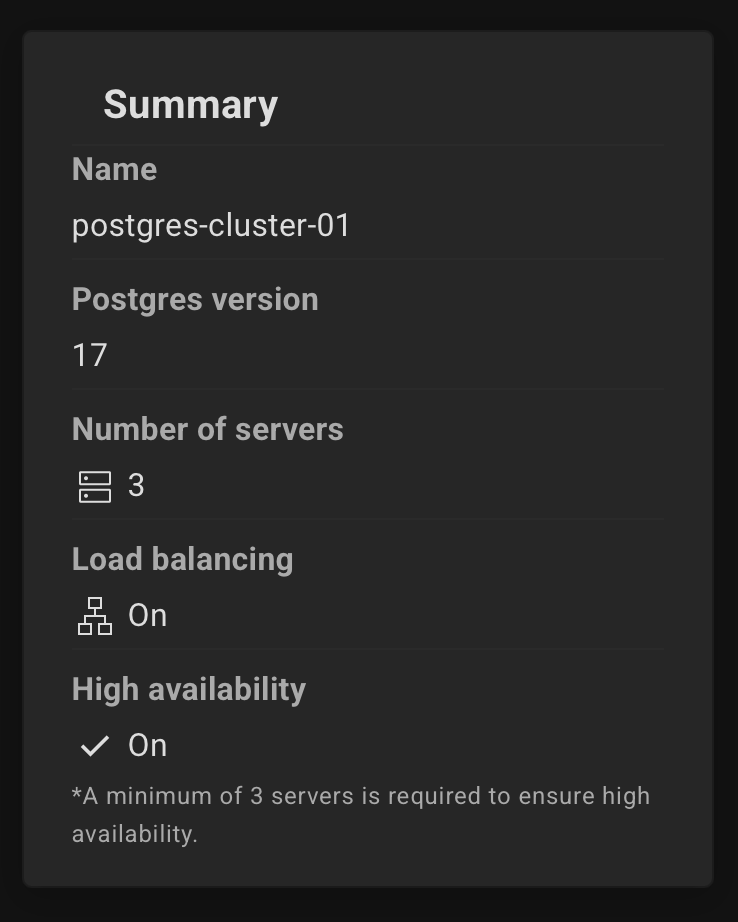
Review the summary and click the "Create Cluster" button.
This mode unlocks advanced settings for fine-tuning clusters, including options hidden in standard mode.
Designed for experienced users.
To use Expert Mode, go to the Settings page and turn on “Enable expert mode”.
Select Your Own Machines in the deployment destination.
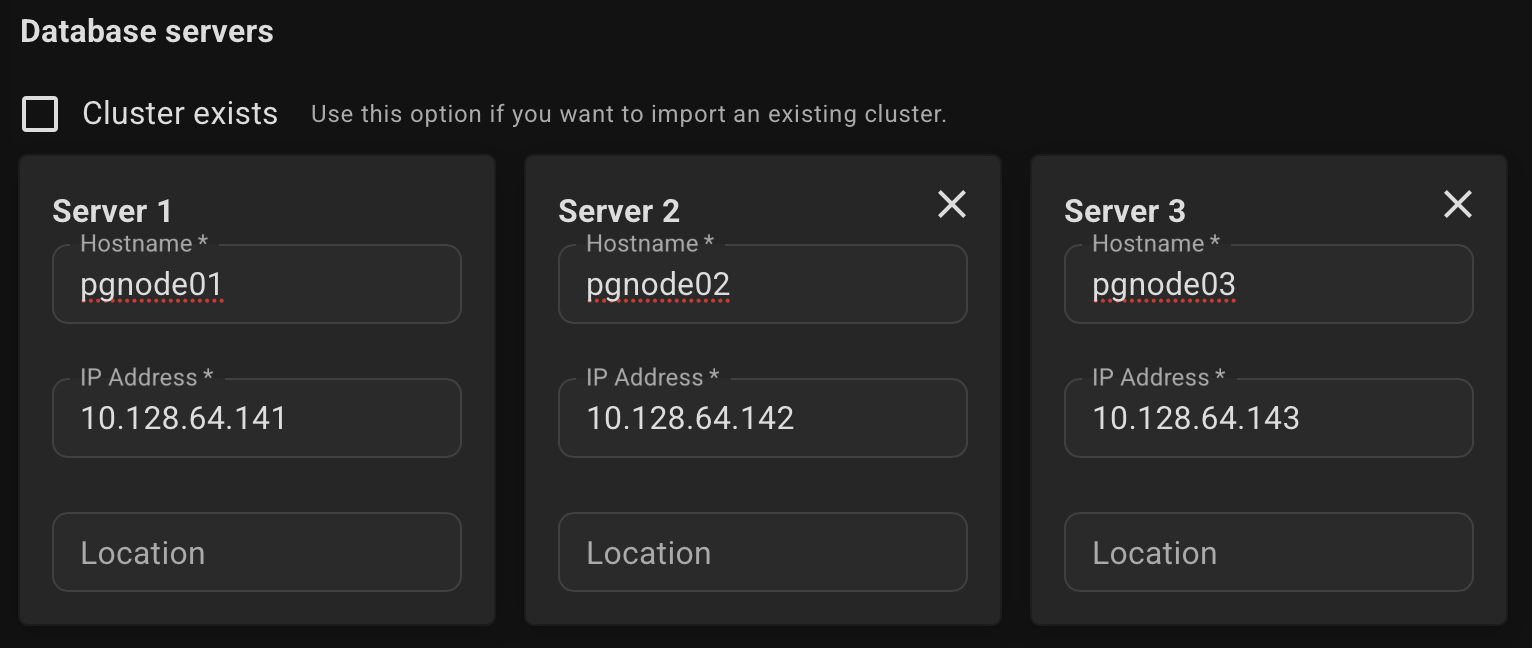
Specify the name and IP addresses of your servers. Example:
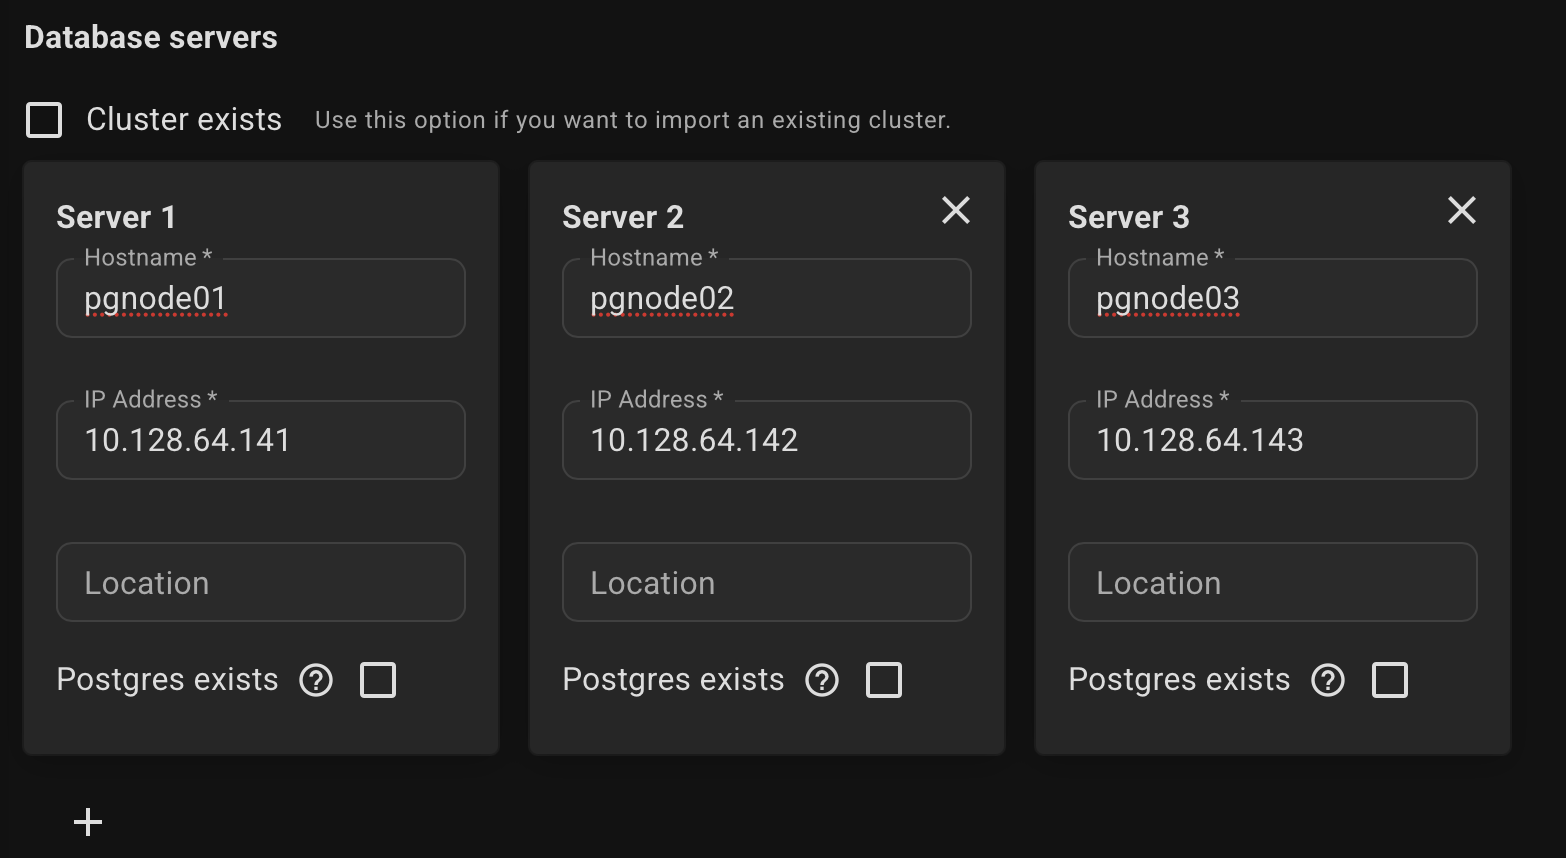
Please note that at least 3 servers are required to ensure high availability.
This requirement applies to the number of DCS servers (see RAFT protocol), the database cluster itself may consist of two servers.
We also support converting standalone PostgreSQL installation into a high-availability cluster. To do this, check the box "Postgres exists" above the server where the database is already present.
Select the DCS type (etcd or consul) and where it will be installed, or use an existing DCS cluster.


Select authentication method.
Optionally, specify an IP address to provide a single entry point for client access to databases in the cluster. Example:
This must be an IP address that is currently unused on your network. The address will be assigned to the cluster after deployment.
Not for cloud environments. Because VIP-based solutions like keepalived or vip-manager may not works in such environments.
Optionally, check the box for "HAProxy load balancer". Choose where to install — on DB servers or dedicated ones.


This feature supports load balancing for read operations, facilitating effective scale-out strategies through the use of read-only replicas. See the details on the Architecture page
Choose which environment your database cluster belongs to.
Specify a name for your cluster.
Optionally, specify a description.
Select the PostgreSQL version to install.
Optionally, specify the custom path to the data directory.


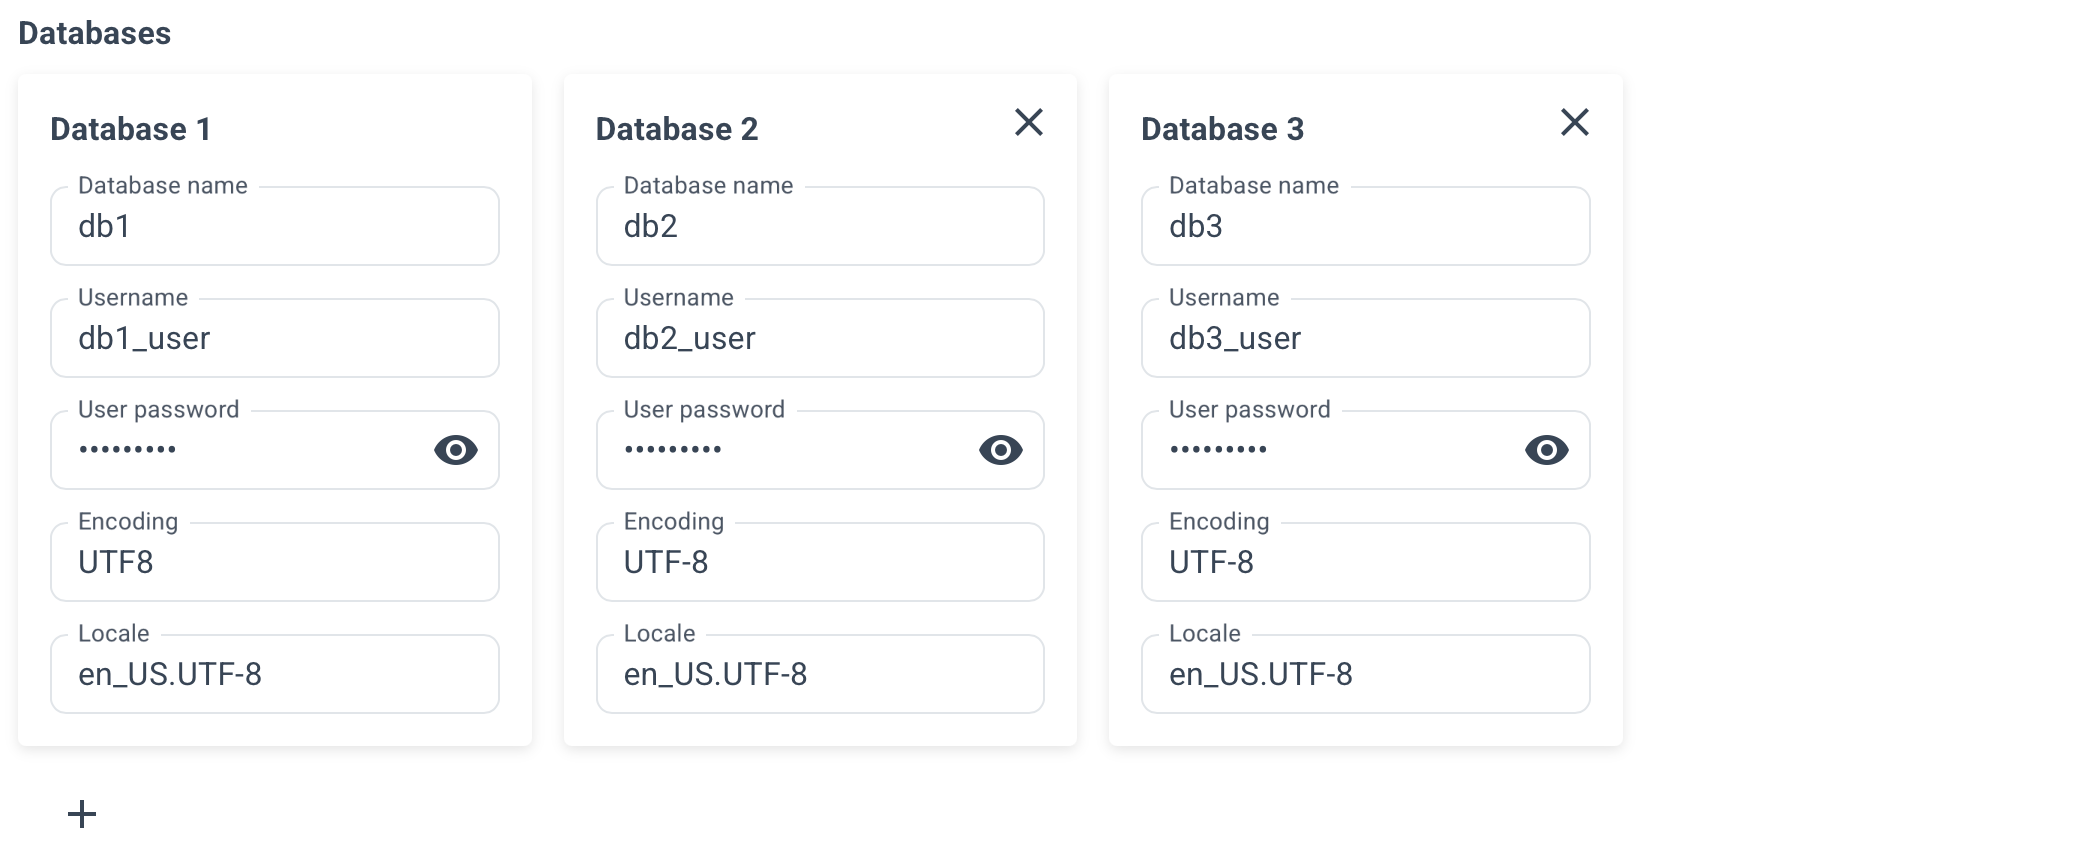
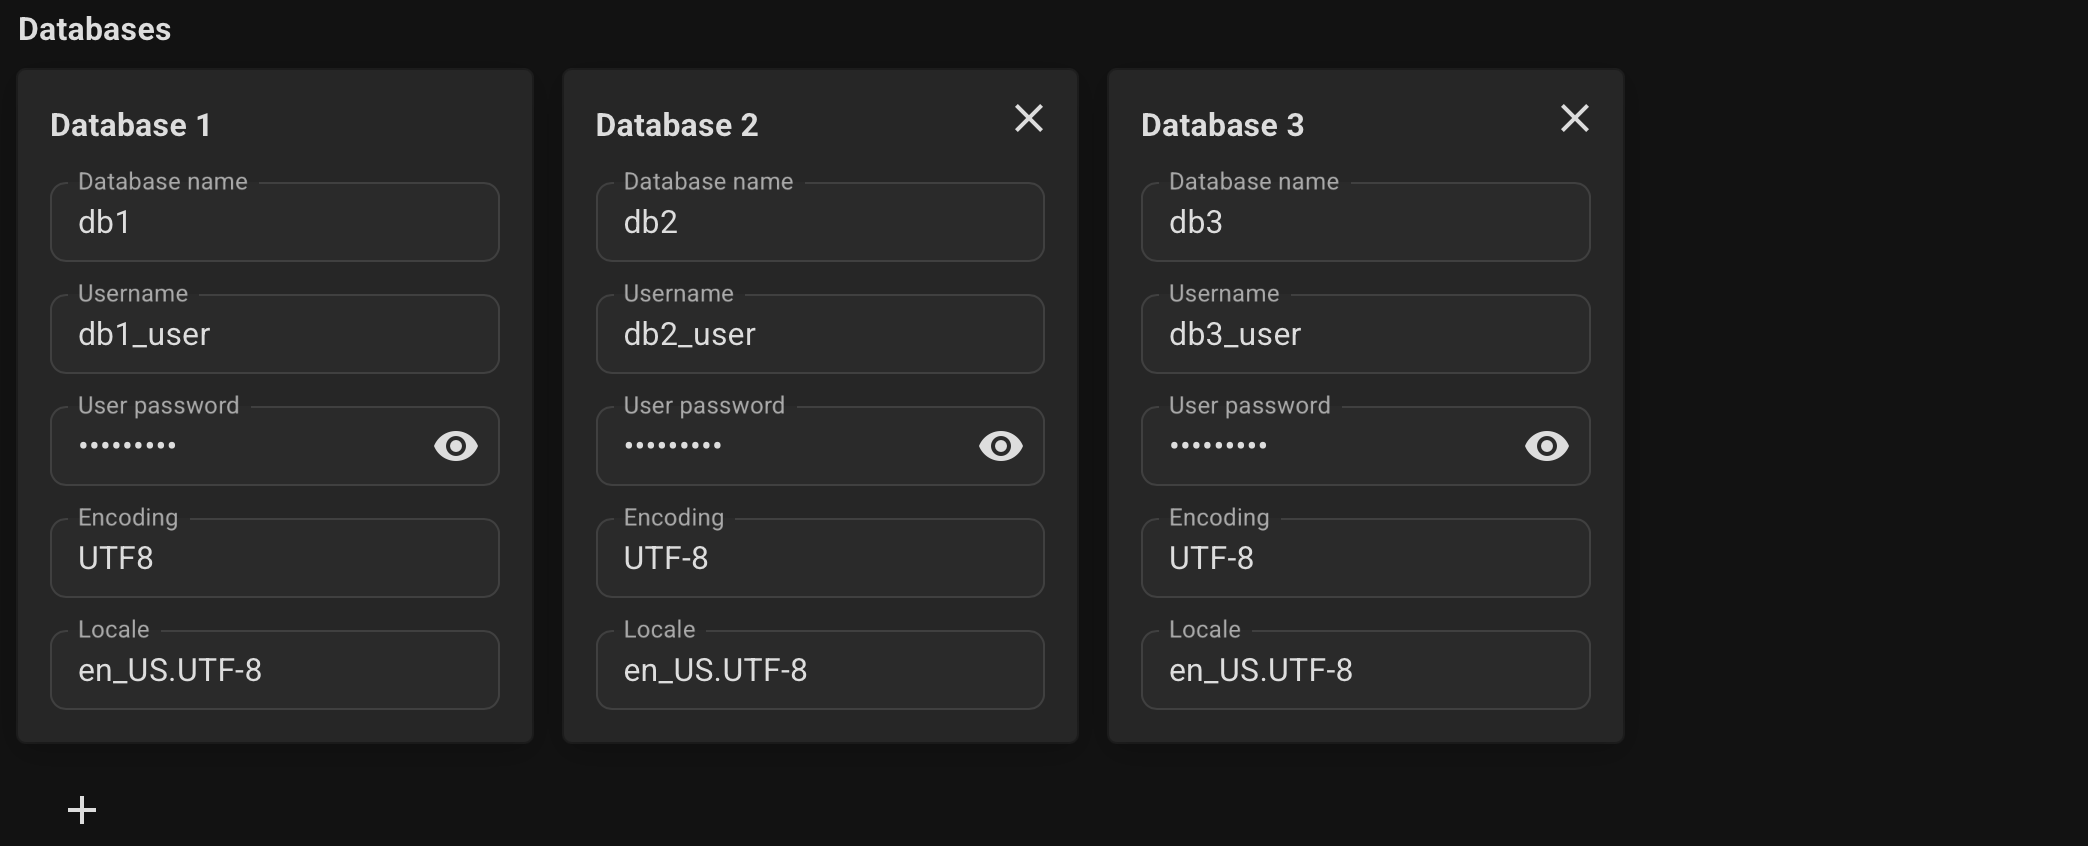
Specify the desired database name, username, and user password.
Optionally, specify connection pools for your databases, its size and mode.
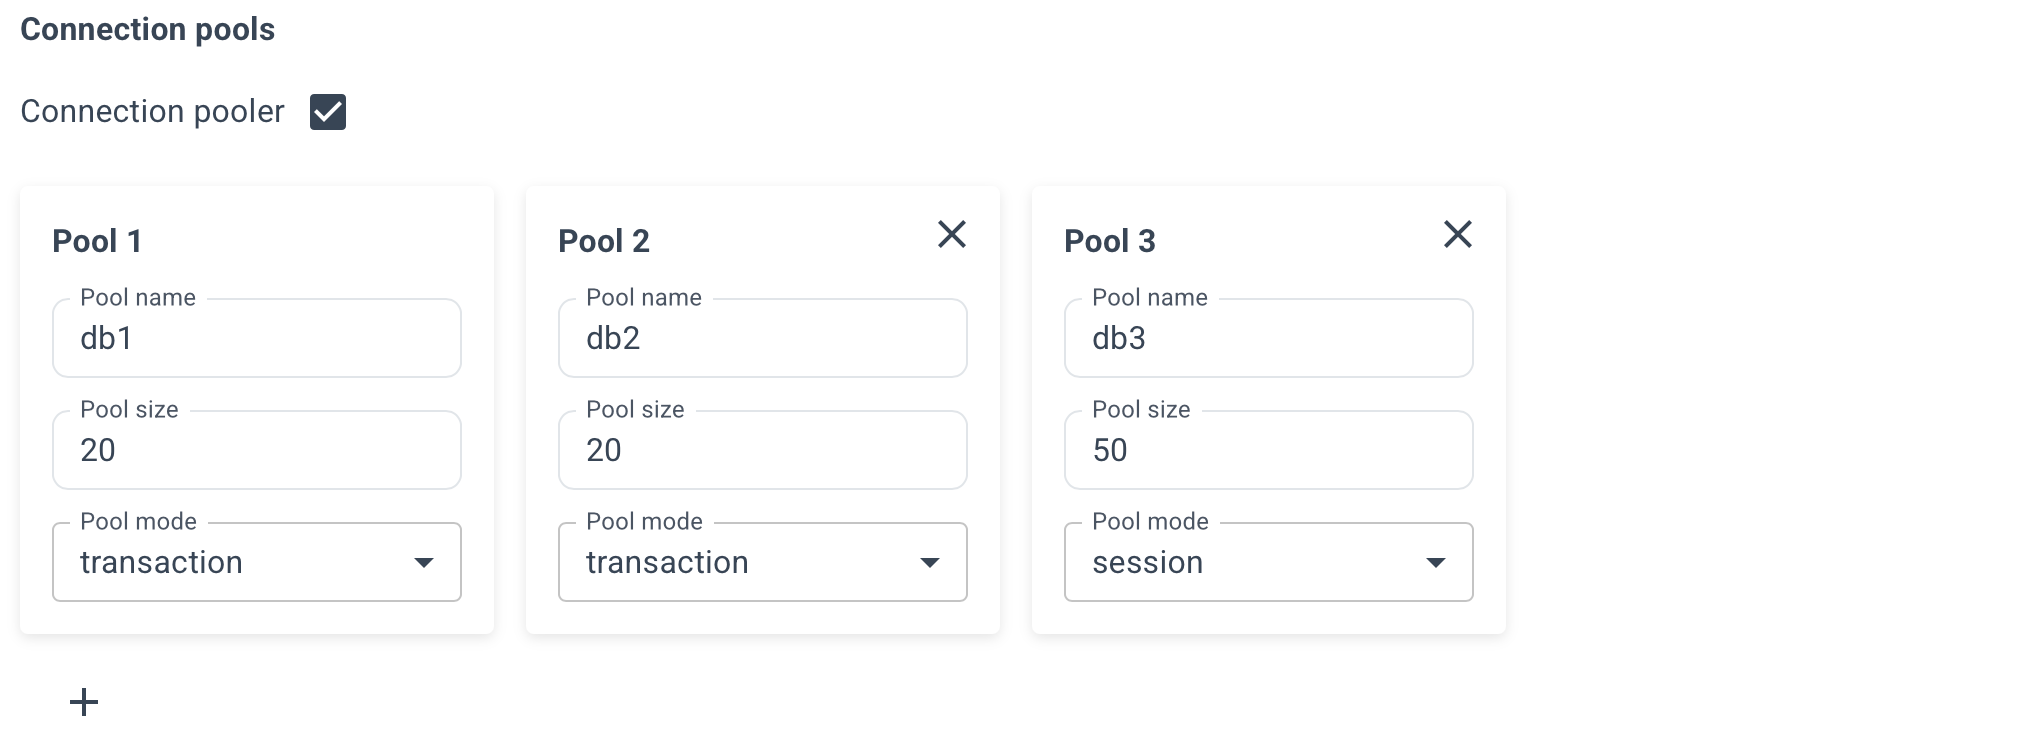
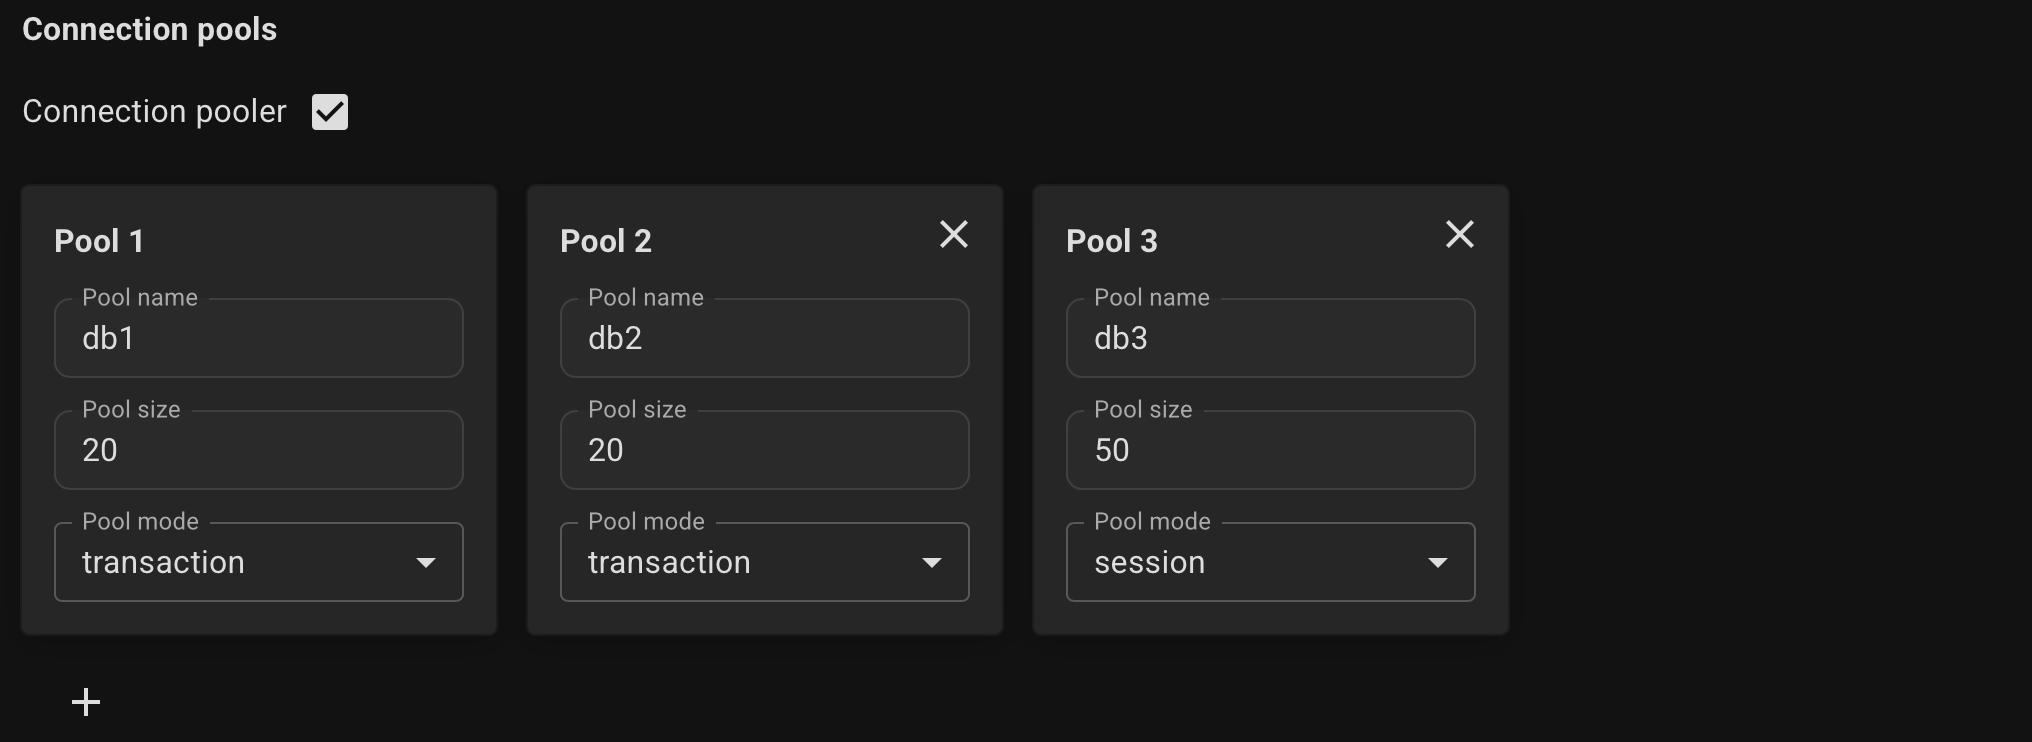
- session - Server is released back to pool after client disconnects.
- transaction - Server is released back to pool after transaction finishes. Recomended.
- statement - Server is released back to pool after query finishes. Transactions spanning multiple statements are disallowed in this mode.
Enable the necessary extensions for your databases.
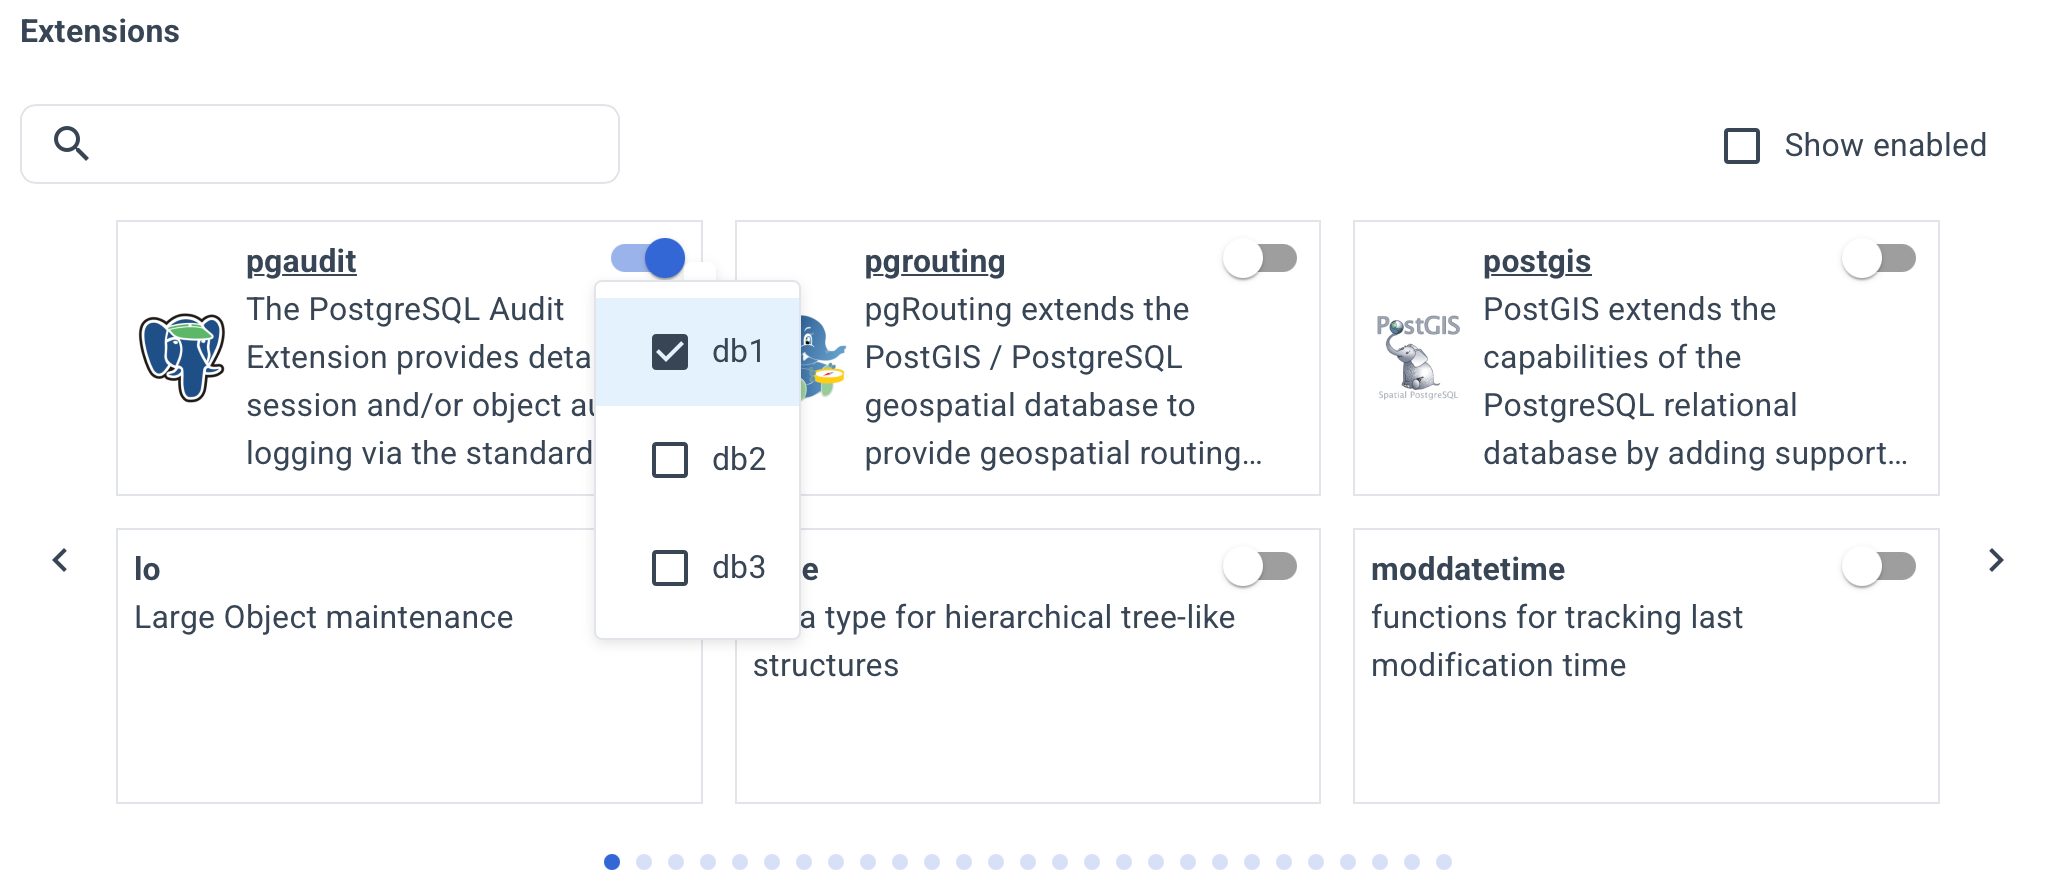
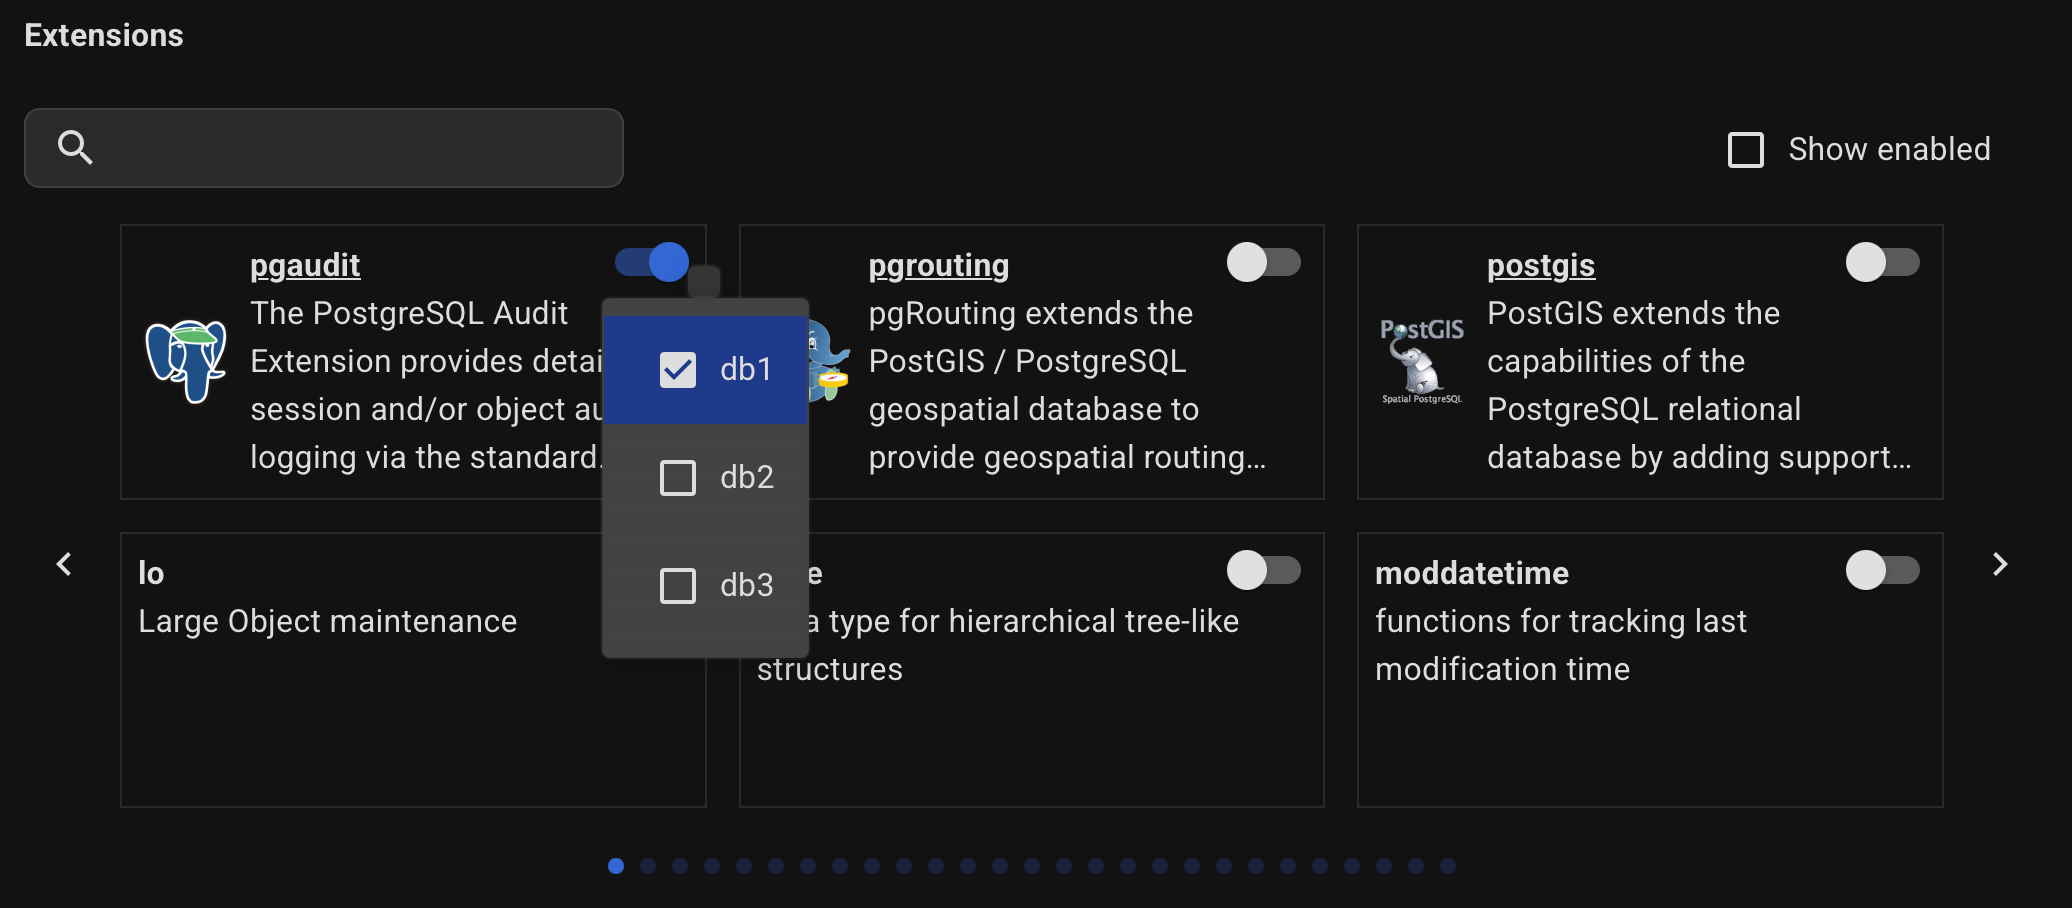
This list includes all contrib extensions and some popular third-party ones. However, more than 400 extensions are available.
To install others, specify the installation parameters manually on the YAML tab.
Configure backup settings.
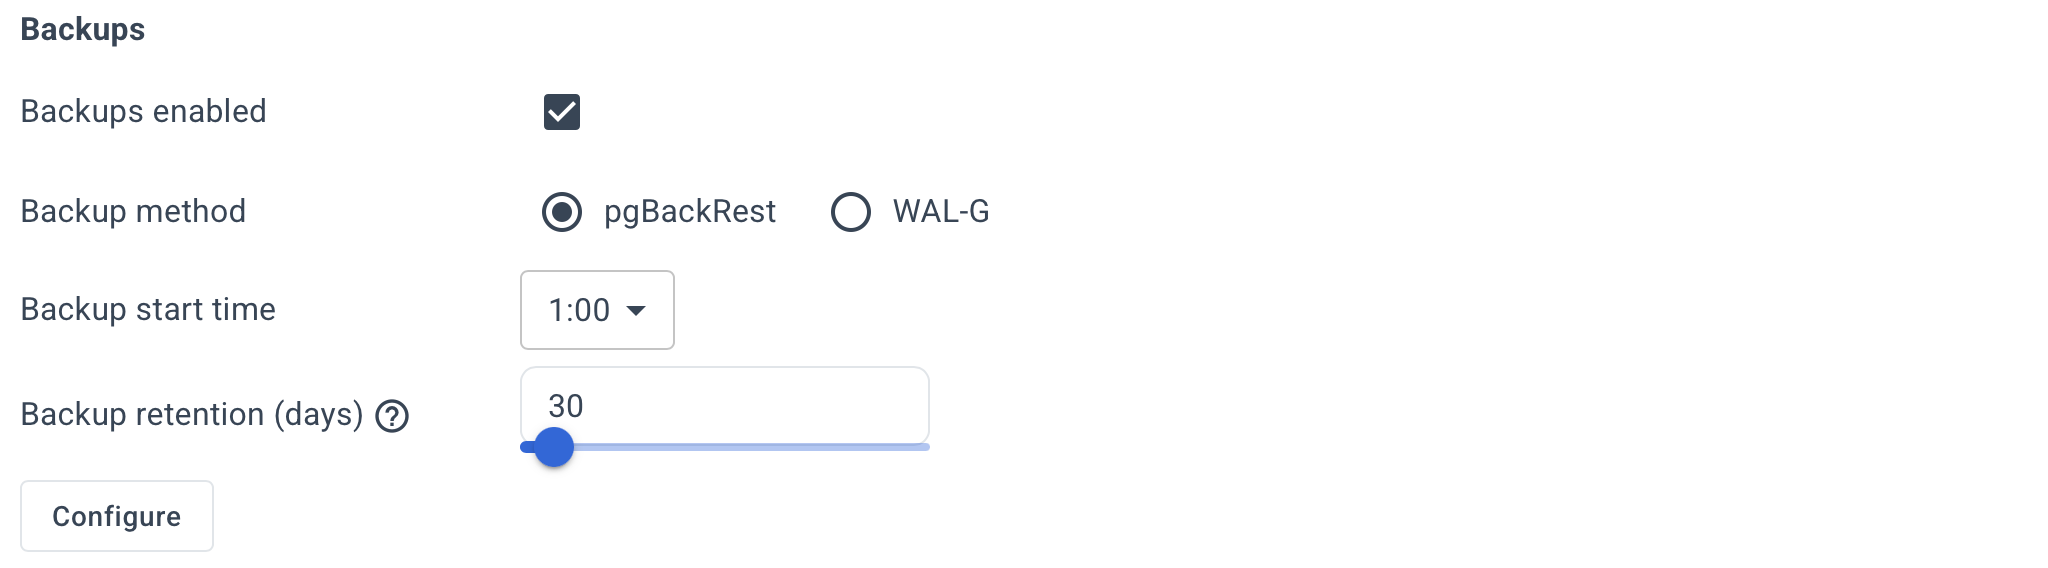
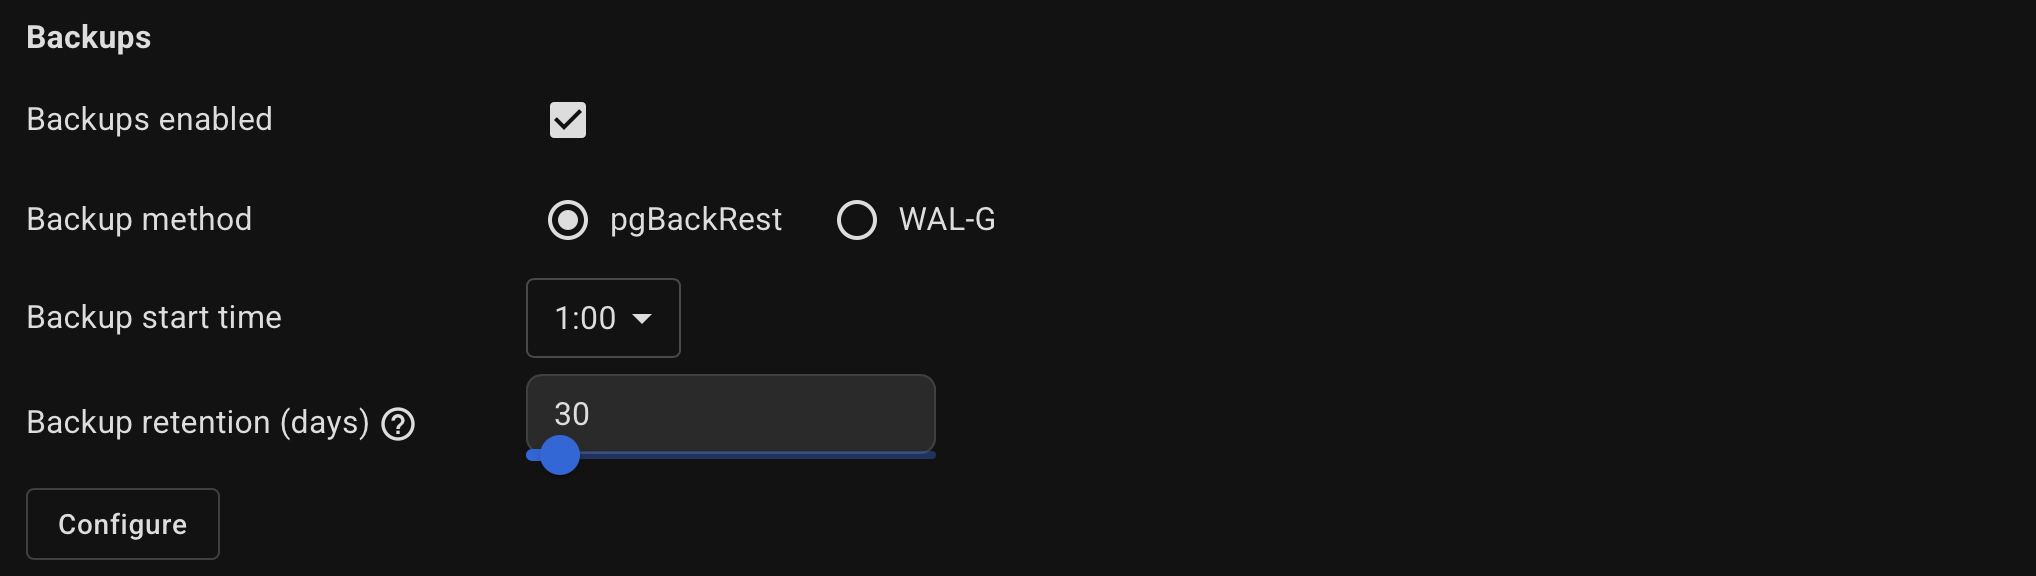
Click Configure button and specify them in the usual key=value format.
For pgBackRest, you can specify the global section options — the stanza section will be populated automatically.
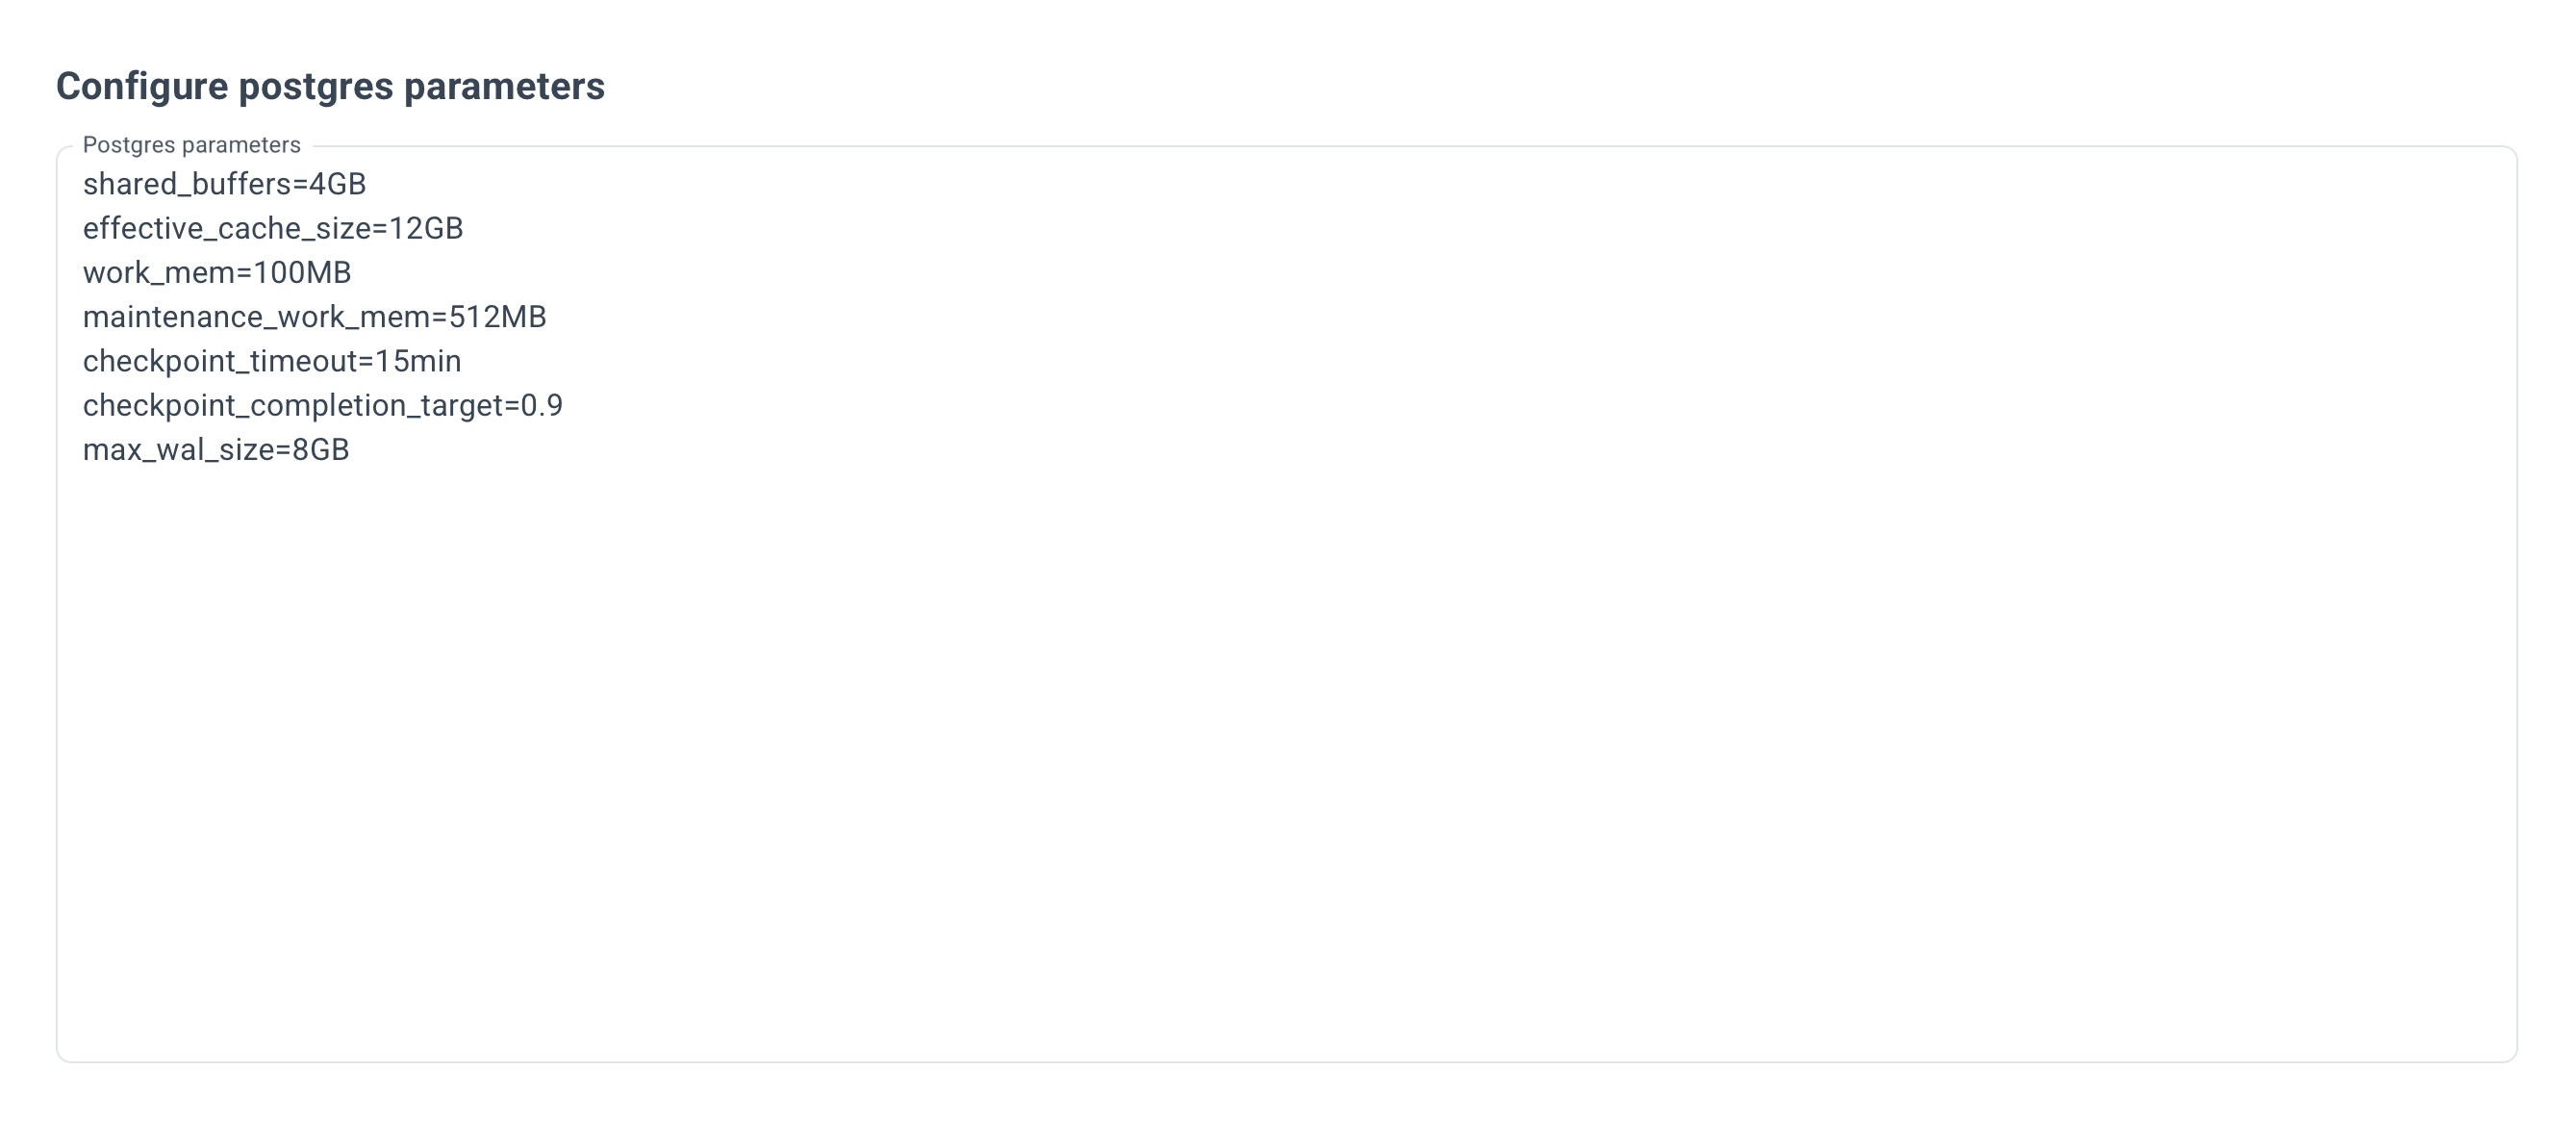
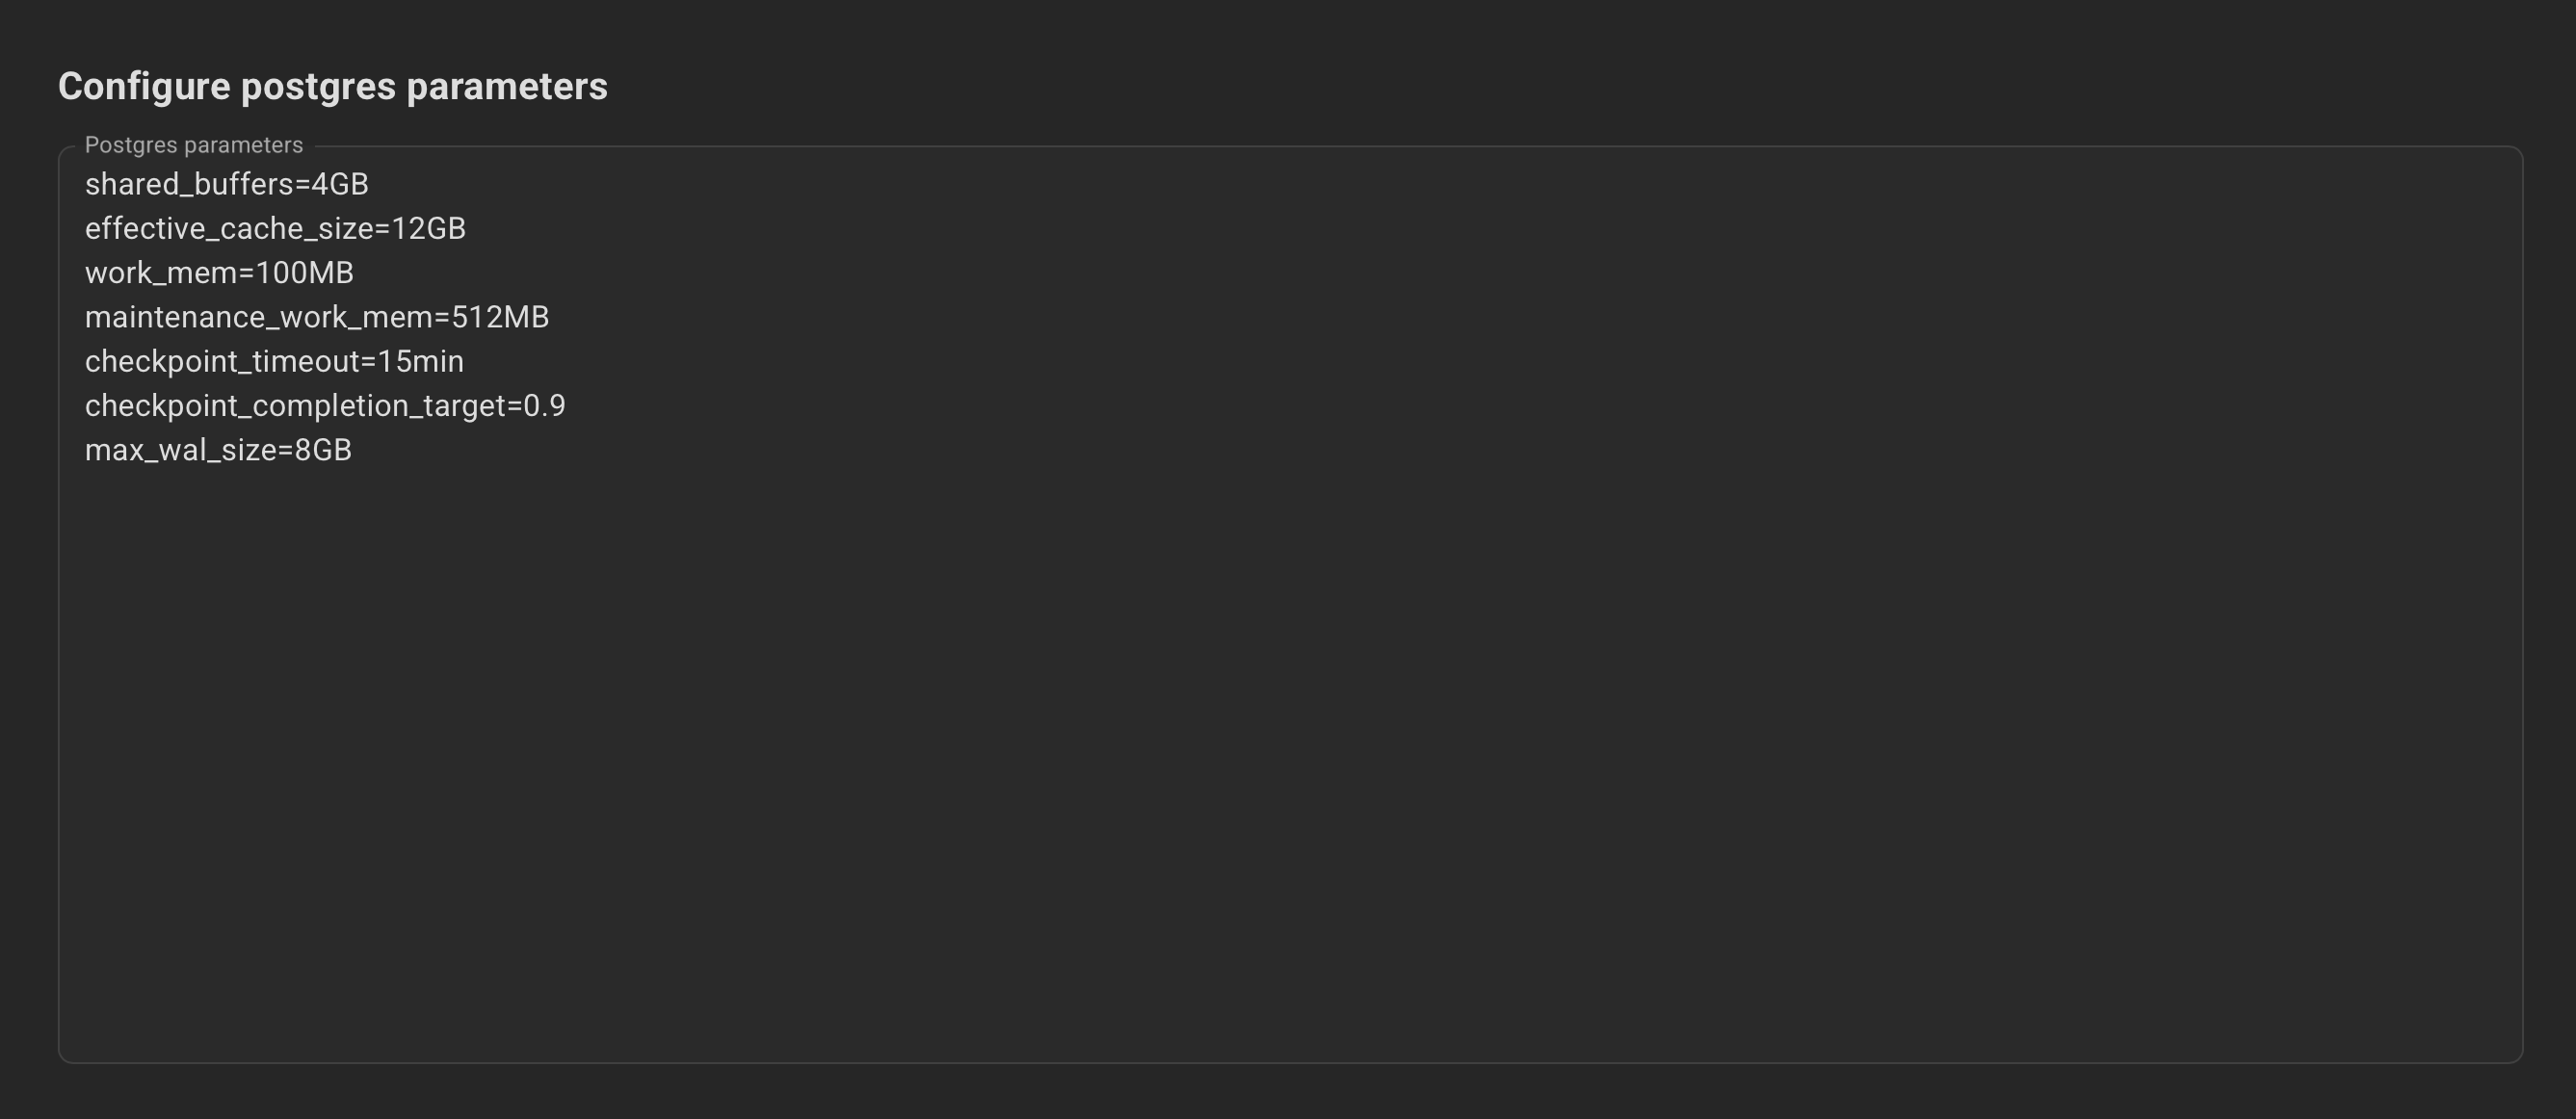
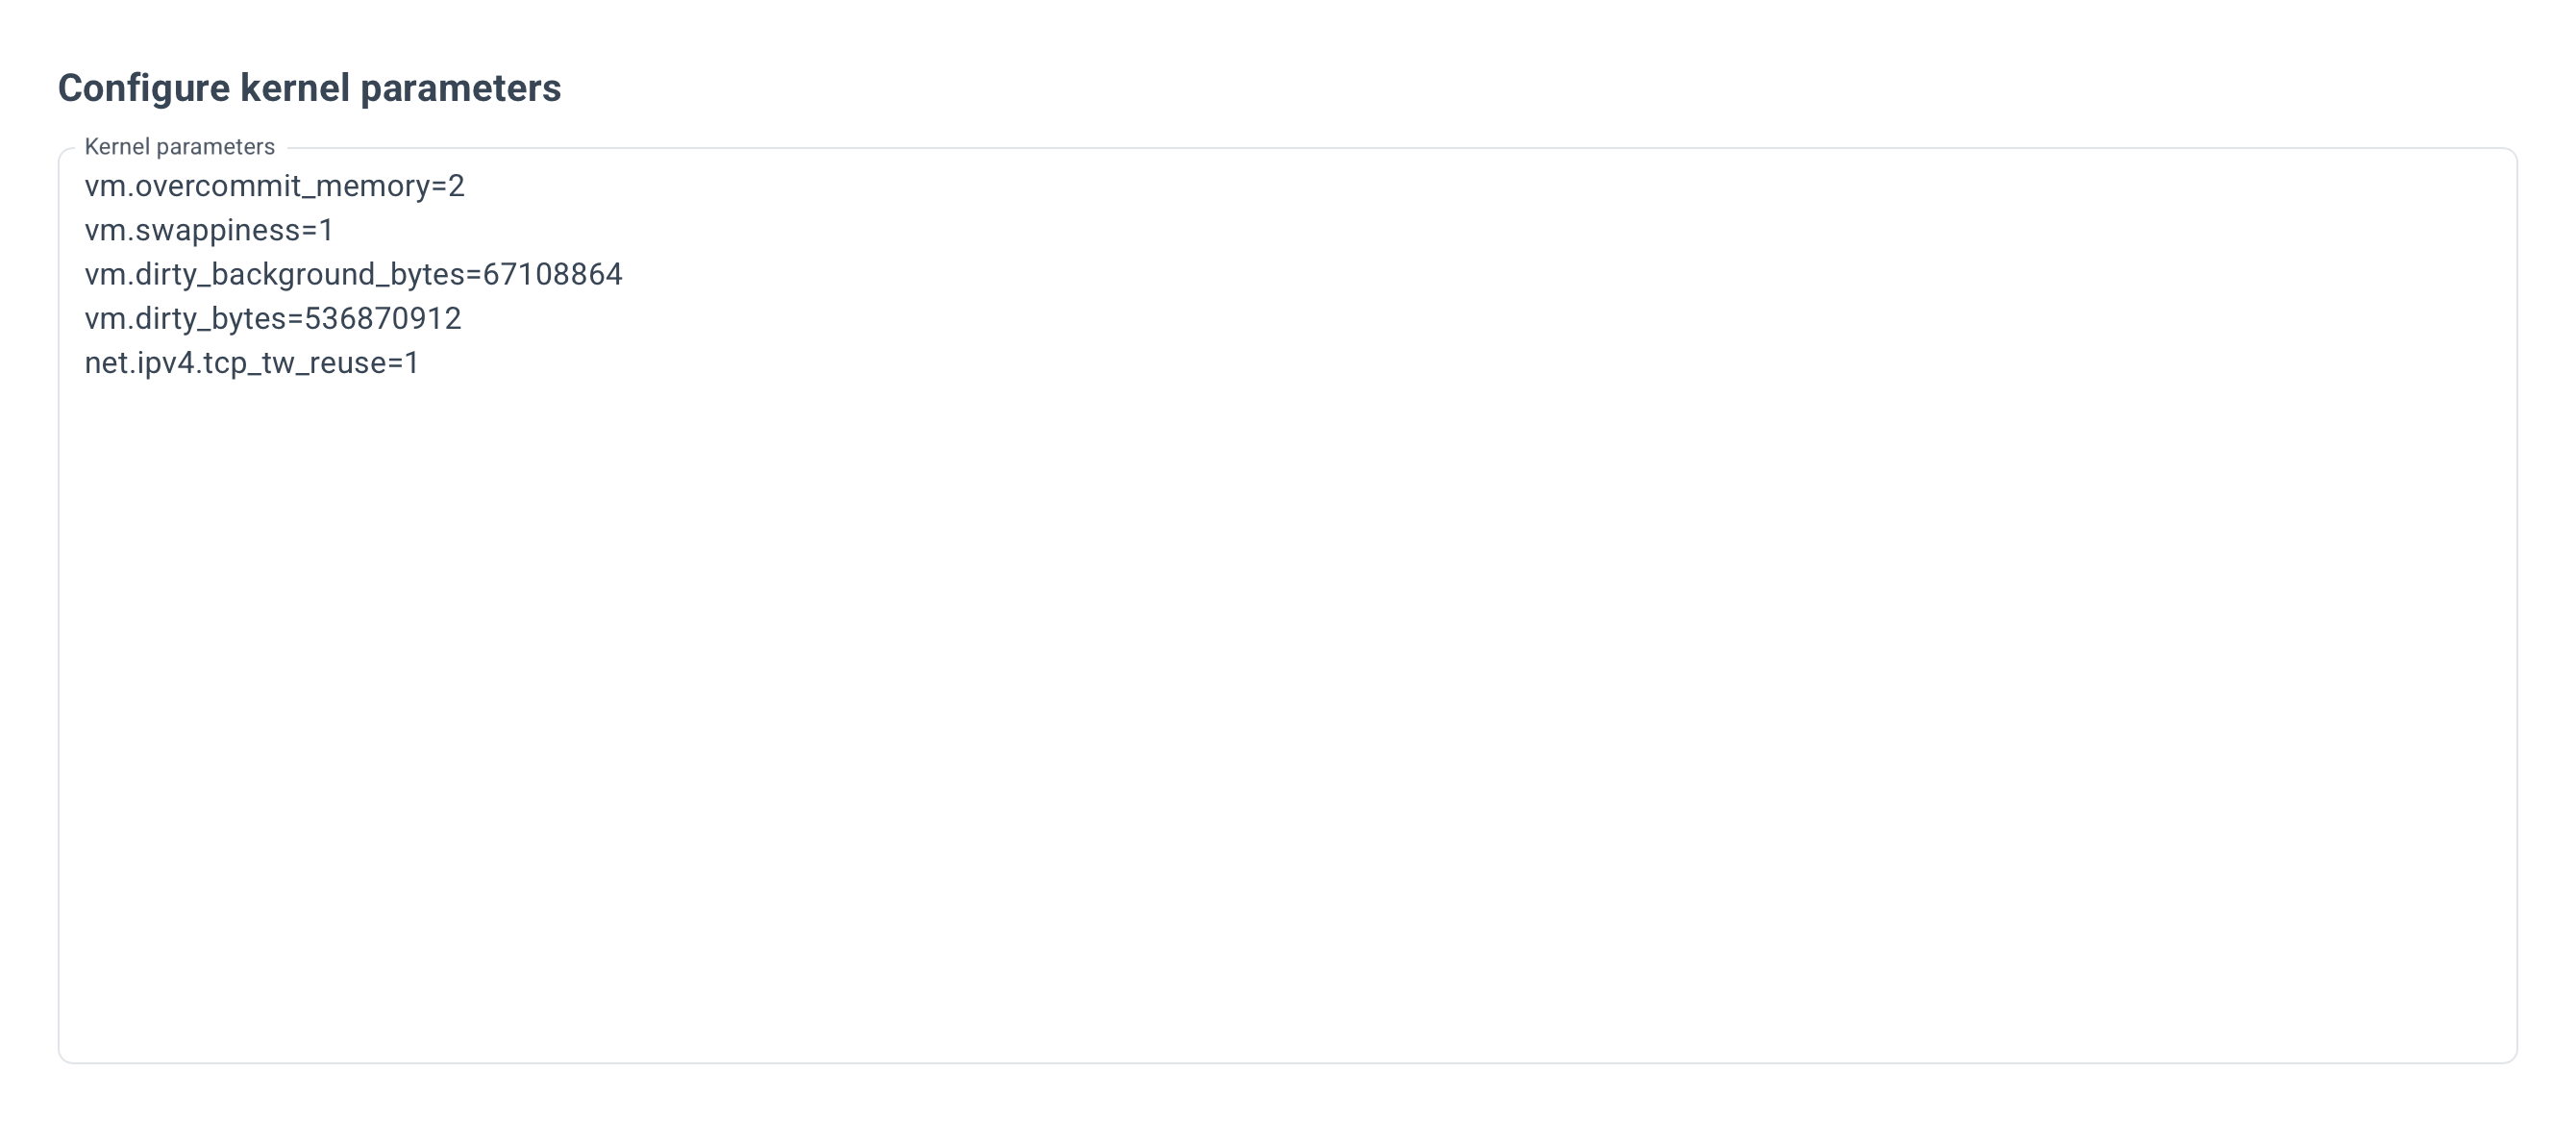
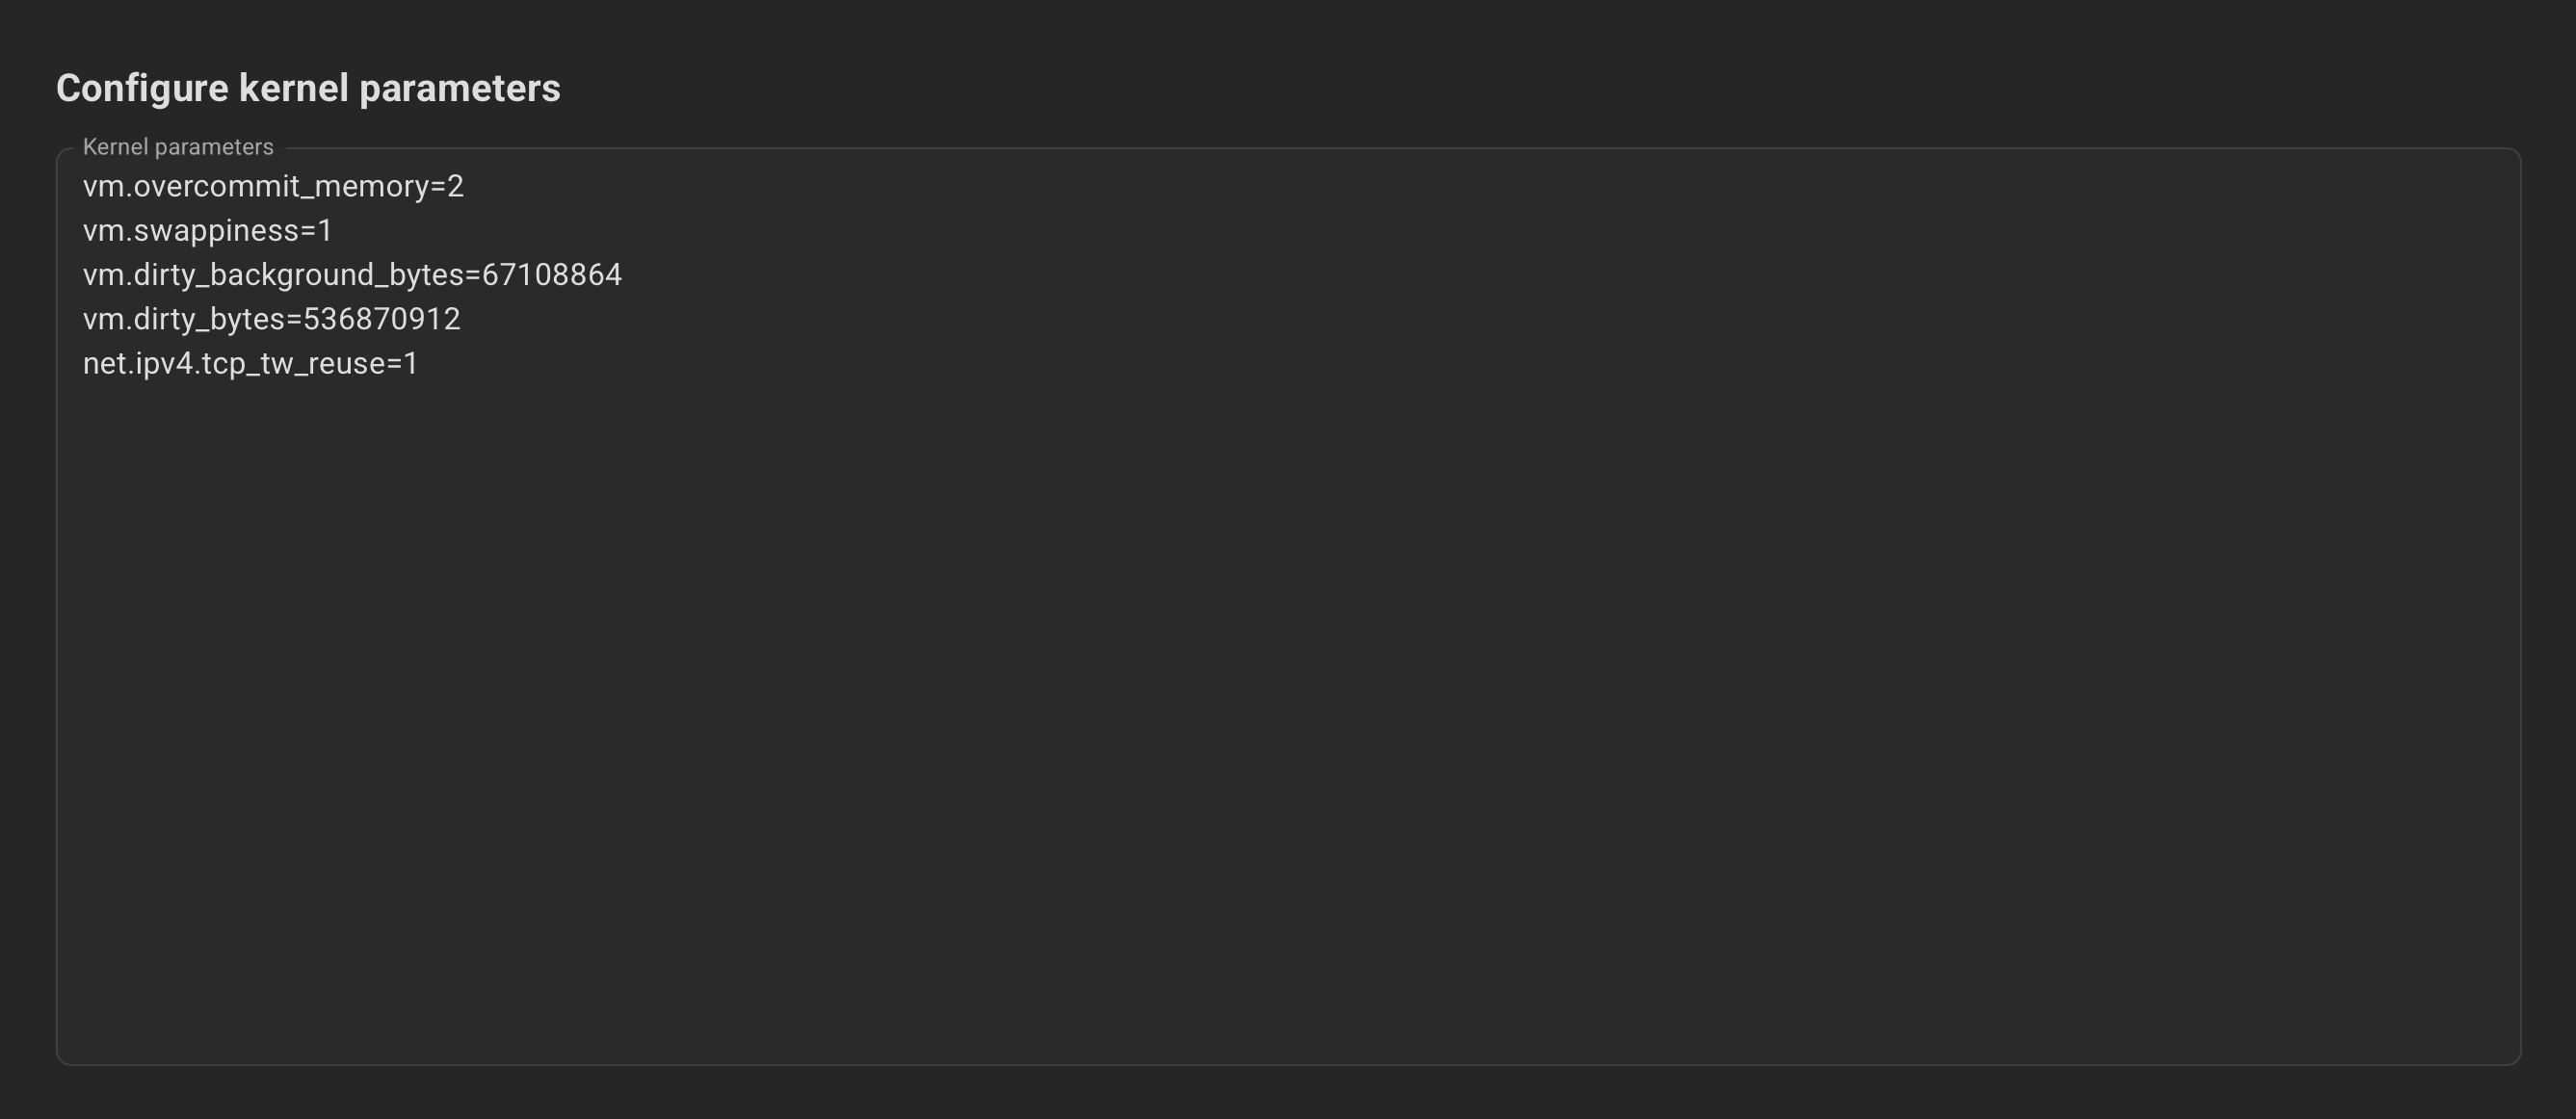
Optionally, specify the Postgres and kernel parameters.
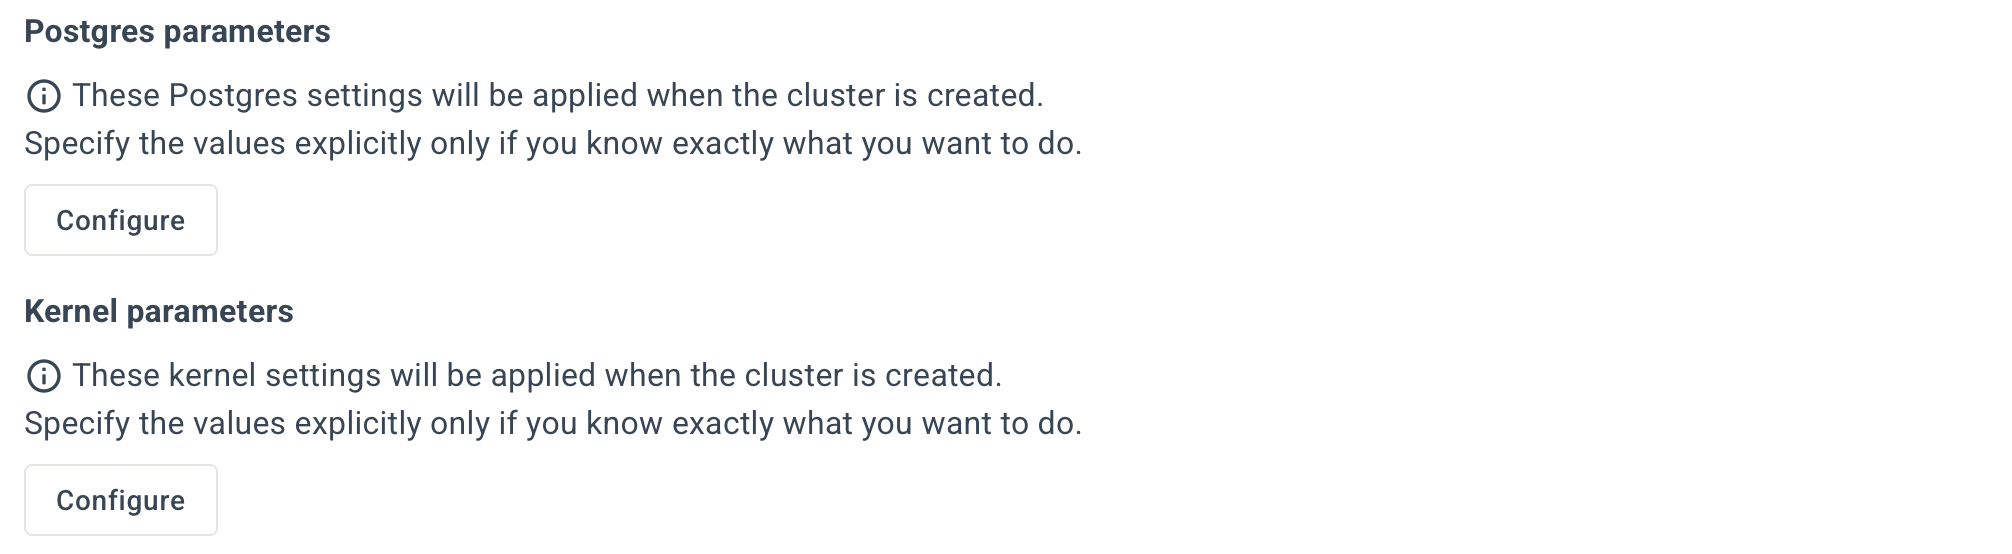
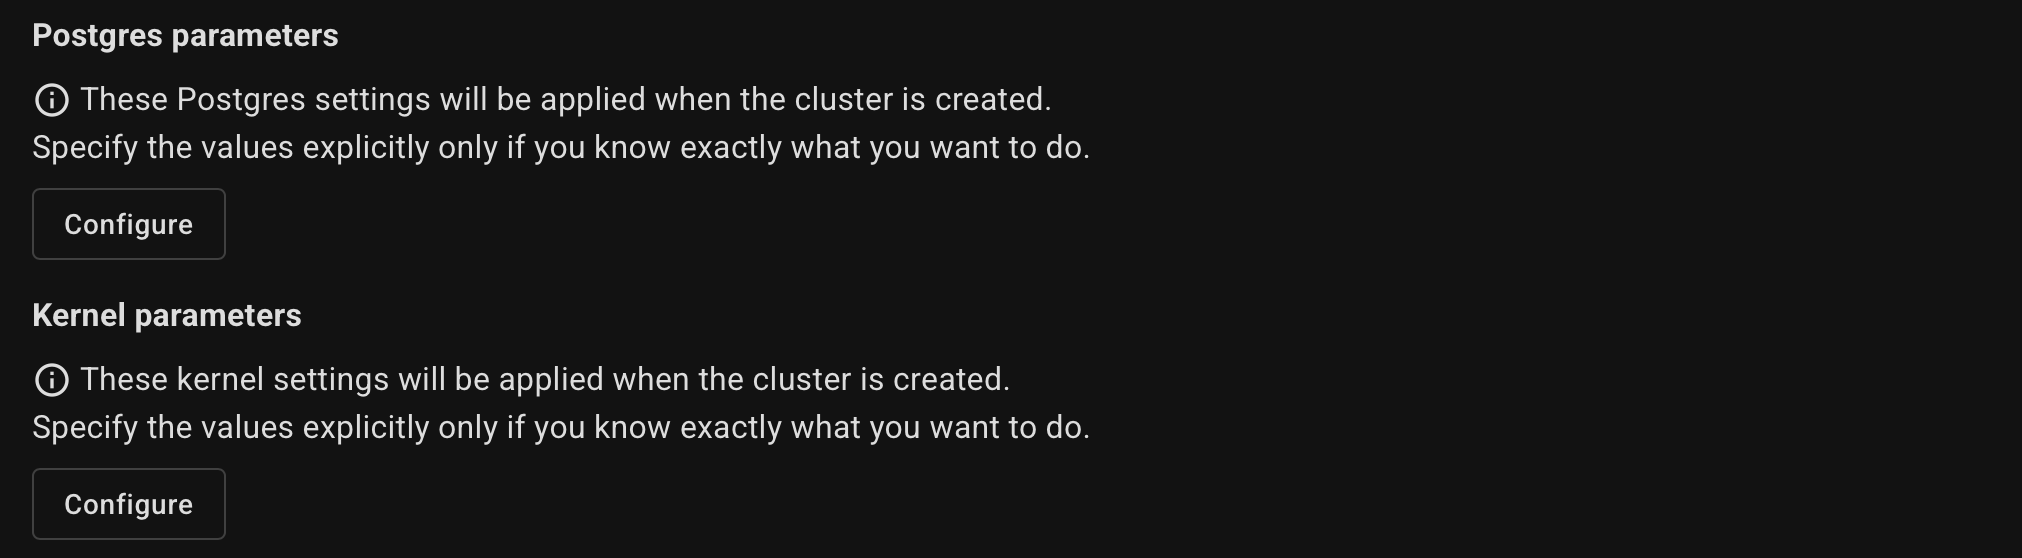
Example for Postgres parameters:
Example for Kernel parameters:
Optionally, specify the Additional settings.


Use the hint (?) icon for a more detailed description of each option.
Review the summary and click the "Create Cluster" button.
The YAML editor allows you to specify any parameters that were previously available only in command-line mode.
Designed for experienced users.
To use the YAML tab, go to the Settings page and turn on “Enable expert mode” and “Enable YAML editor”.
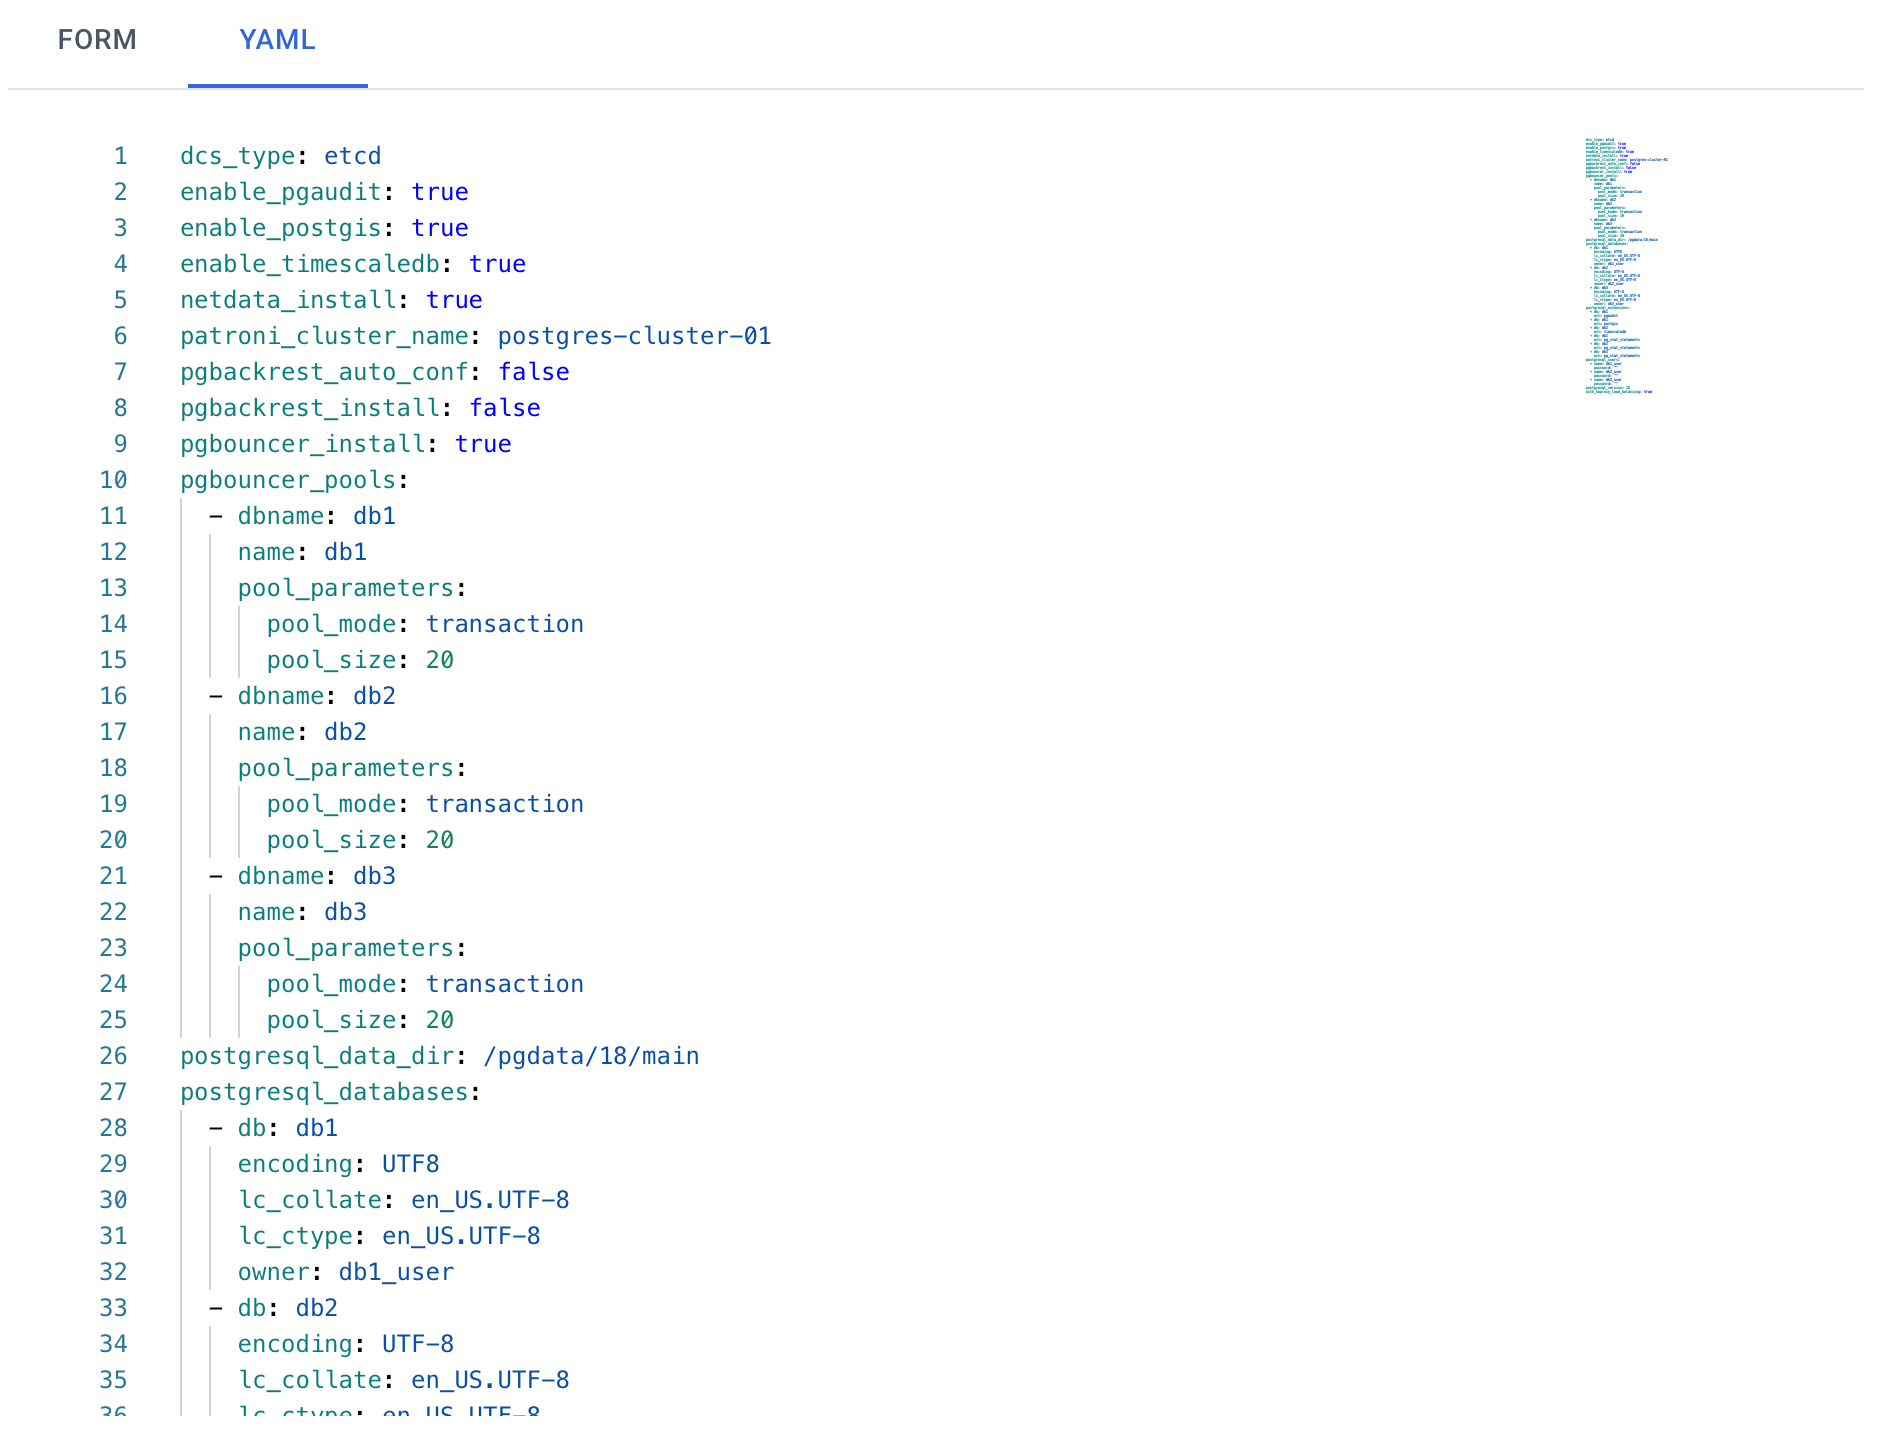
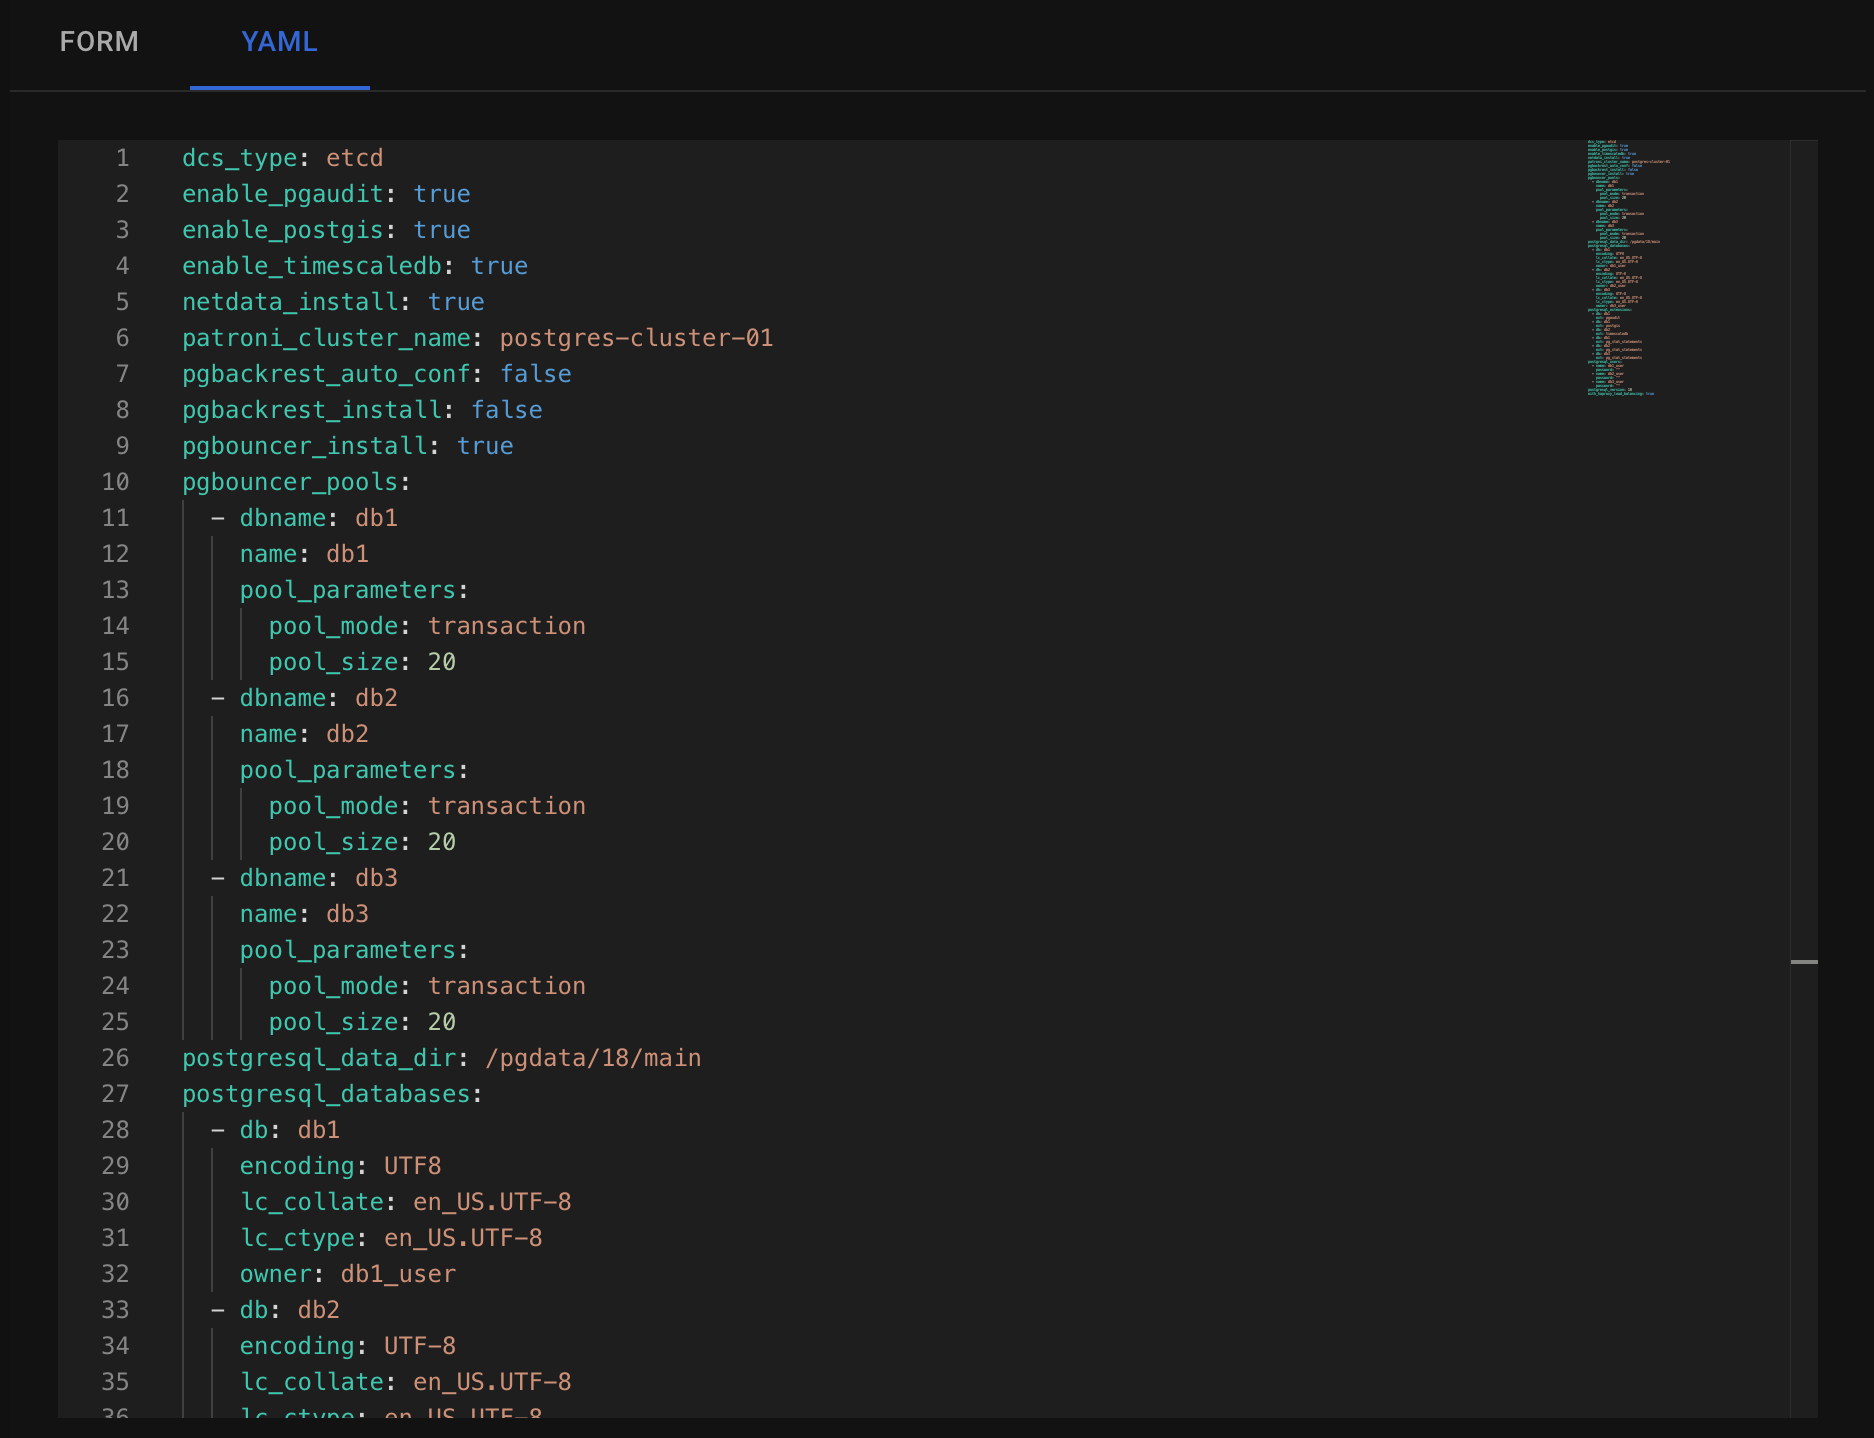
Autobase offers a wide range of functionality, and not all options can be fully represented in UI forms. That’s why we added a YAML editor — it allows you to set any parameters supported by Autobase. You can see available parameters here.
Make the necessary changes and click the "Create Cluster" button.
Wait until deployment is complete. This process takes about 10 minutes.
You can see the deployment log in the "Operations" section. To do this, select the relevant event with the "deploy" type and click "Show details" under the Actions tab.
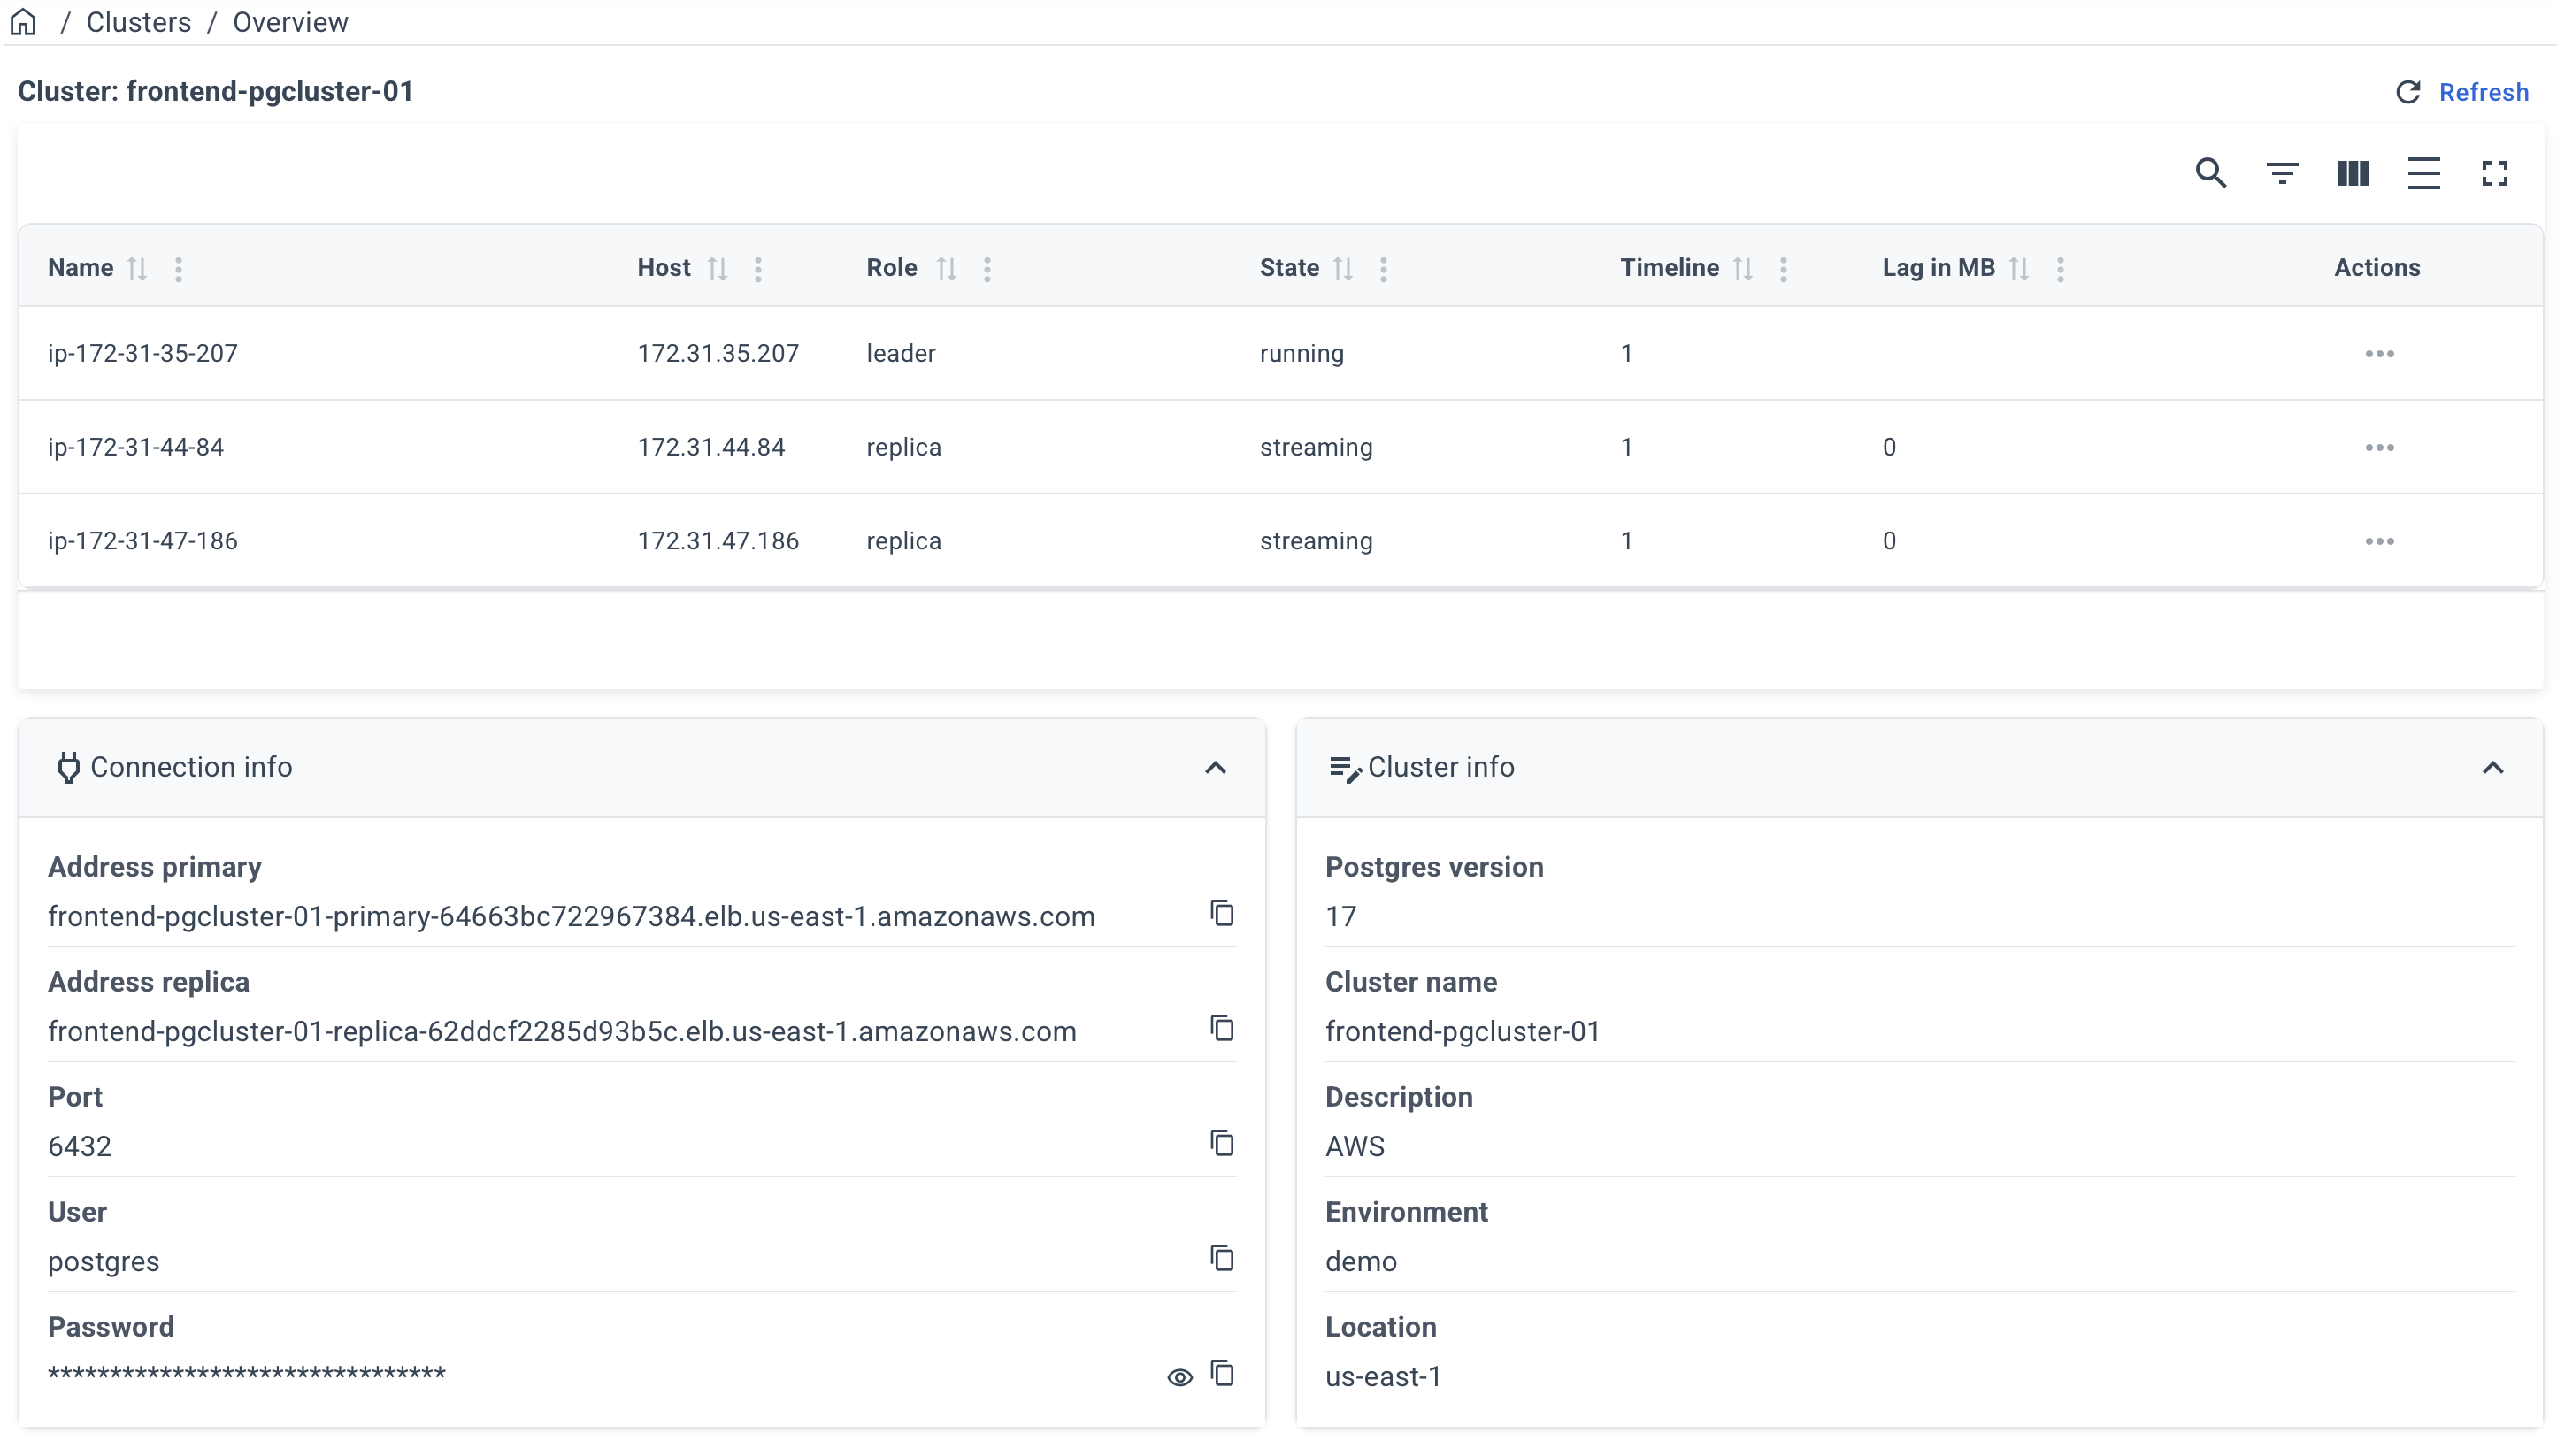
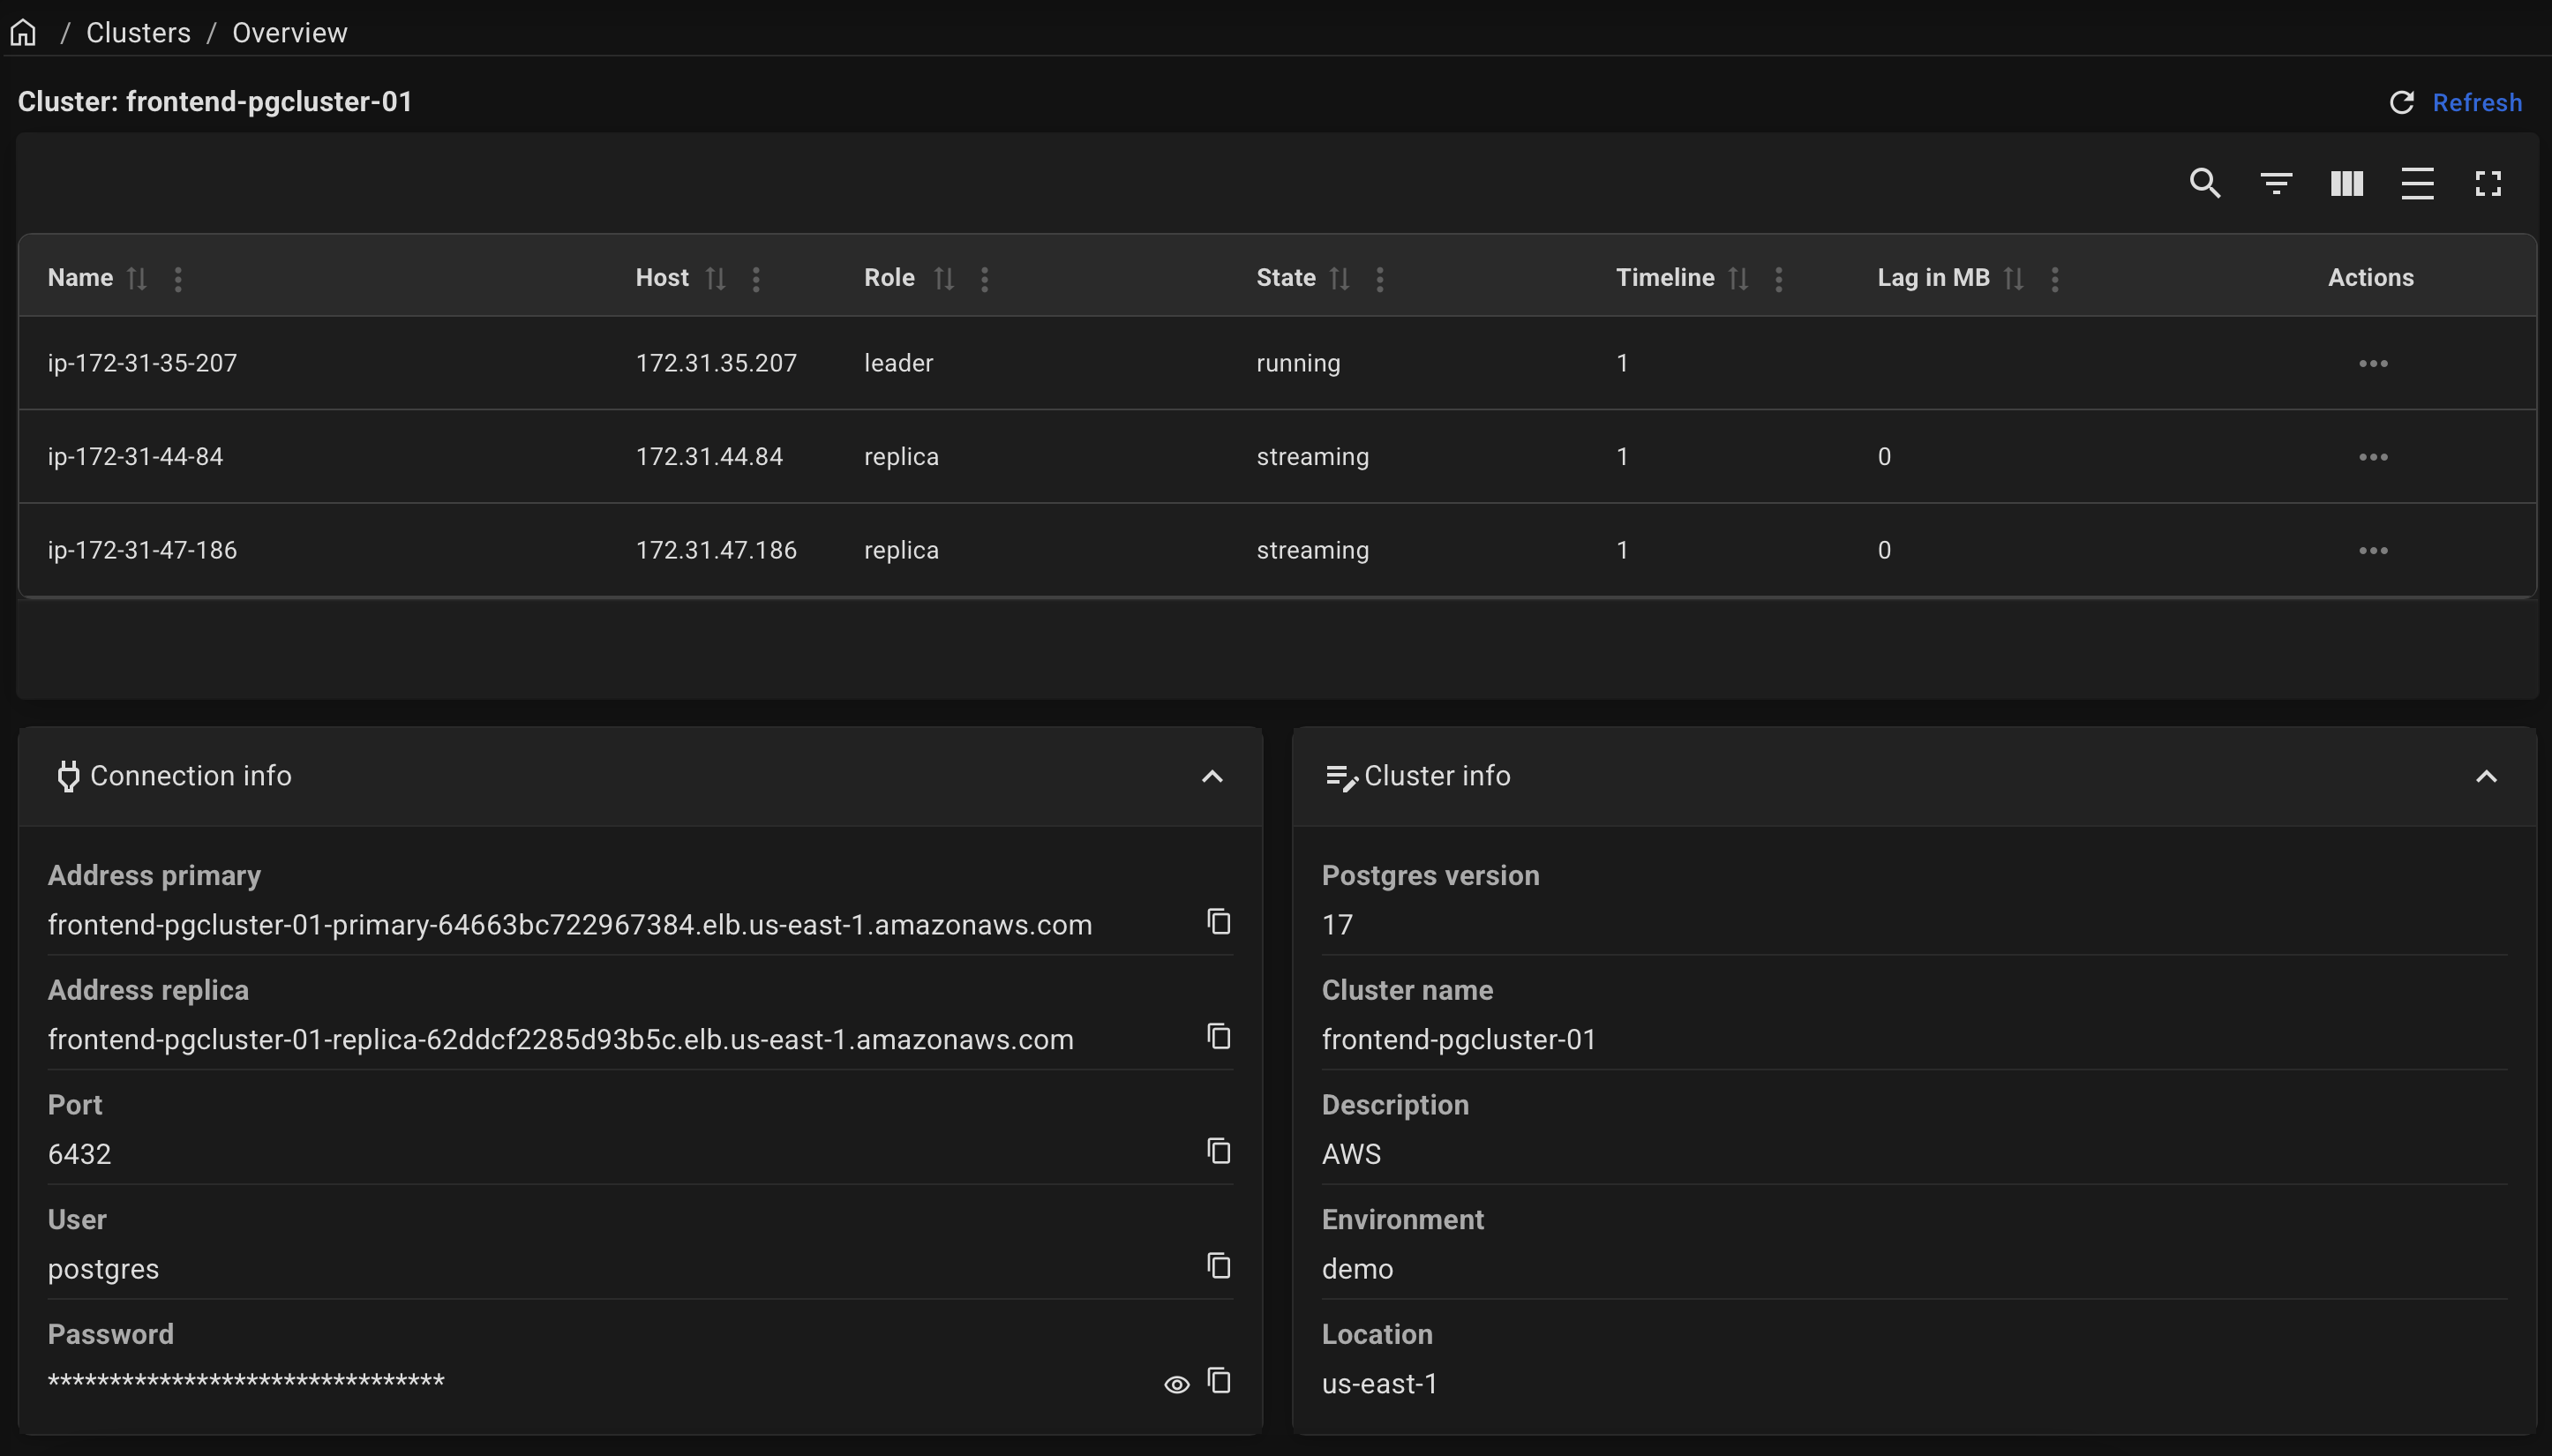
After a successful deployment, you can obtain the connection info on the cluster page. To do this, click on the name of your cluster on the "Clusters" page.


Example of a cluster page:
📩 Contact us at [email protected], and our team will provide you with deployment instructions tailored specifically to your infrastructure, including the most suitable parameters for optimal performance and reliability.
Prepare your inventory
curl -fsSL \
  https://raw.githubusercontent.com/autobase-tech/autobase/refs/tags/2.9.0/automation/inventory.example \
  --output ./inventory
Specify IP addresses and appropriate connection settings for your environment, such as ansible_user, ansible_ssh_pass, or ansible_ssh_private_key_file.
nano ./inventory
Prepare your variables
Refer to the default variables for all configurable options. Override them as needed using group_vars, host_vars, or directly in the inventory file.
mkdir -p ./group_vars
nano ./group_vars/all.yml
Run the deployment command
docker run --rm -it \
  -e ANSIBLE_SSH_ARGS="-F none" \
  -e ANSIBLE_INVENTORY=/project/inventory \
  -v $PWD:/project \
  -v $HOME/.ssh:/root/.ssh \
  autobase/automation:2.9.0 \
    ansible-playbook deploy_pgcluster.yml
Alternatively, you can use Ansible Collection
Wait until deployment is complete
This process takes about 10 to 15 minutes.
After a successful deployment, the connection information can be found in the Ansible log.
How to start from scratch:
If you need to start from scratch, you can use the remove_cluster.yml playbook.
Click here to expand...
Run the following command to remove the specified components:
docker run --rm -it \
  -e ANSIBLE_SSH_ARGS="-F none" \
  -e ANSIBLE_INVENTORY=/project/inventory \
  -v $PWD:/project \
  -v $HOME/.ssh:/root/.ssh \
  autobase/automation:2.9.0 \
    ansible-playbook remove_cluster.yml -e "remove_postgres=true remove_etcd=true"
This command will delete the specified components, allowing you to start a new installation.
Available variables:
remove_postgres: stop the PostgreSQL service and remove data.remove_etcd: stop the ETCD service and remove data.remove_consul: stop the Consul service and remove data.
Caution: be careful when running this command in a production environment.
We also support converting standalone PostgreSQL installation into a high-availability cluster. If you want to upgrade your current PostgreSQL setup to a clustered configuration, simply set postgresql_exists=true in the inventory file.
Please note that during the cluster setup process, your existing PostgreSQL service will be automatically restarted, leading to a brief period of database downtime. Plan this transition accordingly.