DigitalOcean
DigitalOcean Cloud
Autobase will automatically set up the following in DigitalOcean:
- DigitalOcean Droplets - a virtual machine (with a dedicated data disk), with all cluster components installed and configured.
- DigitalOcean Load Balancer to serve as the entry point for database connections.
- DigitalOcean Spaces Object Storage, and configured backups using pgBackRest (available via Expert Mode).
All components are installed within your cloud account.
Prerequisites
You will need the Personal Access Token to deploy the cluster to your DigitalOcean account, and S3 credentials to create Spaces Object Storage (S3 bucket) for backups.
See the official documentation for instructions: How to Create a Personal Access Token, How to Manage Access Keys.
You can either add access token in advance on the Settings page under the Secrets tab, or you will be prompted to enter them during the cluster creation process.
- Console (UI)
- Command line
- Basic
- Expert Mode
- YAML tab
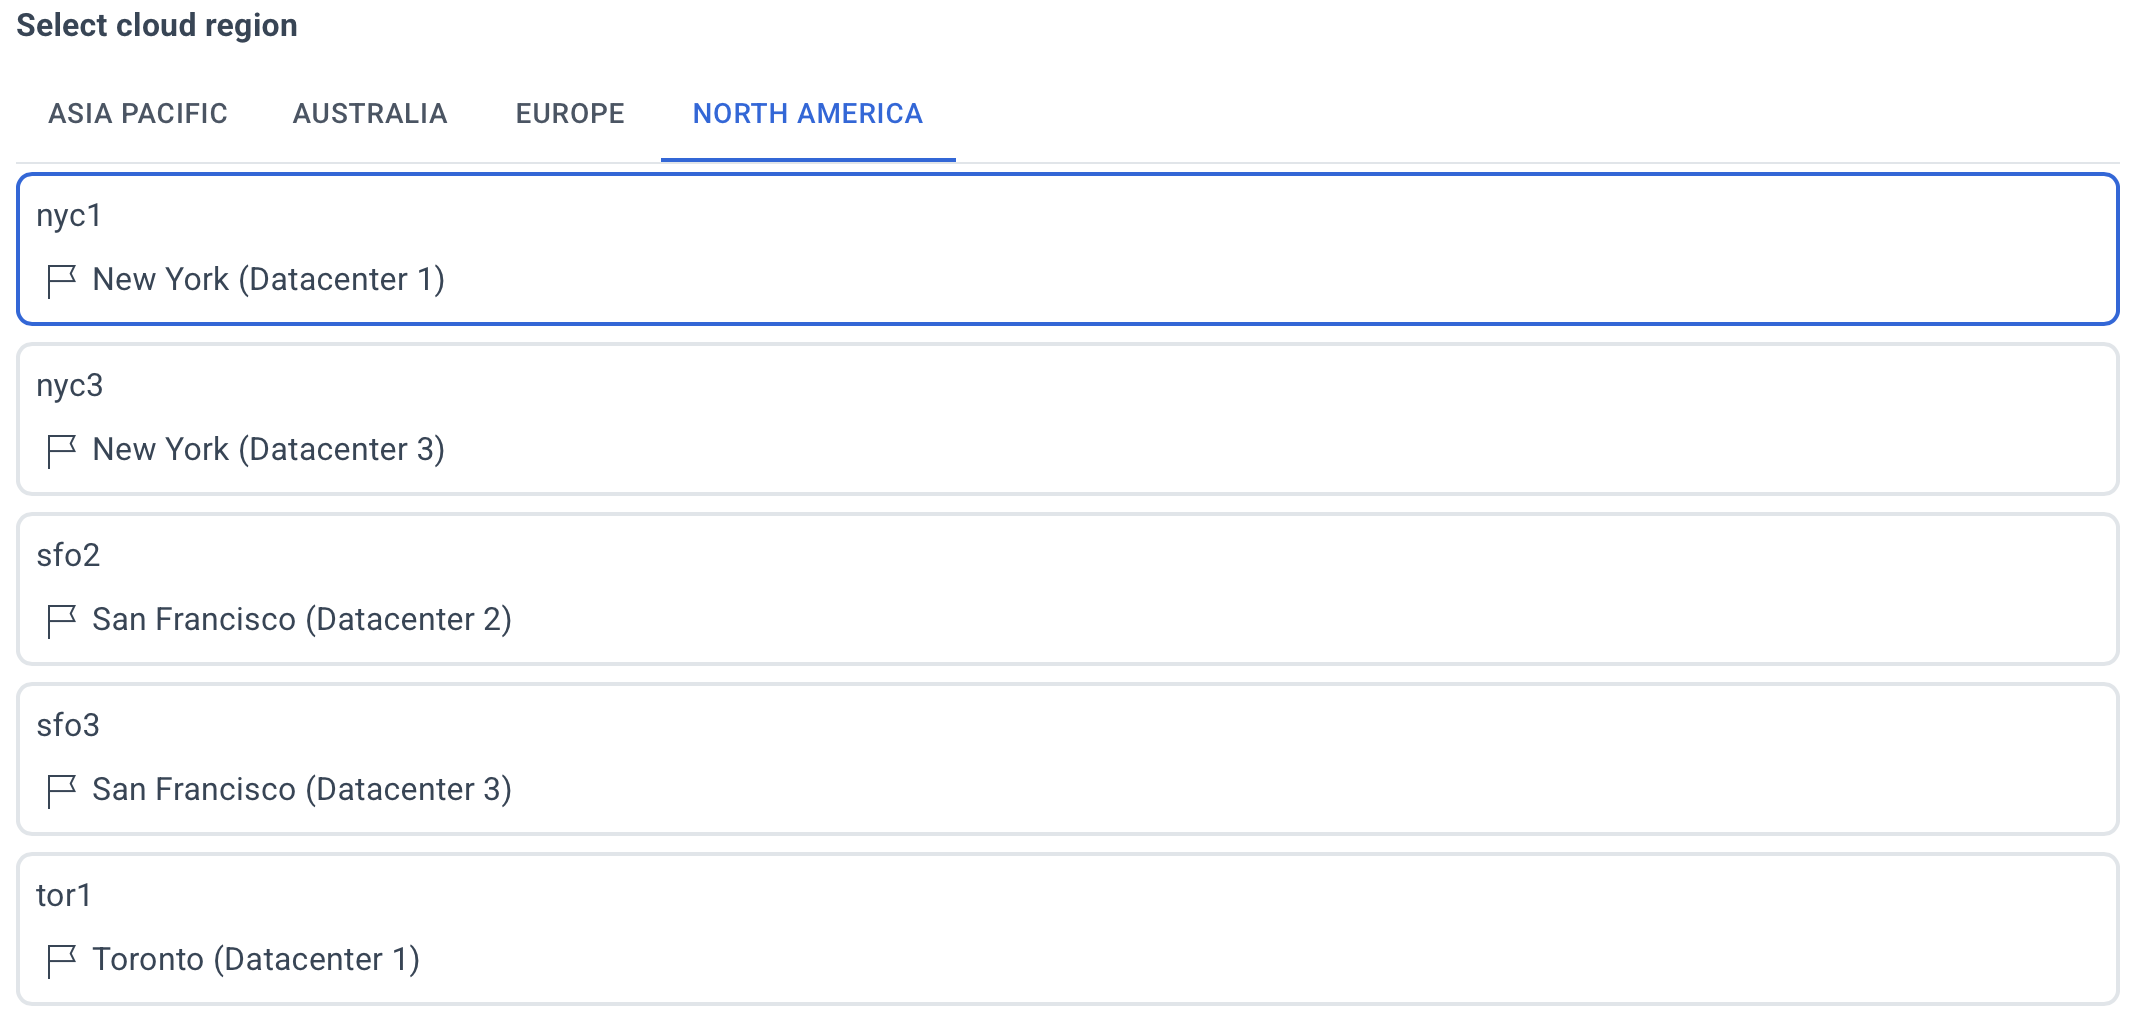
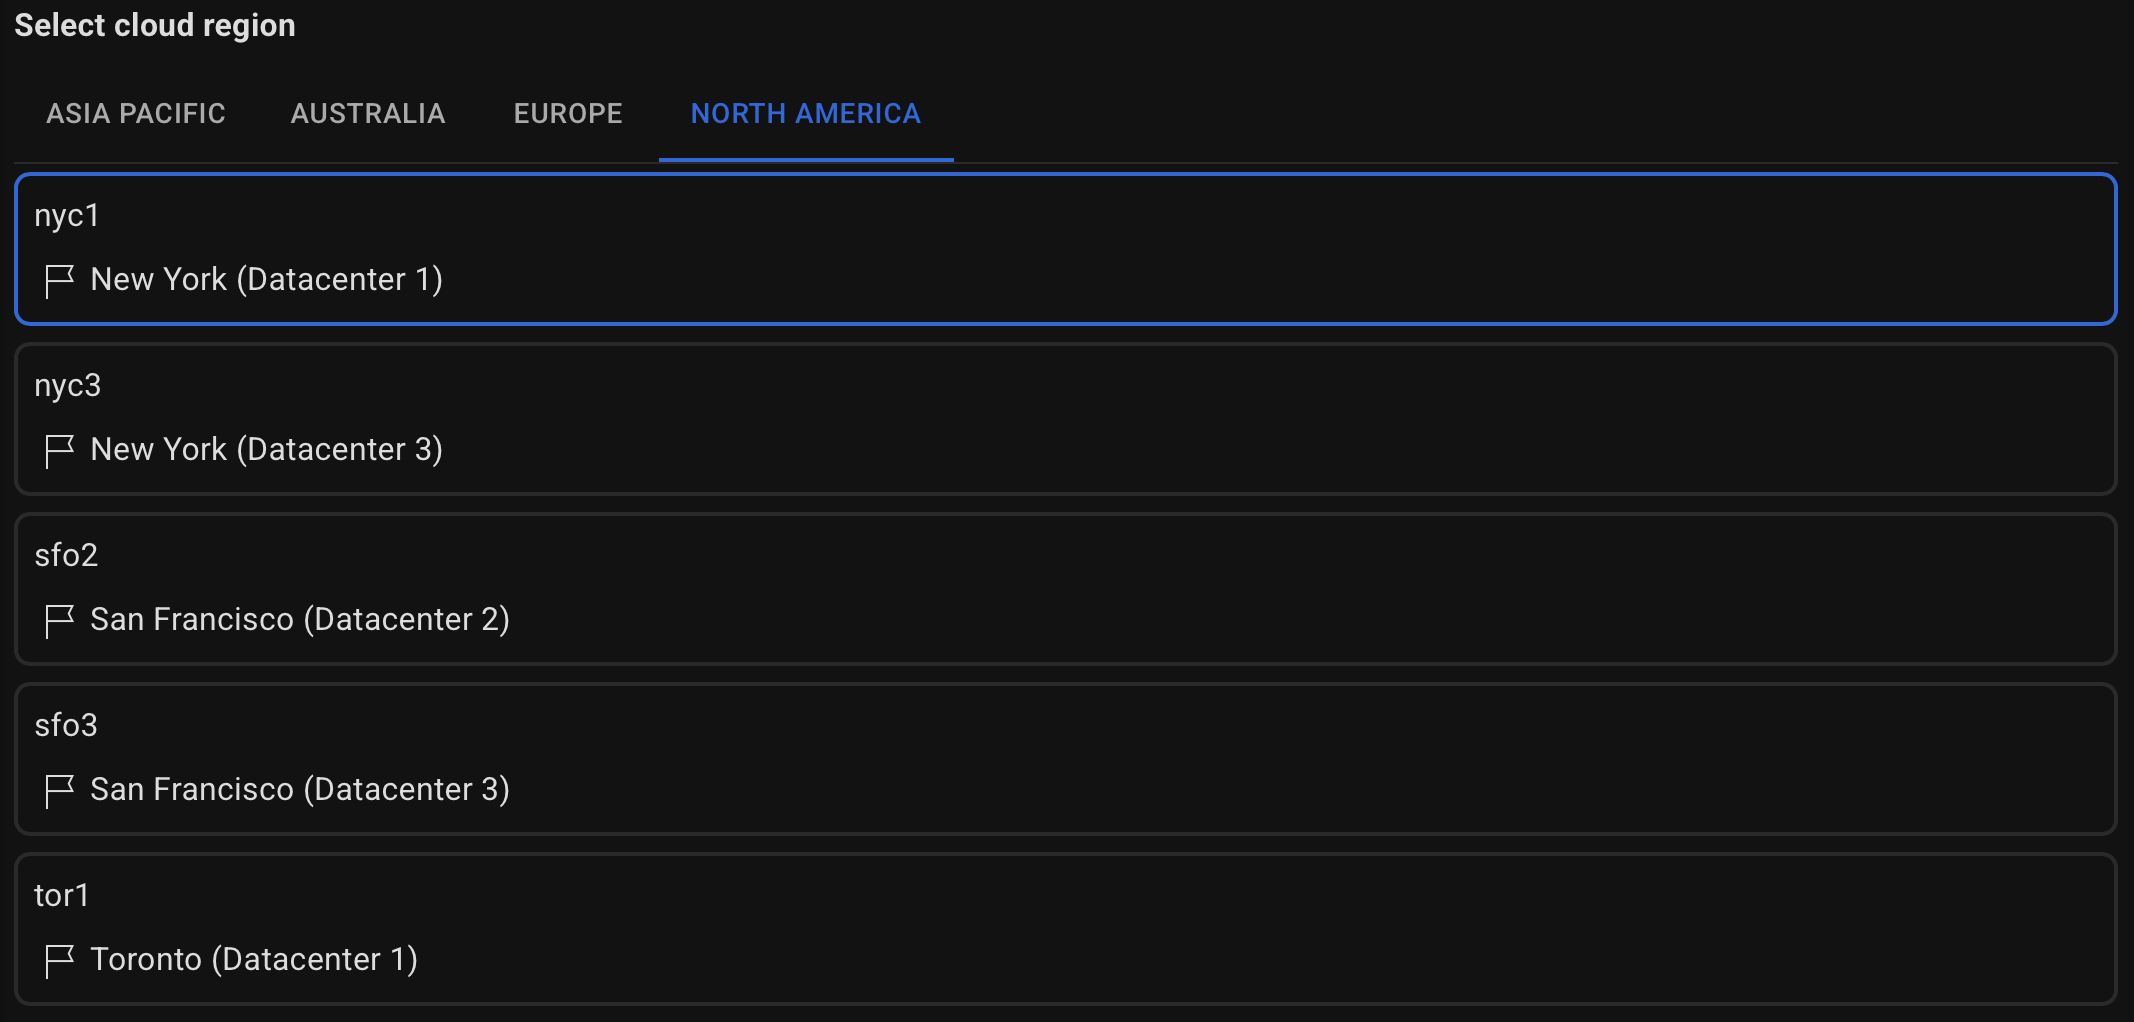
Select DigitalOcean as the destination and choose the deployment region.


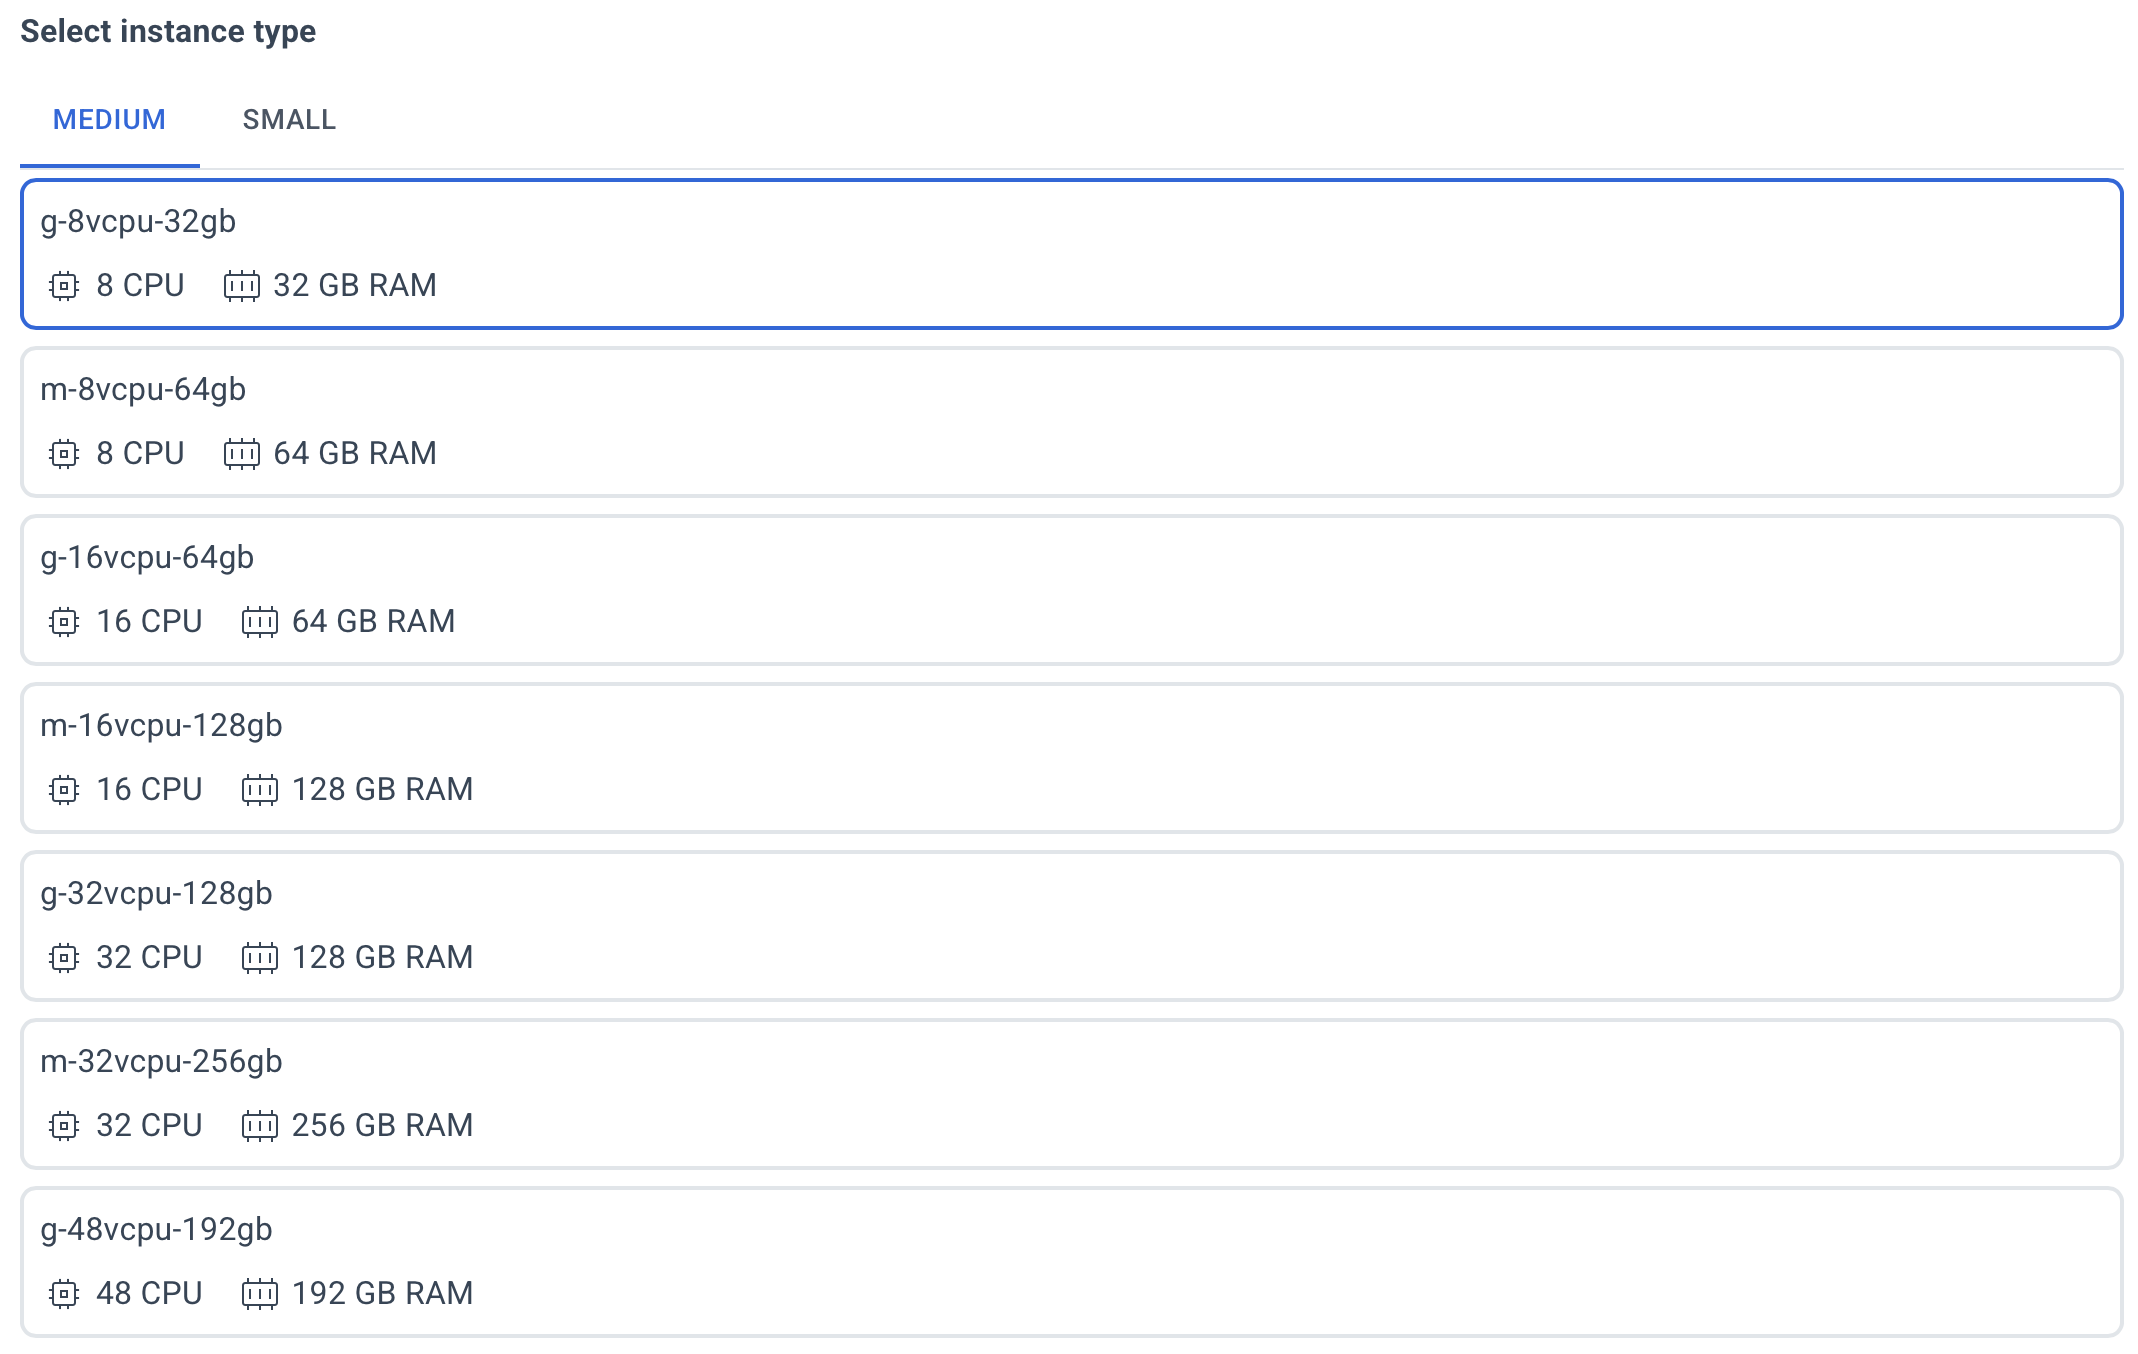
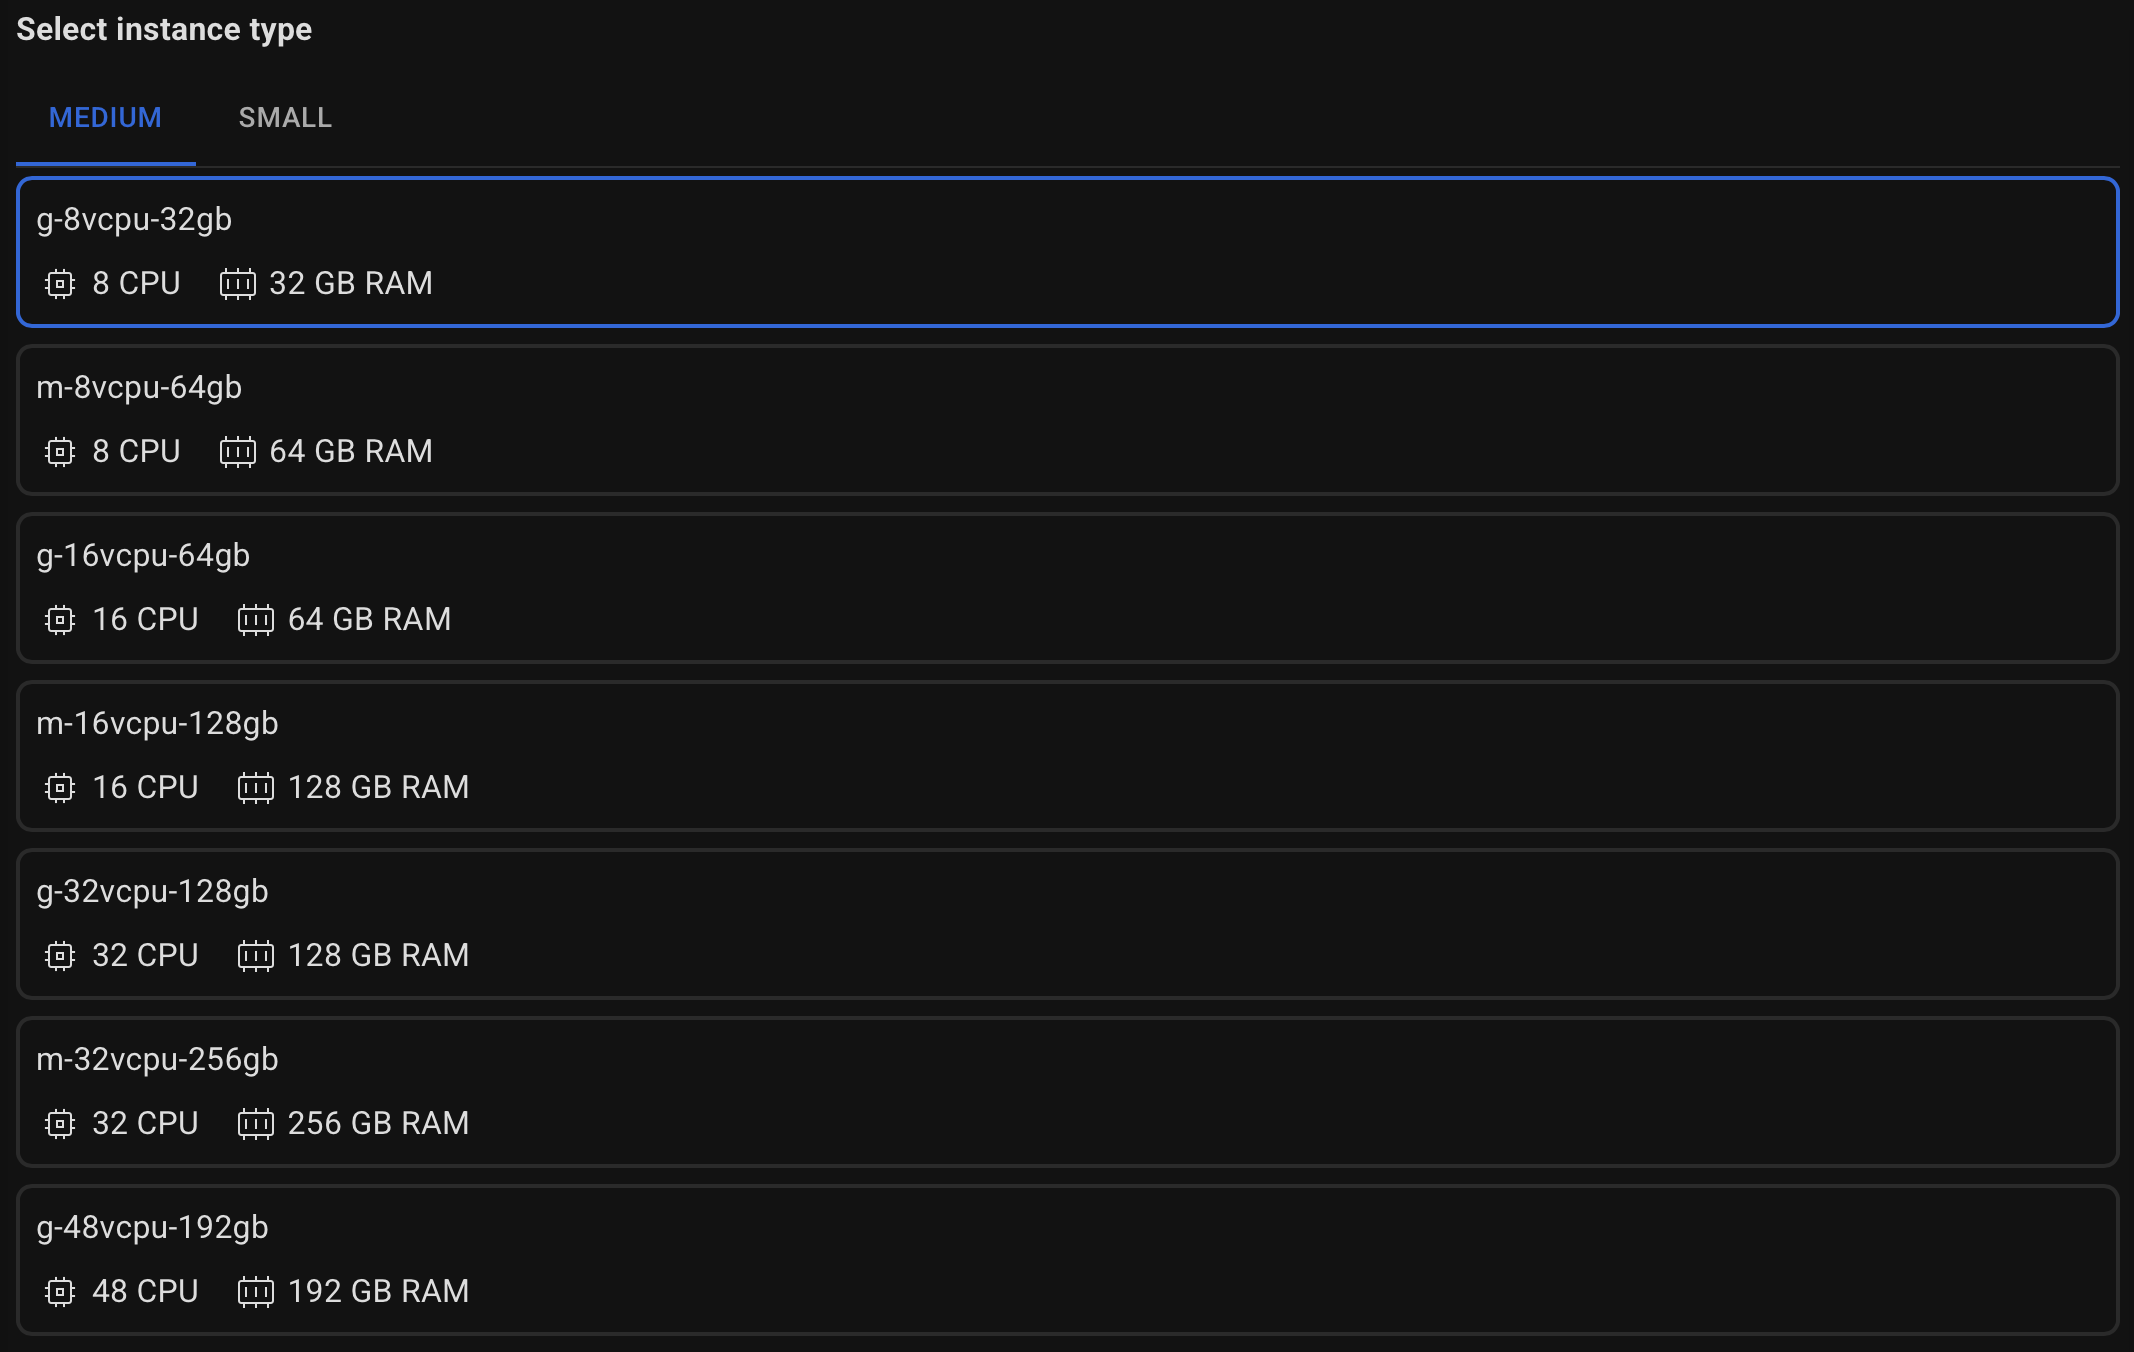
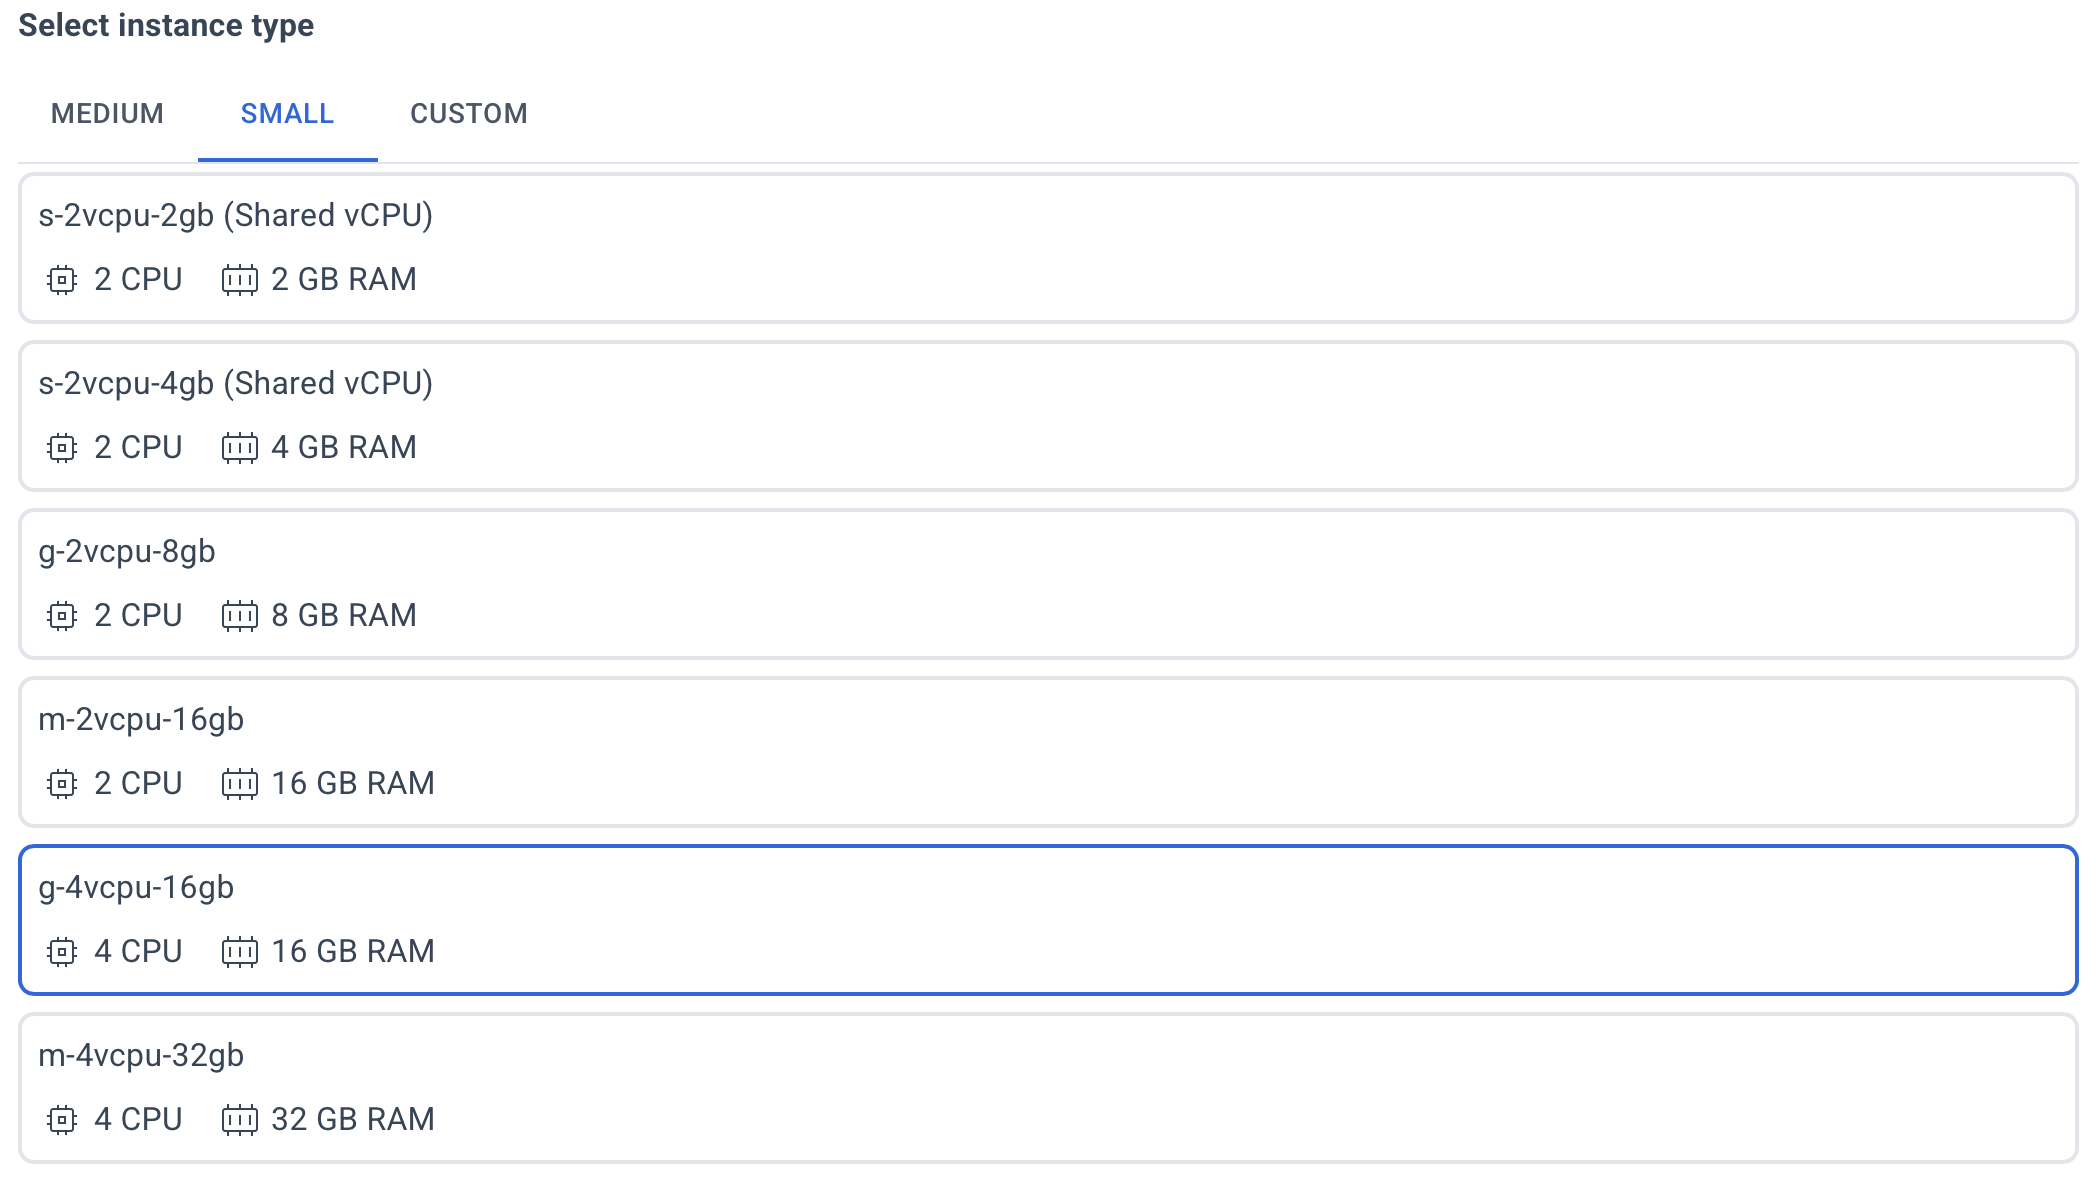
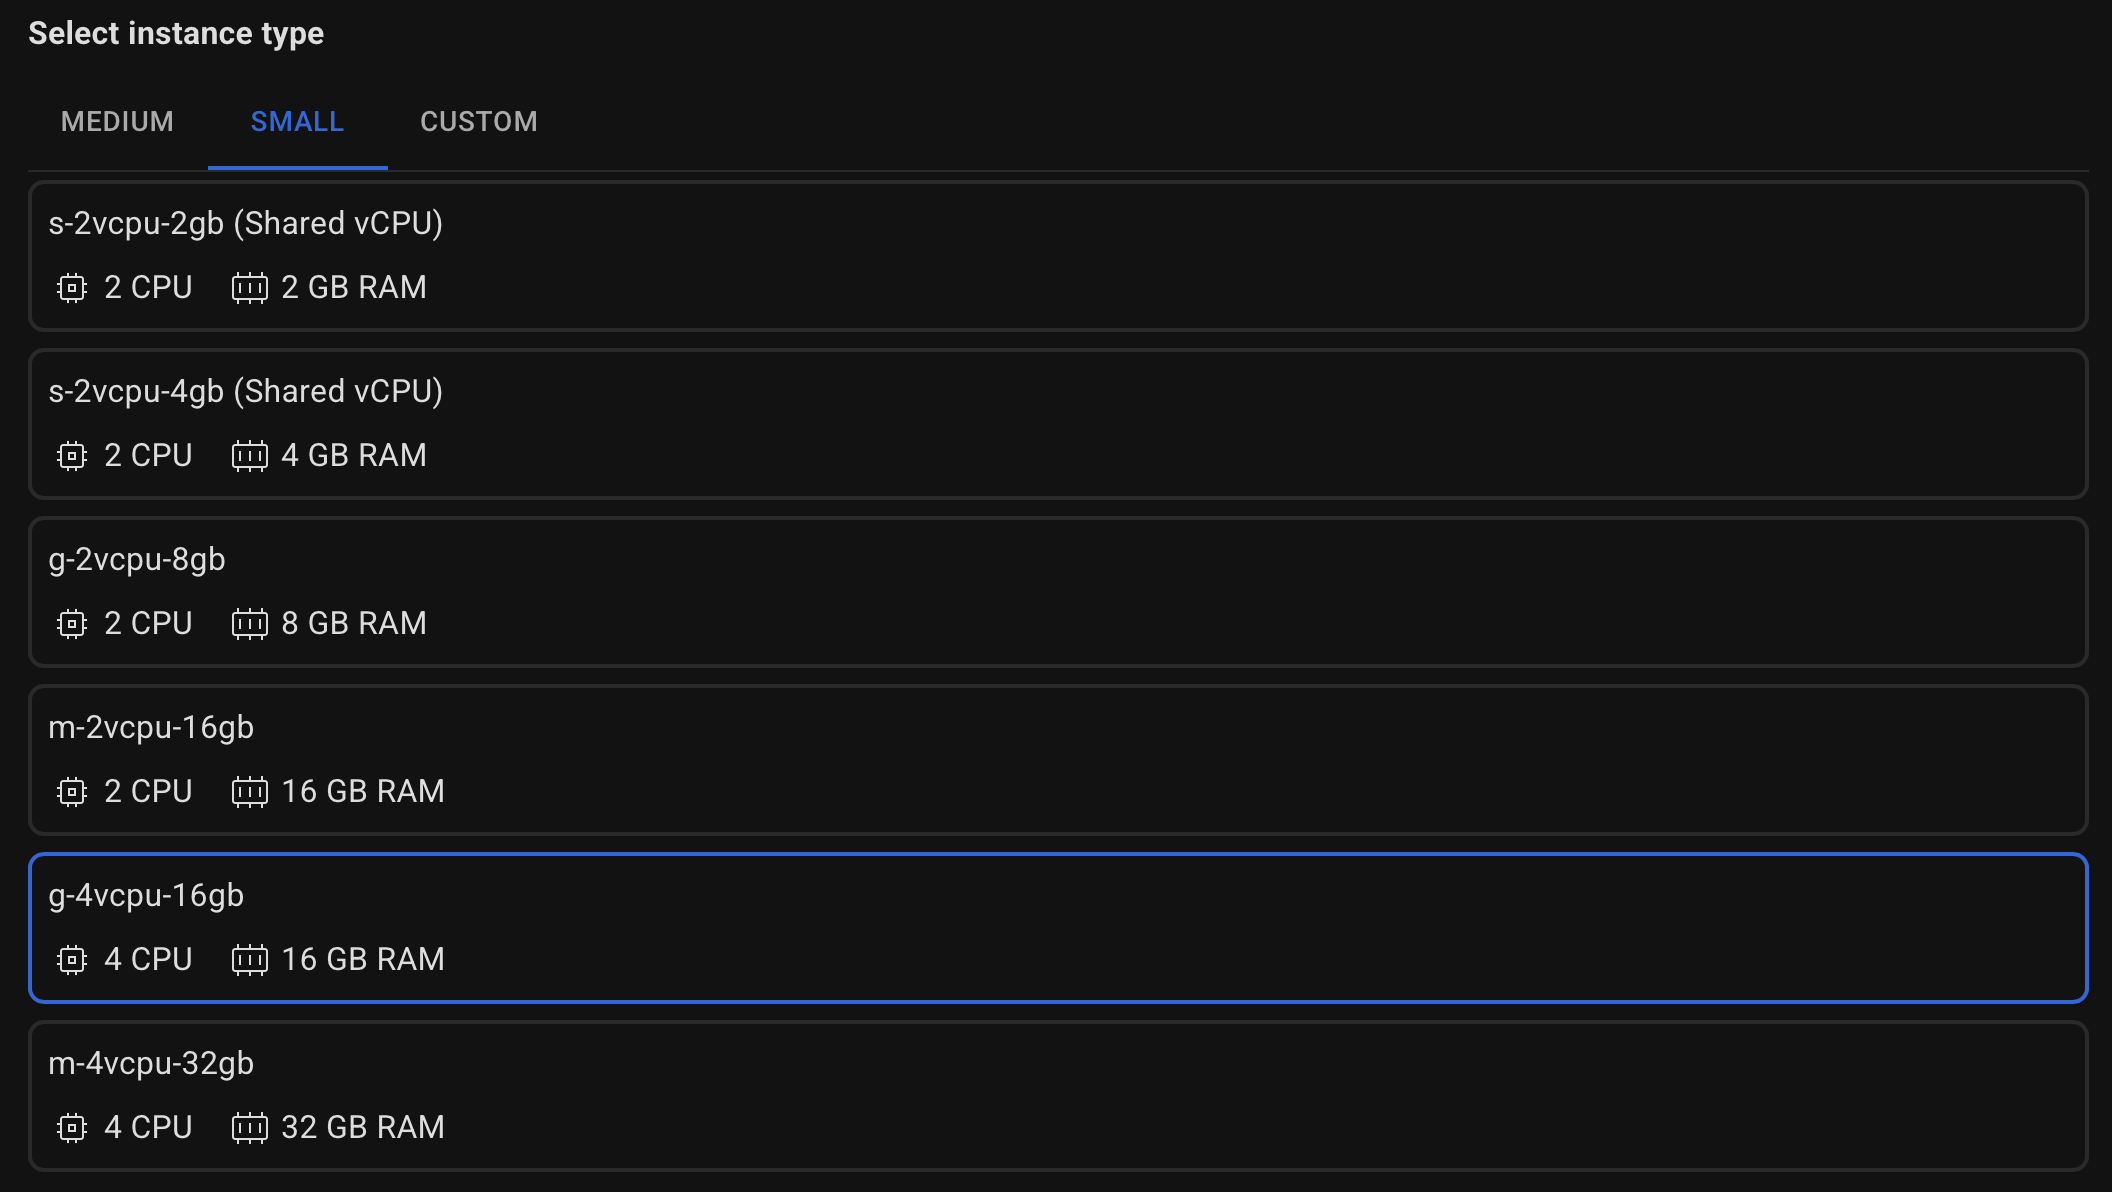
Select the type of server with the required amount of CPU and RAM.
Select the number of servers to be created for the PostgreSQL cluster.
Please note that at least 3 servers are required to ensure high availability.


Specify the desired disk size for the database.


Specify your SSH public key to be able to access the database servers via SSH after deployment.


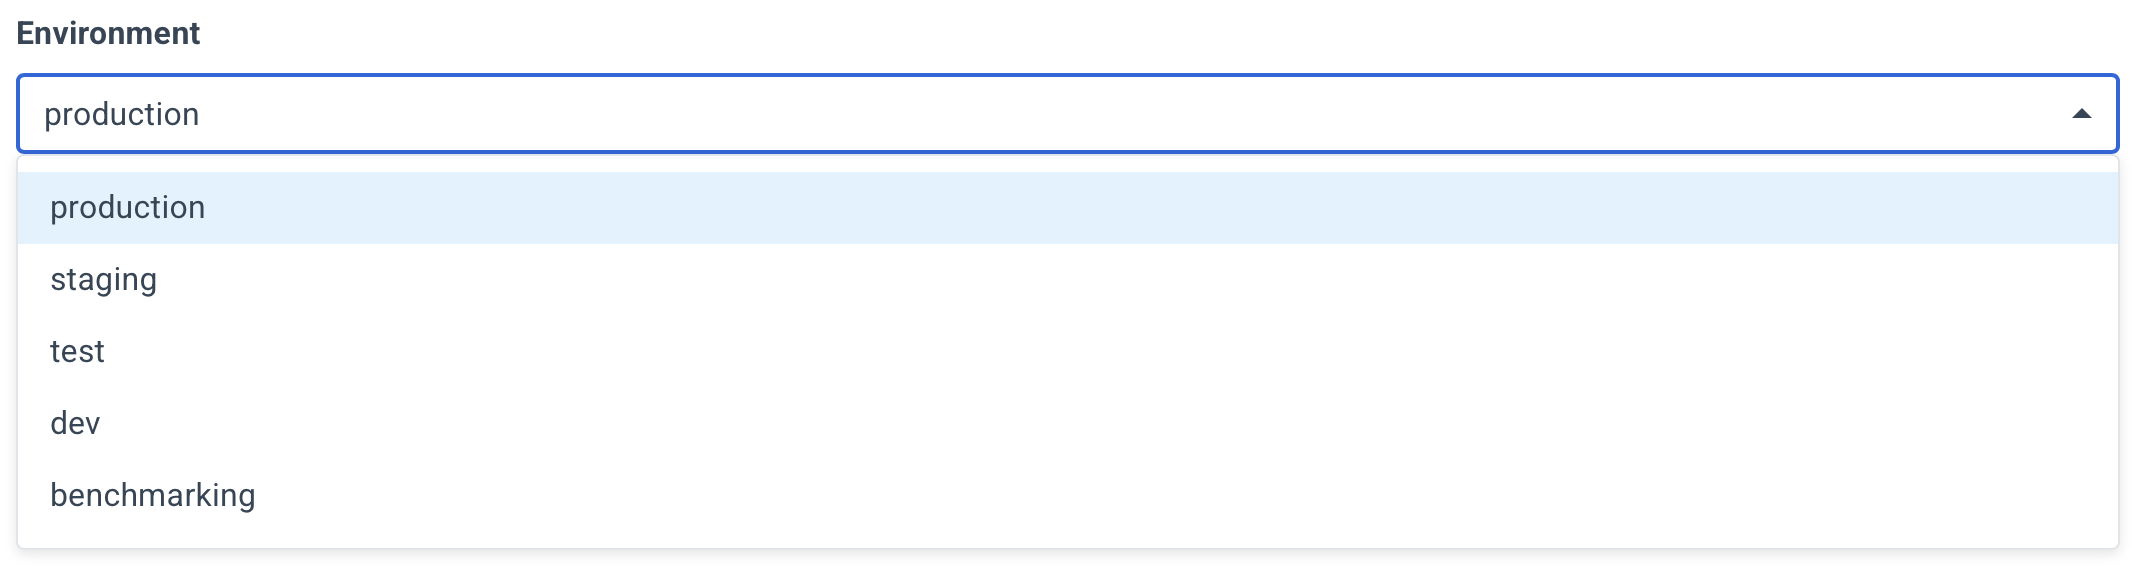
Choose which environment your database cluster belongs to.
Specify a name for your cluster.


Optionally, specify a description.


Select the PostgreSQL version to install.


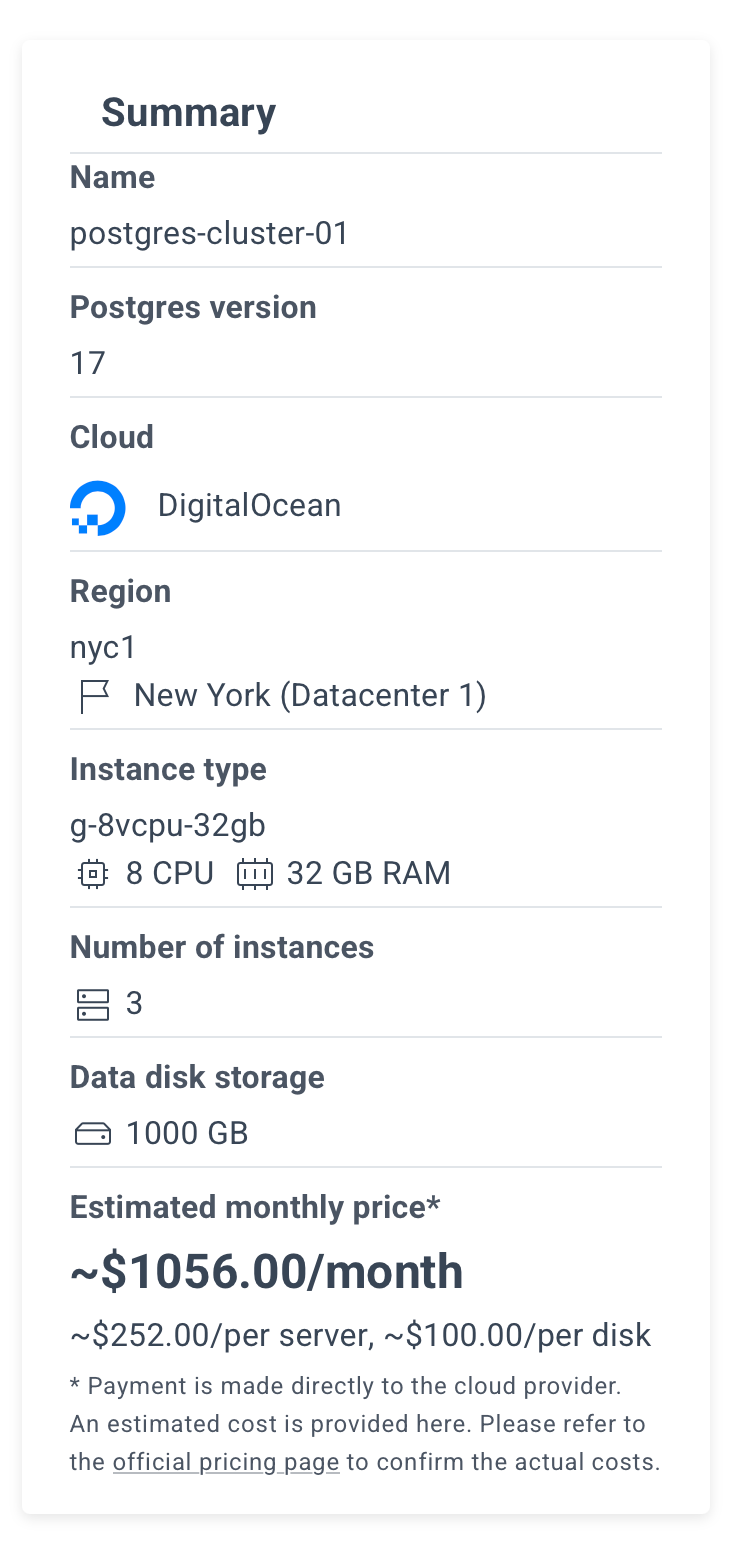
Review the summary and click the "Create Cluster" button.
This mode unlocks advanced settings for fine-tuning clusters, including options hidden in standard mode.
Designed for experienced users.
To use Expert Mode, go to the Settings page and turn on “Enable expert mode”.
Select DigitalOcean as the destination and choose the deployment region.
Select the type of server with the required amount of CPU and RAM.
If the required instance type is not listed, you can specify it in the CUSTOM tab.
Make sure it follows the format supported by the DigitalOcean API (e.g., g-8vcpu-32gb).
Select the number of servers to be created for the PostgreSQL cluster.
Please note that at least 3 servers are required to ensure high availability.
Specify the desired disk size for the database, along with the file system type (ext4, xfs, zfs).


If needed, specify the VPC Network name to which the database servers will be added. If not specified, the default VPC is used, or a new network will be created.


Specify your SSH public key to be able to access the database servers via SSH after deployment.
Choose which environment your database cluster belongs to.
Specify a name for your cluster.
Optionally, specify a description.
Select the PostgreSQL version to install.
Specify the desired database name, username, and user password.
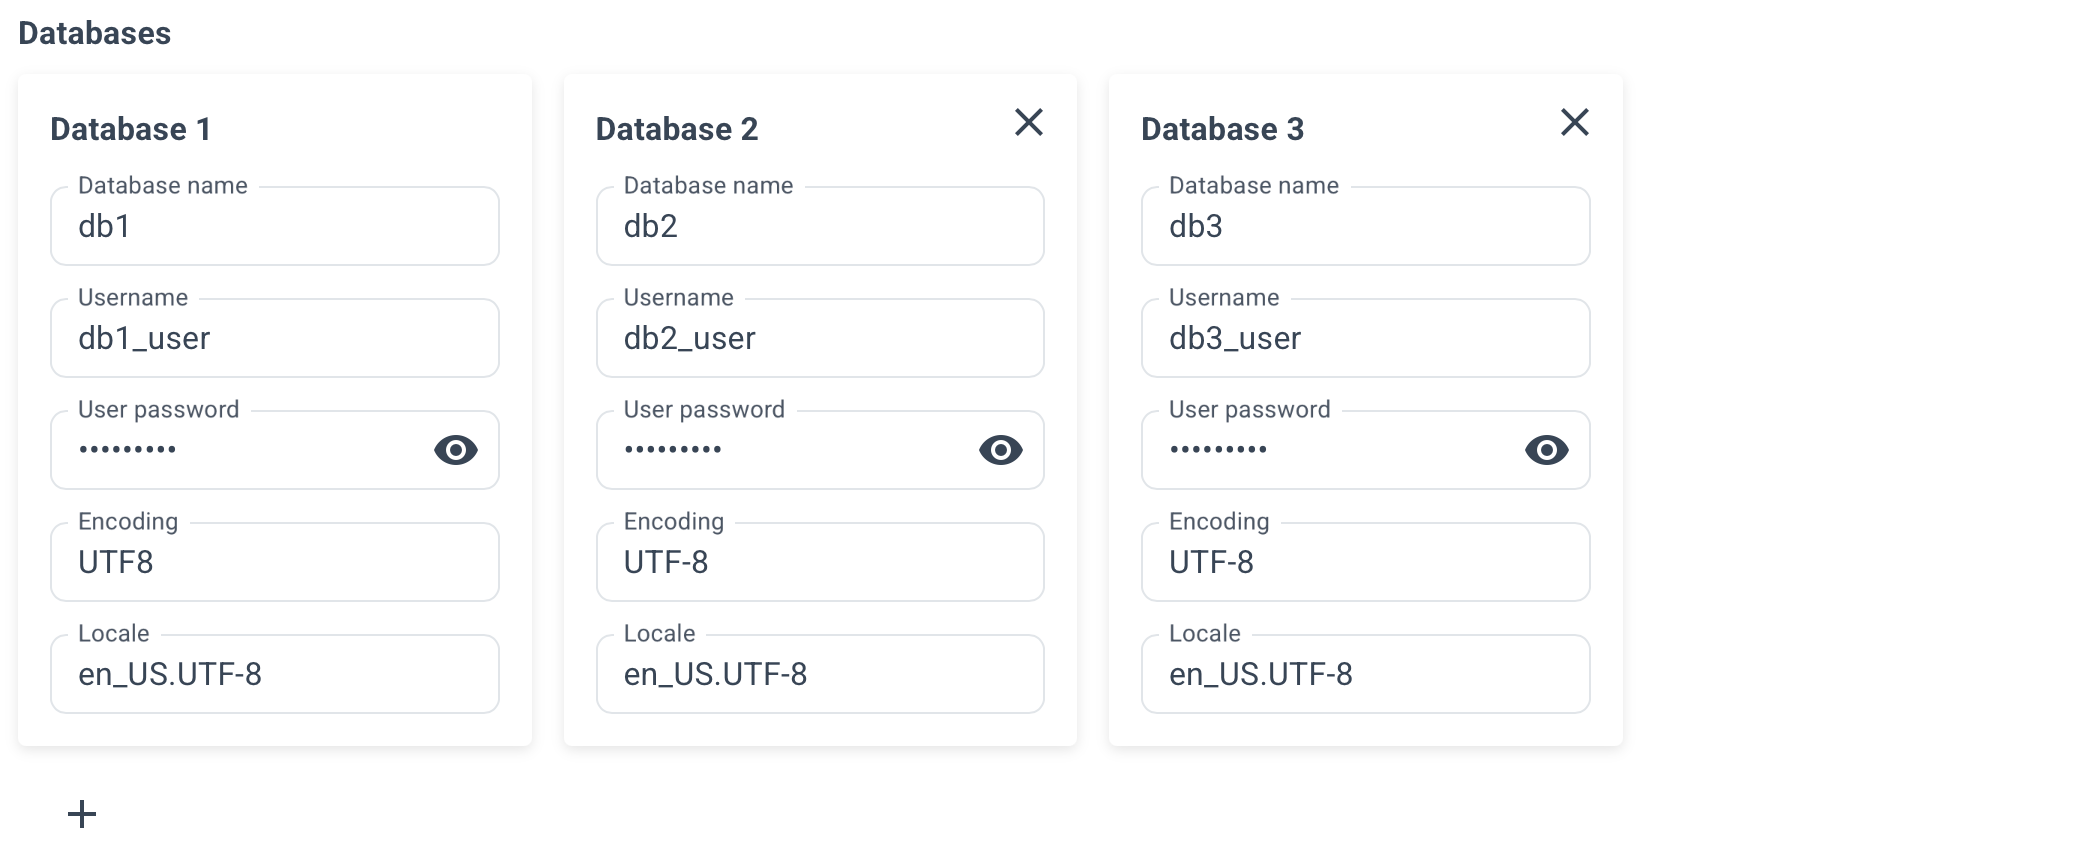
Optionally, specify connection pools for your databases, its size and mode.
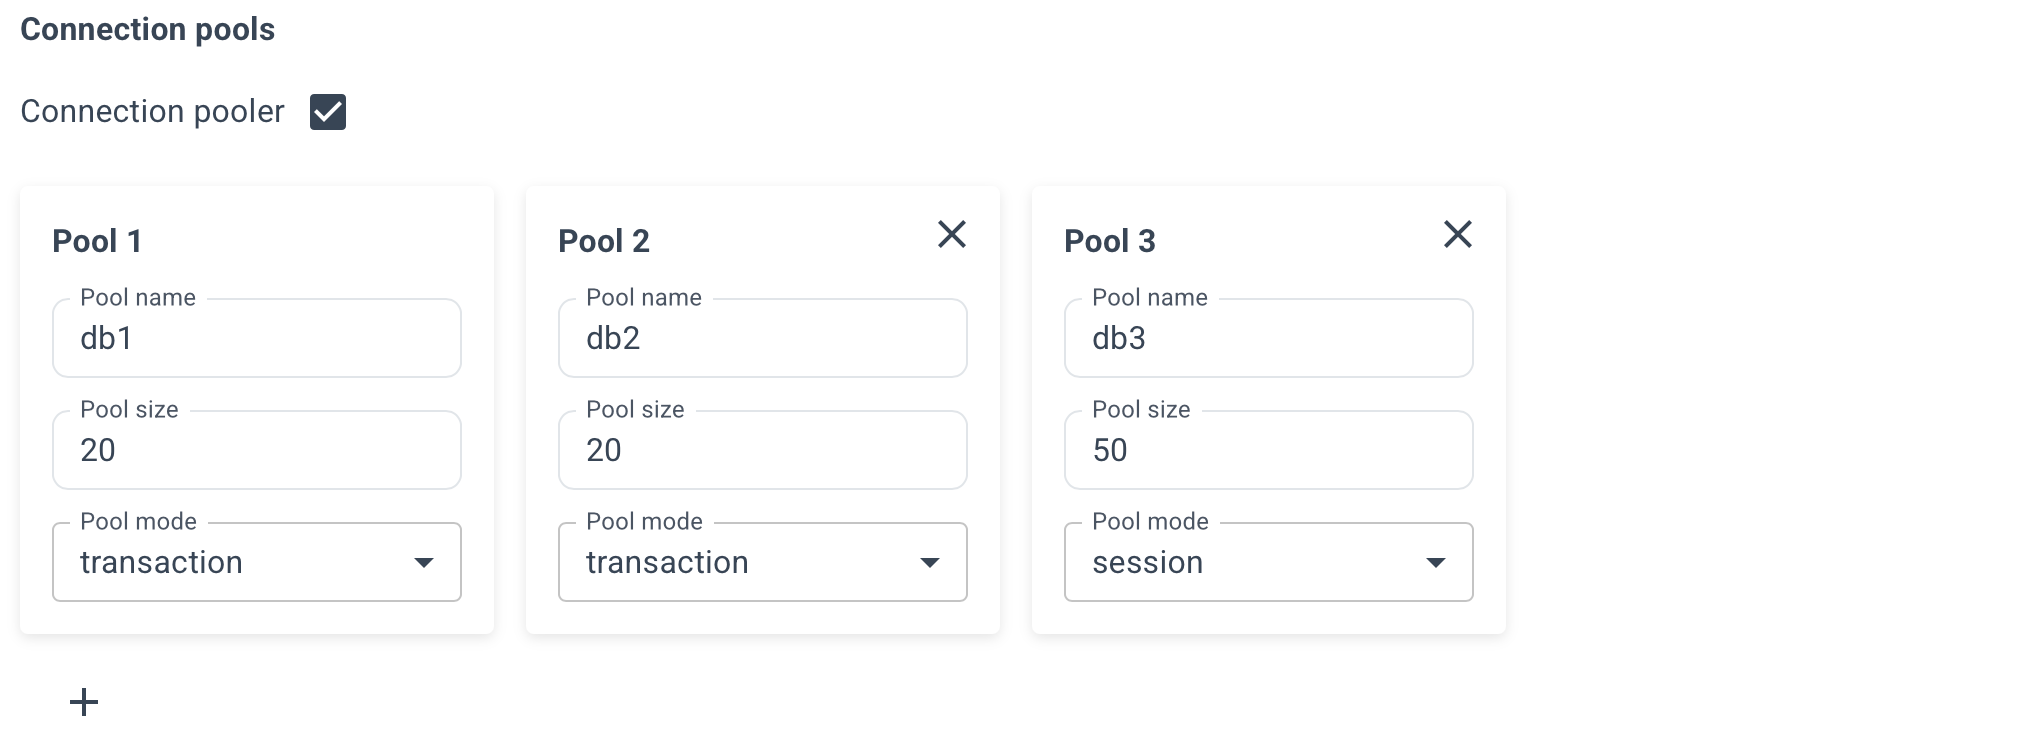
- session - Server is released back to pool after client disconnects.
- transaction - Server is released back to pool after transaction finishes. Recomended.
- statement - Server is released back to pool after query finishes. Transactions spanning multiple statements are disallowed in this mode.
Enable the necessary extensions for your databases.
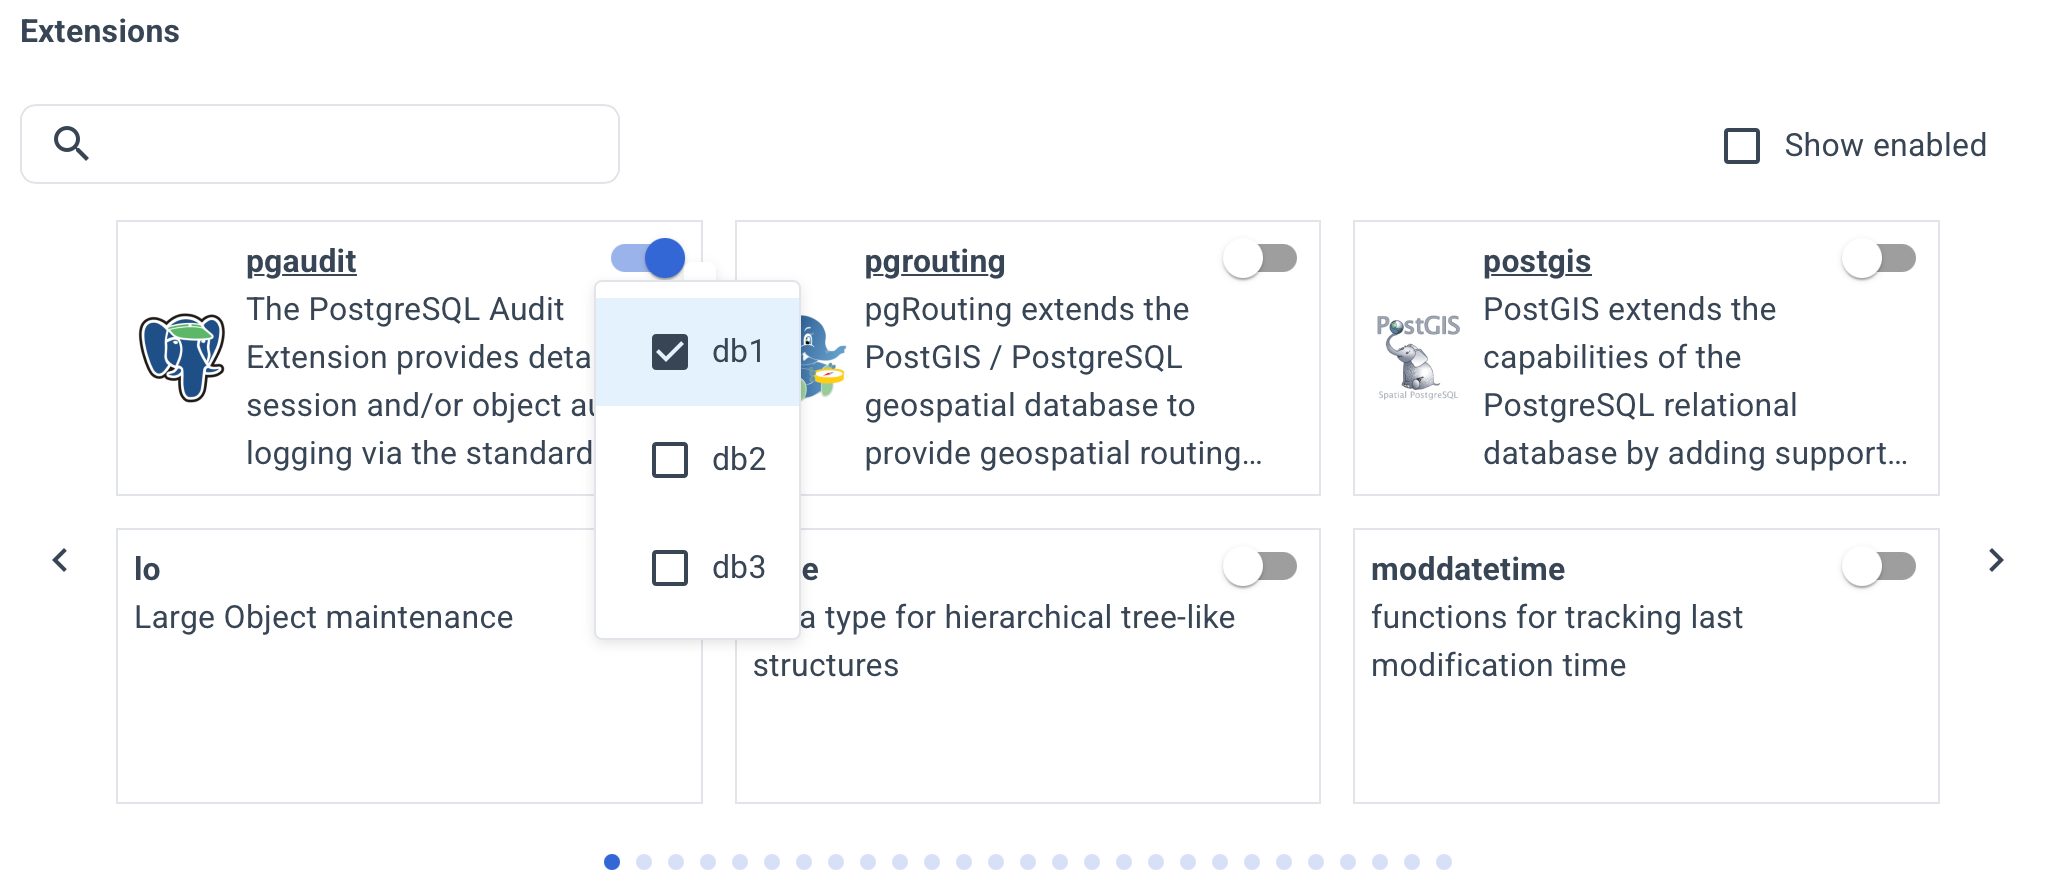
This list includes all contrib extensions and some popular third-party ones. However, more than 400 extensions are available.
To install others, specify the installation parameters manually on the YAML tab.
Configure backup settings such as the start time and retention period.
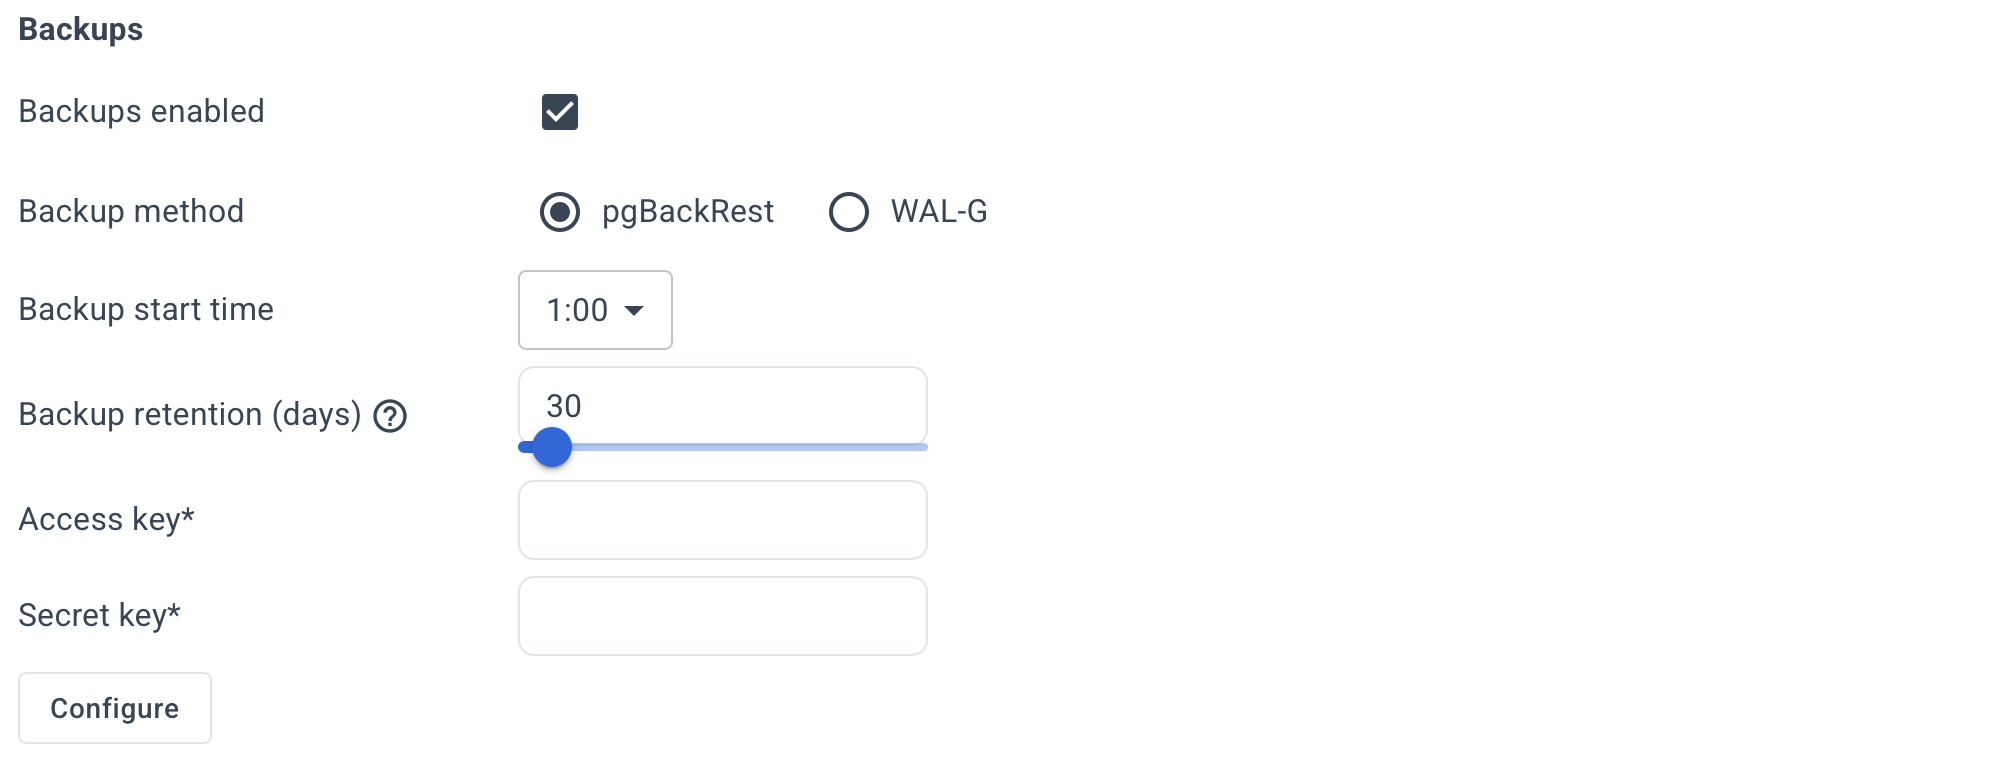
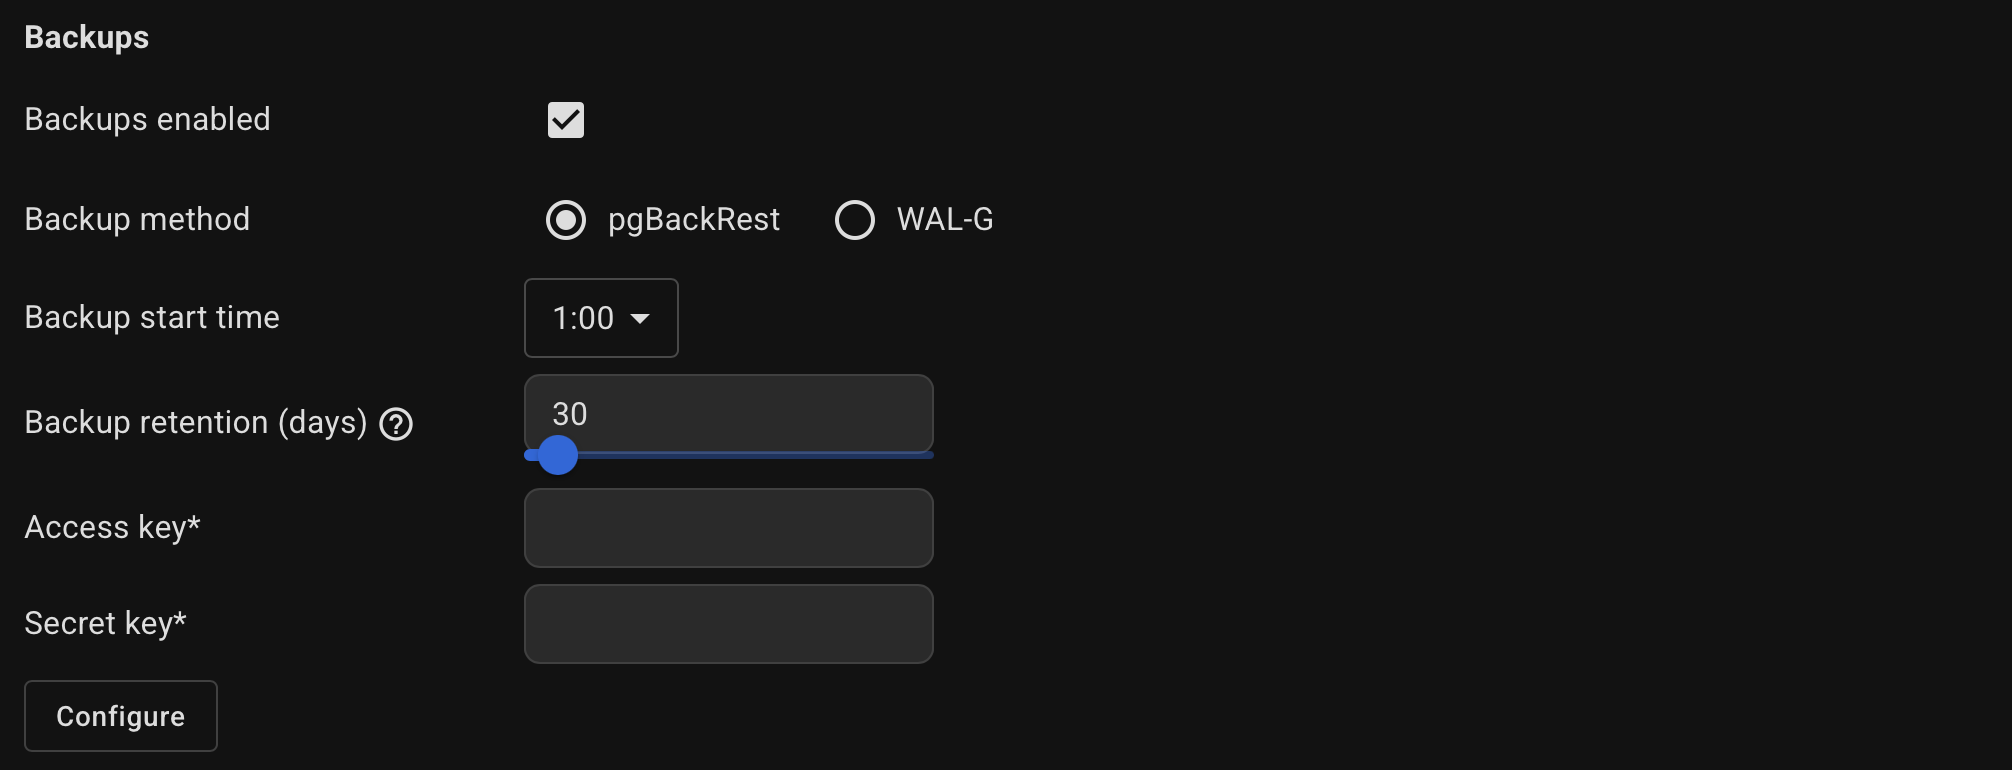
By default, Autobase automatically configures the settings for the selected backup tool.
If you prefer to set the parameters manually, click Configure button and specify them in the usual key=value format.
For pgBackRest, you can specify the global section options — the stanza section will be populated automatically.
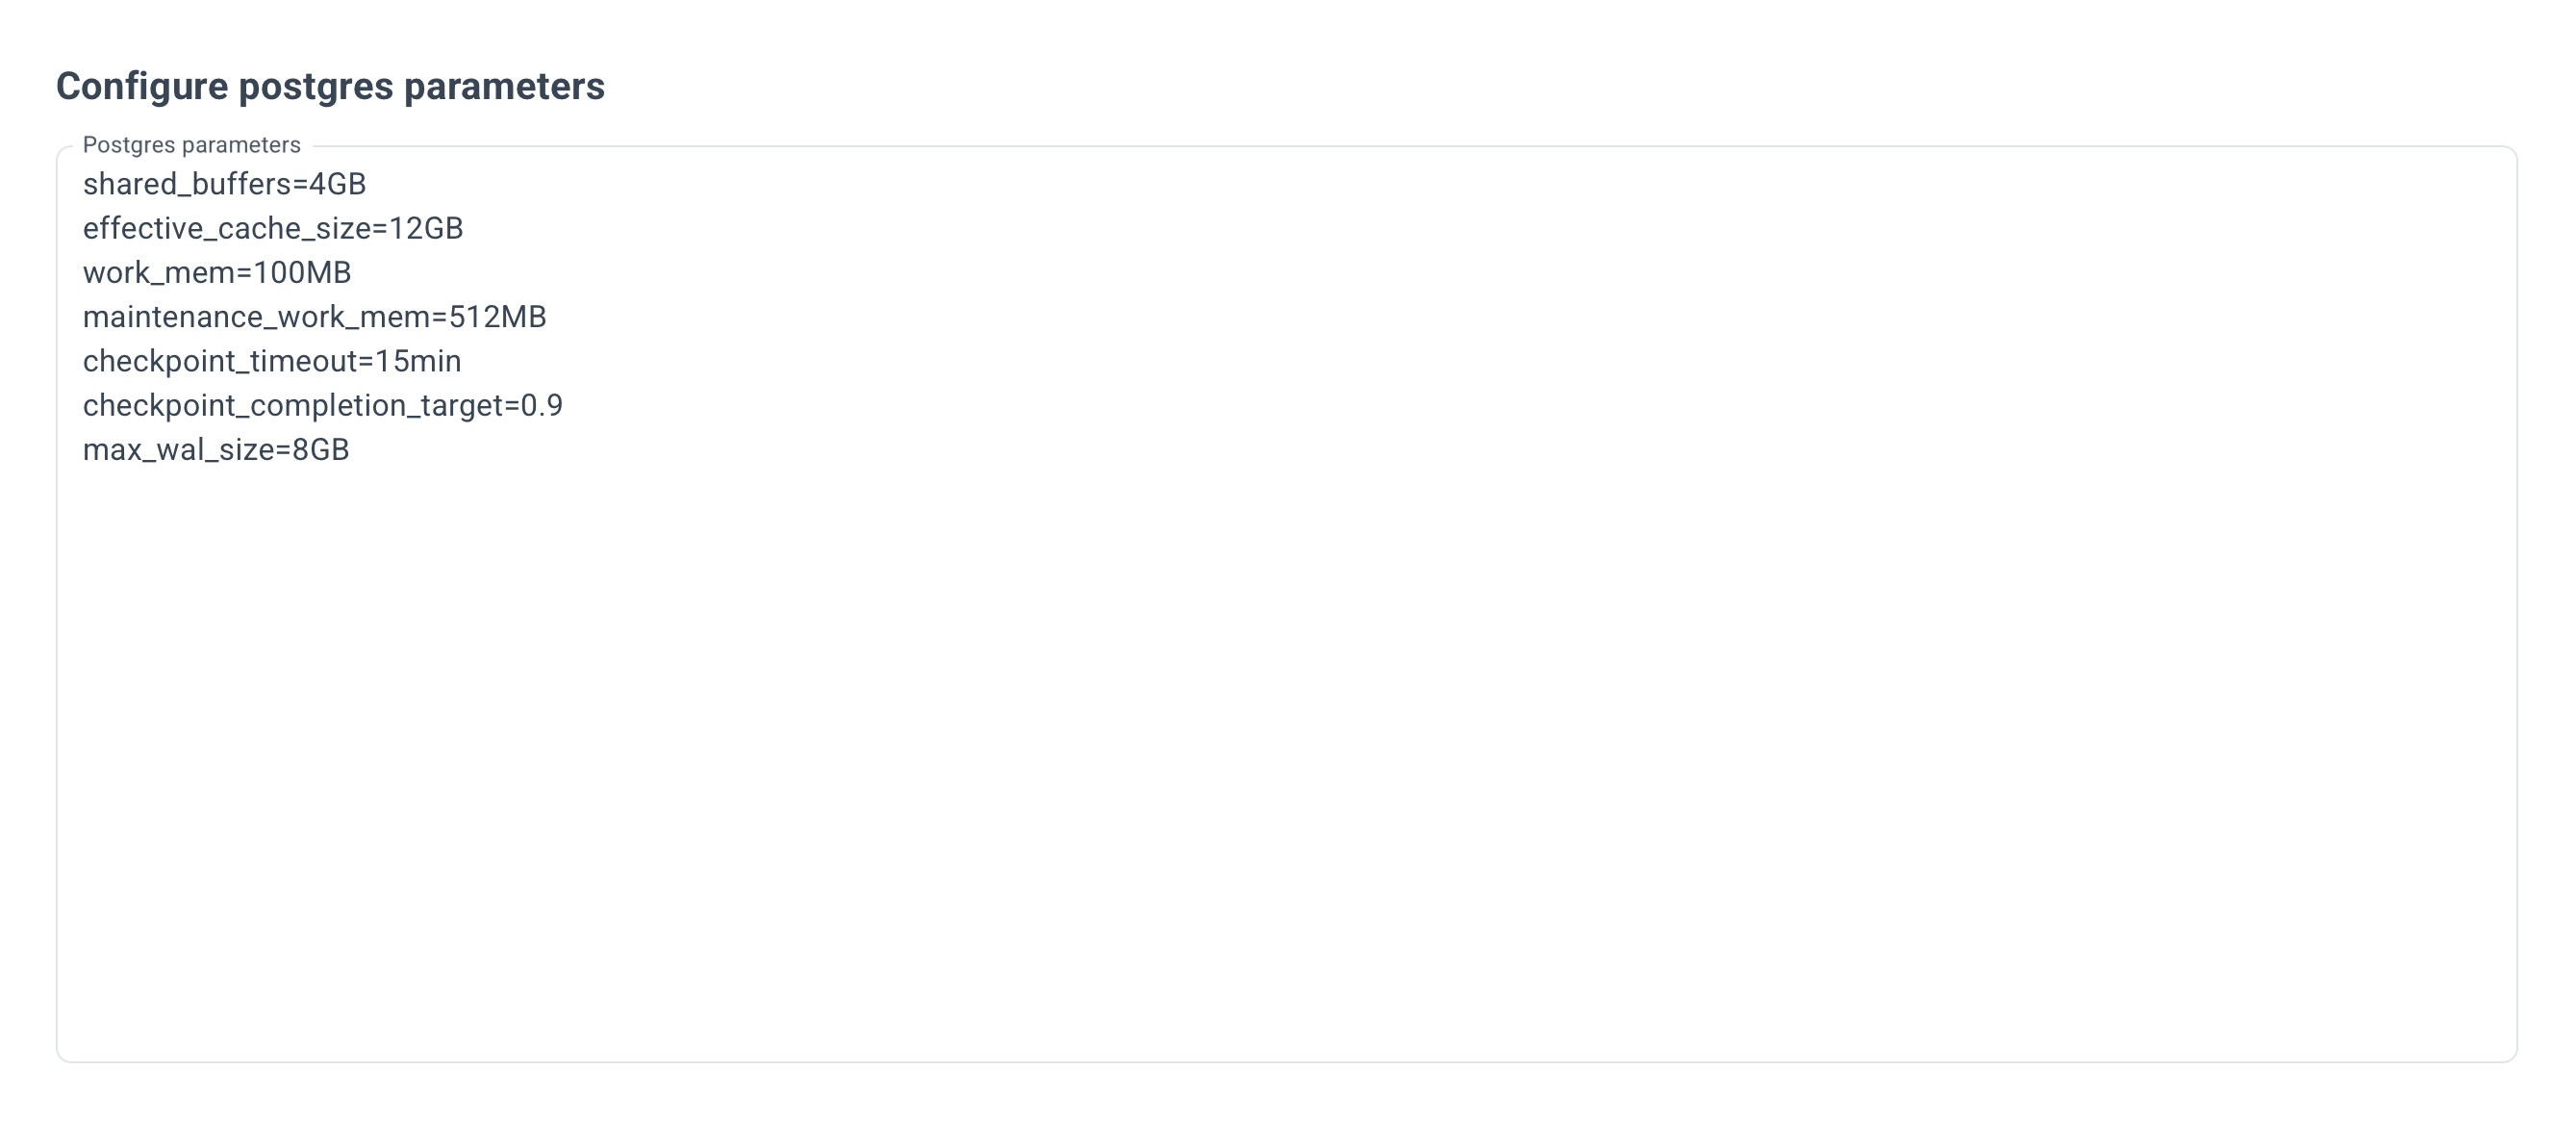
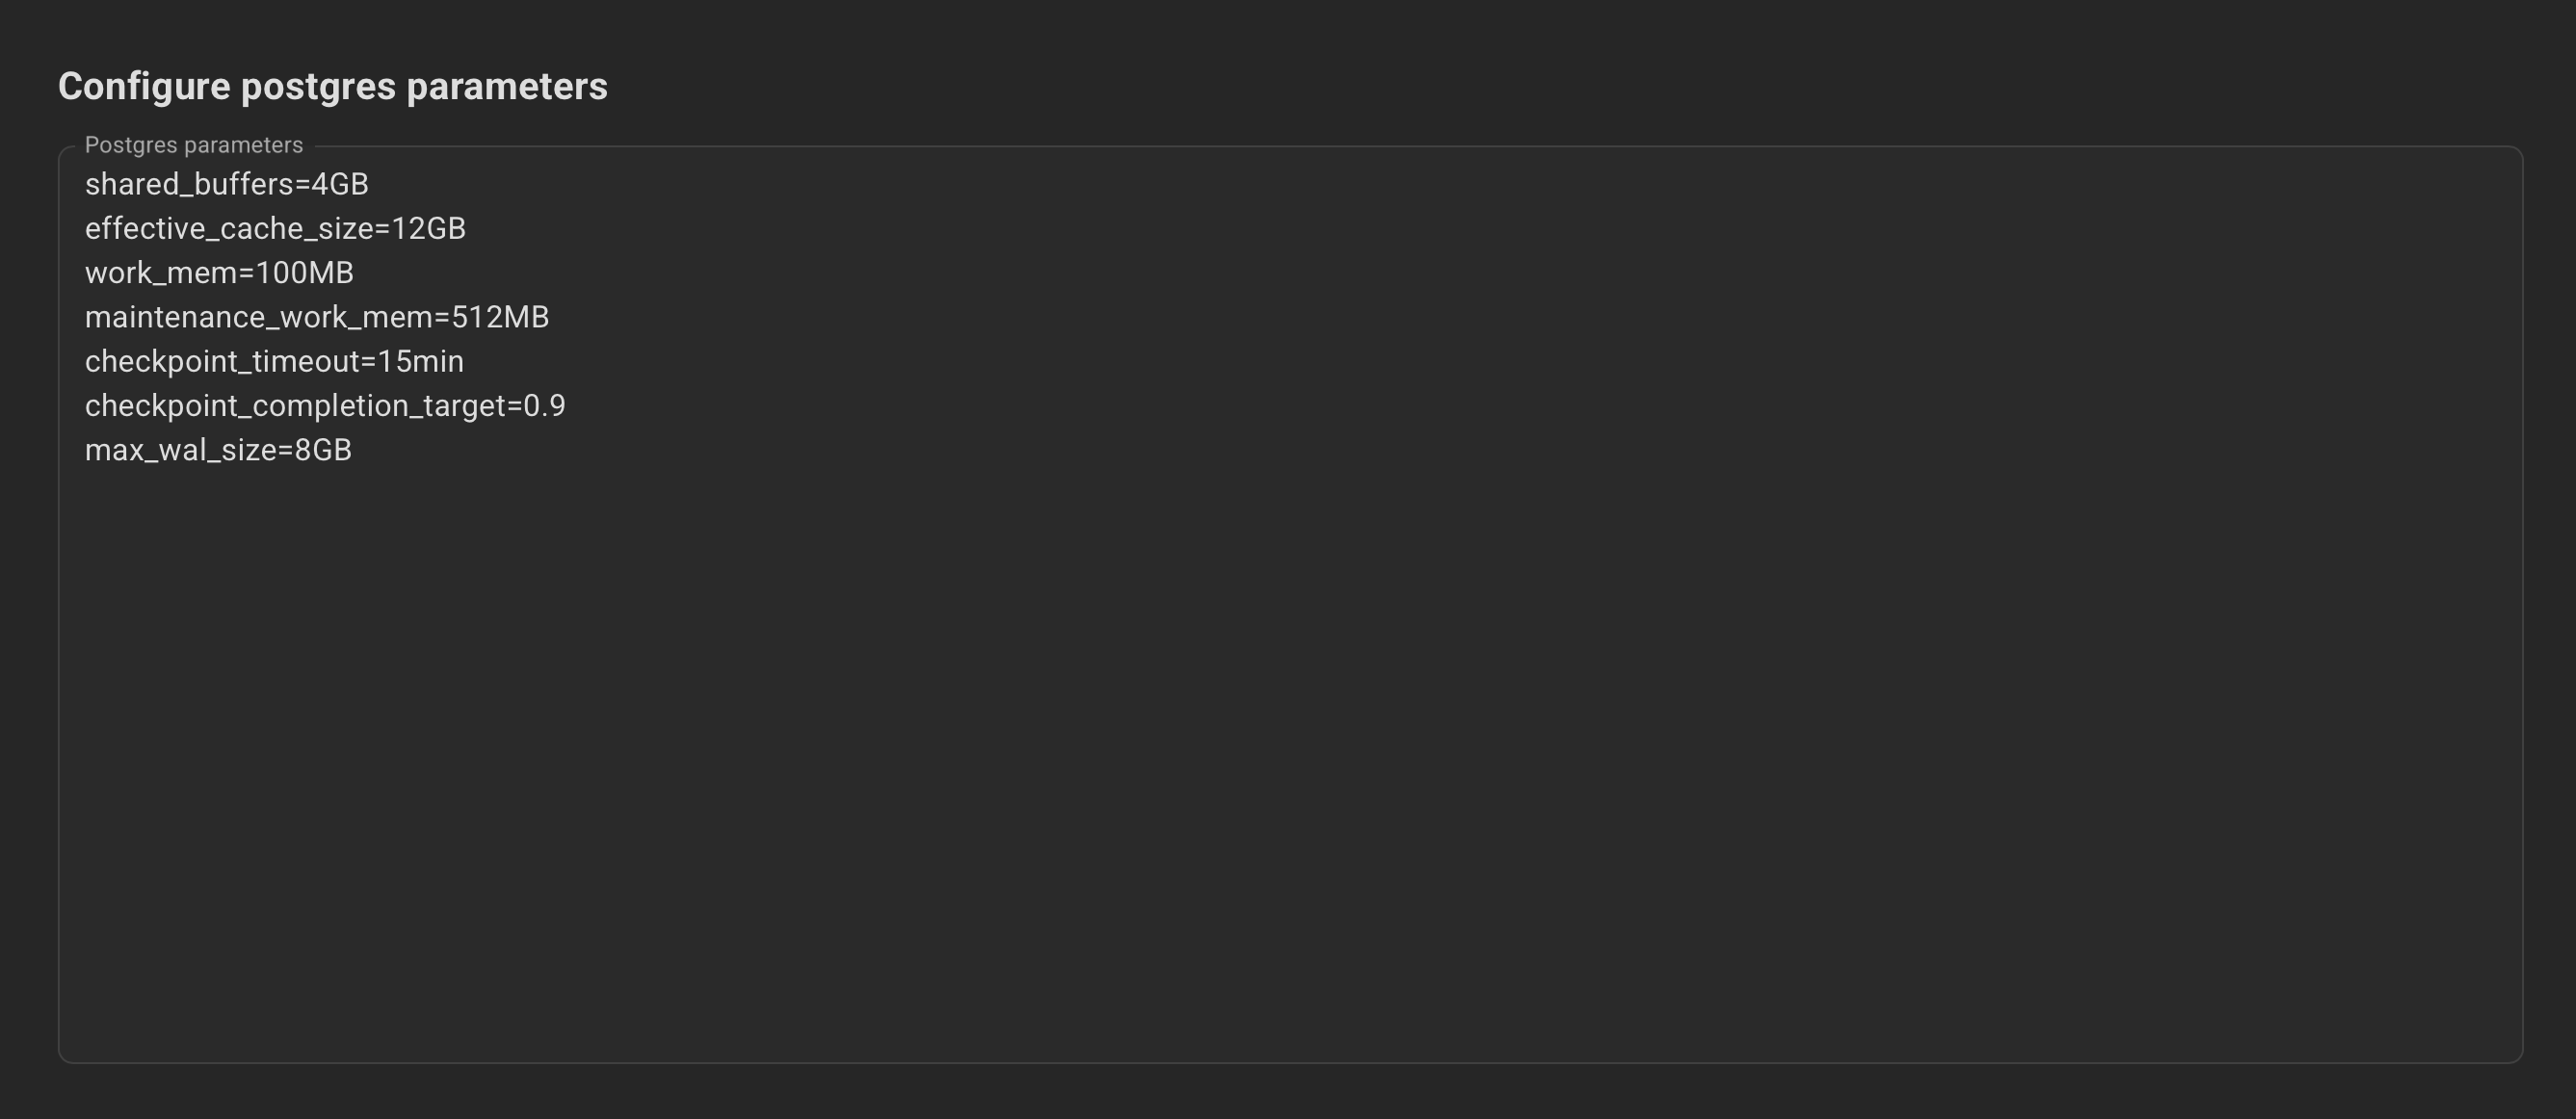
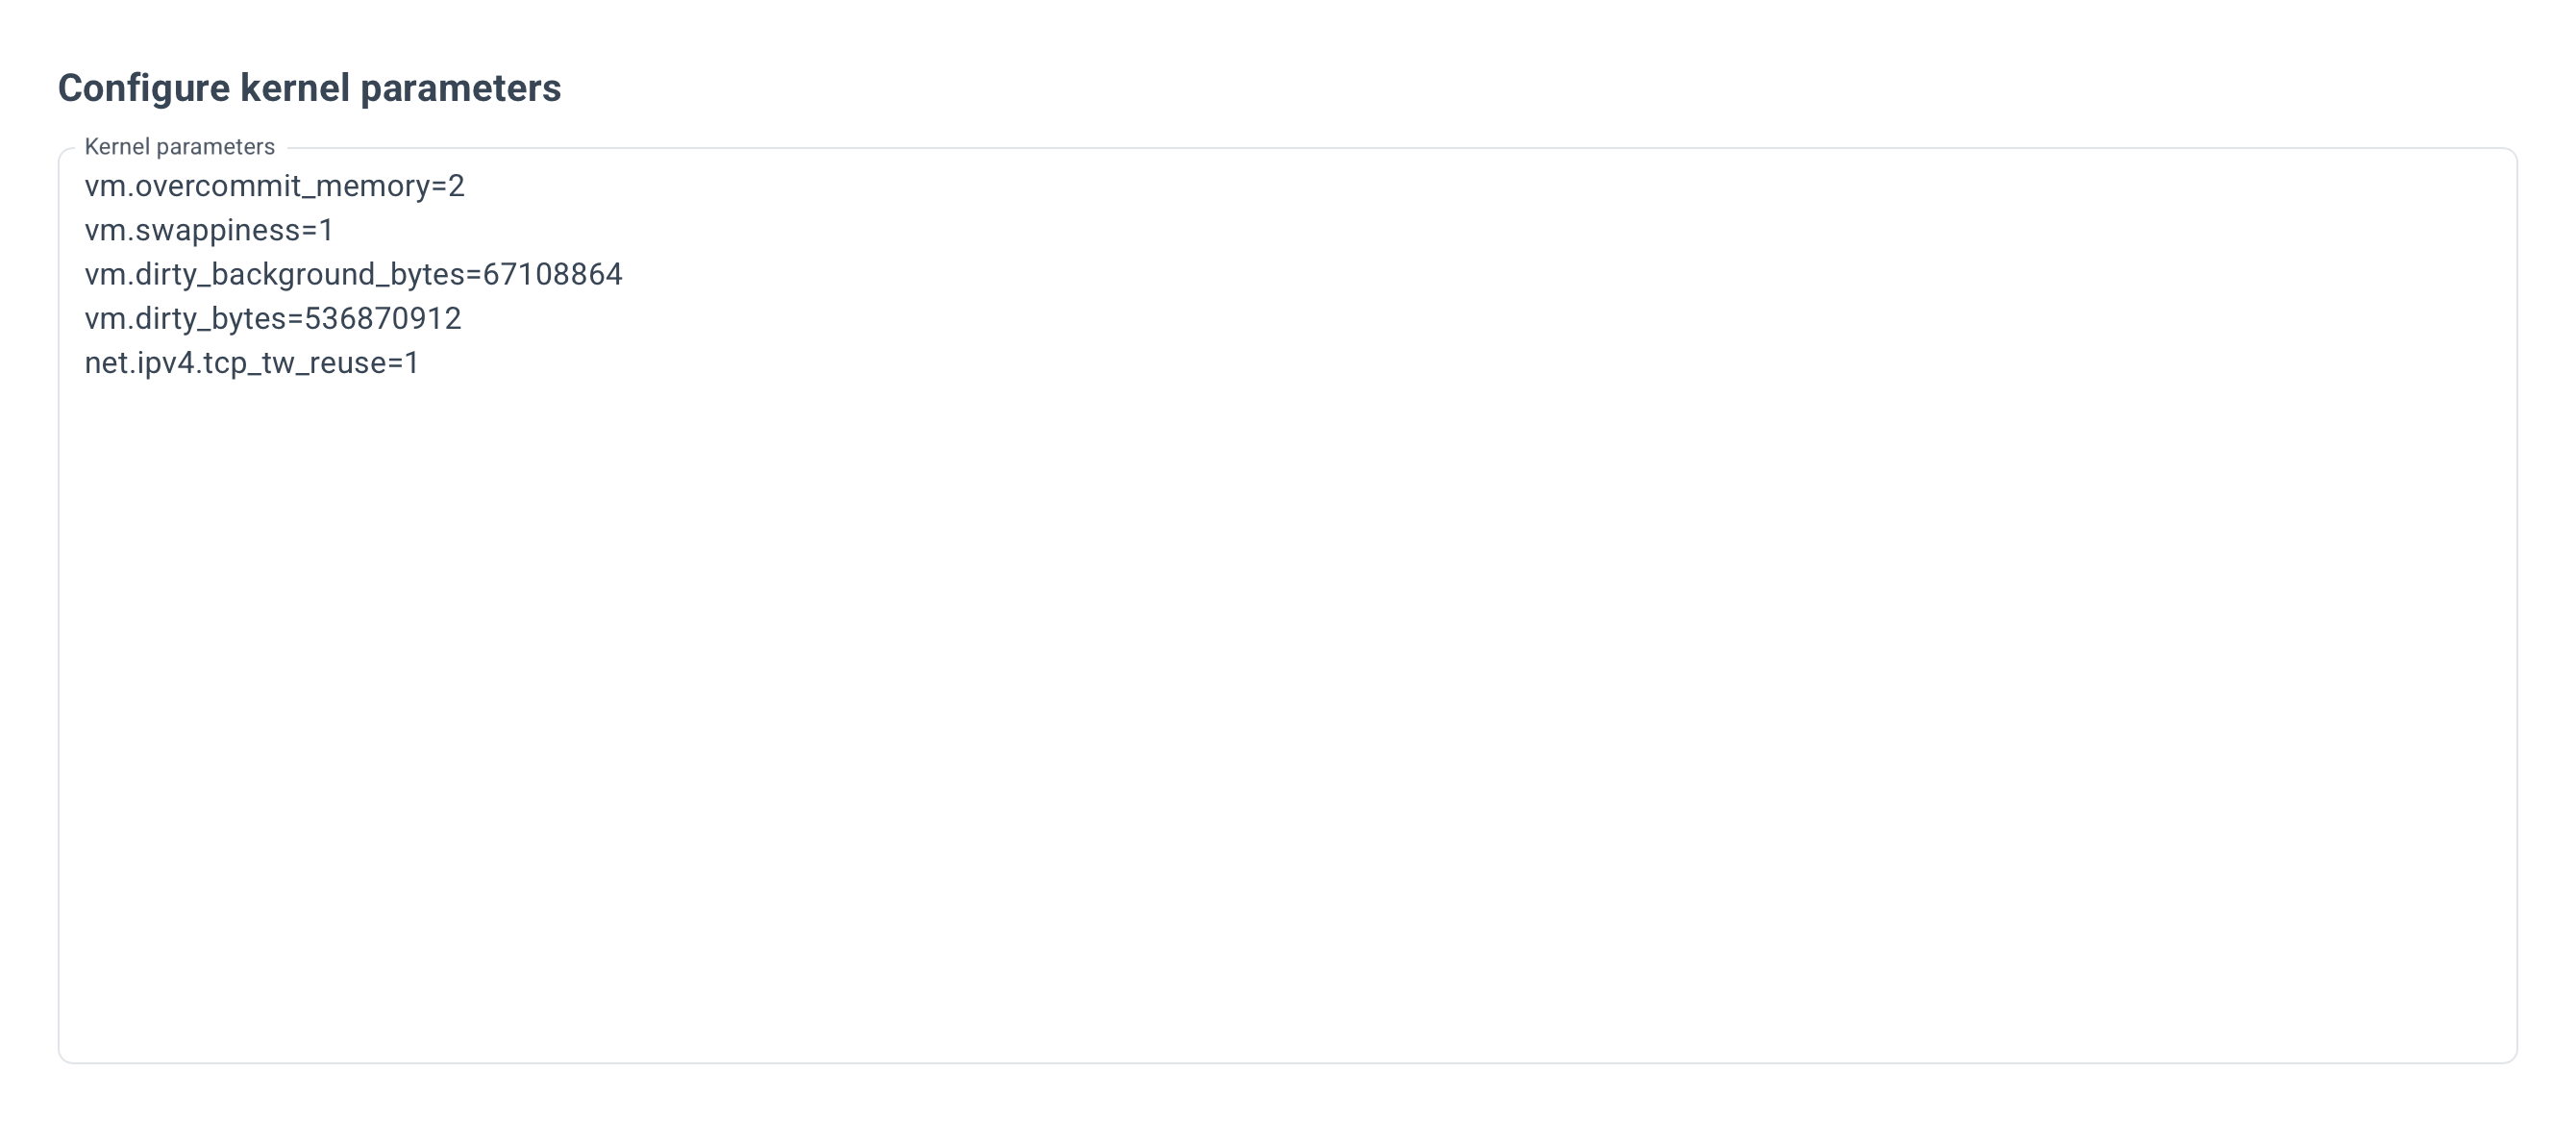
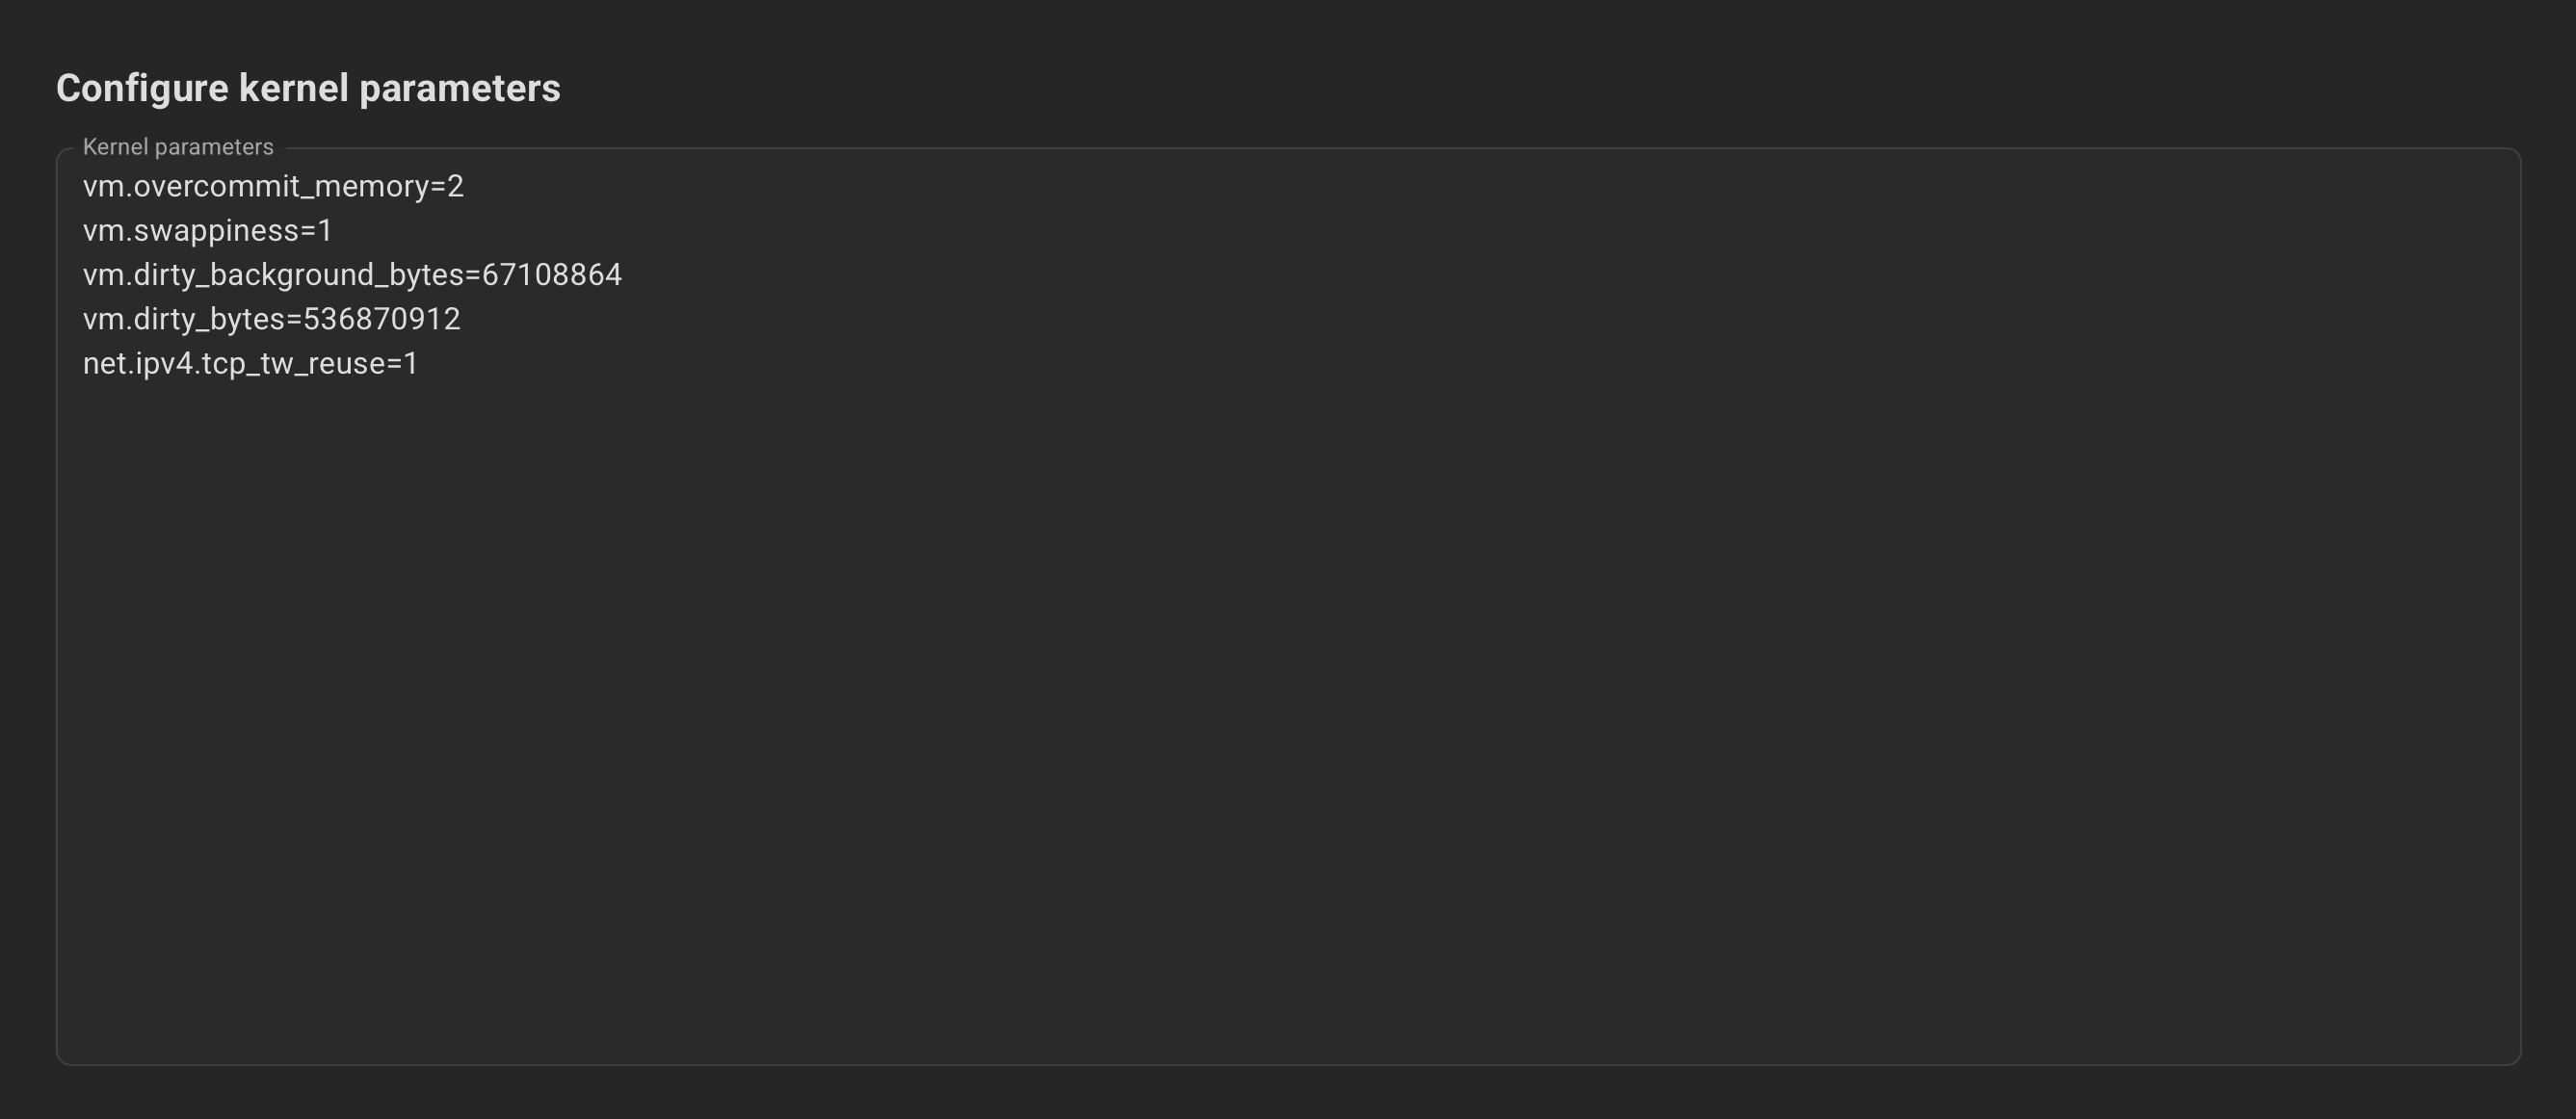
Optionally, specify the Postgres and kernel parameters.
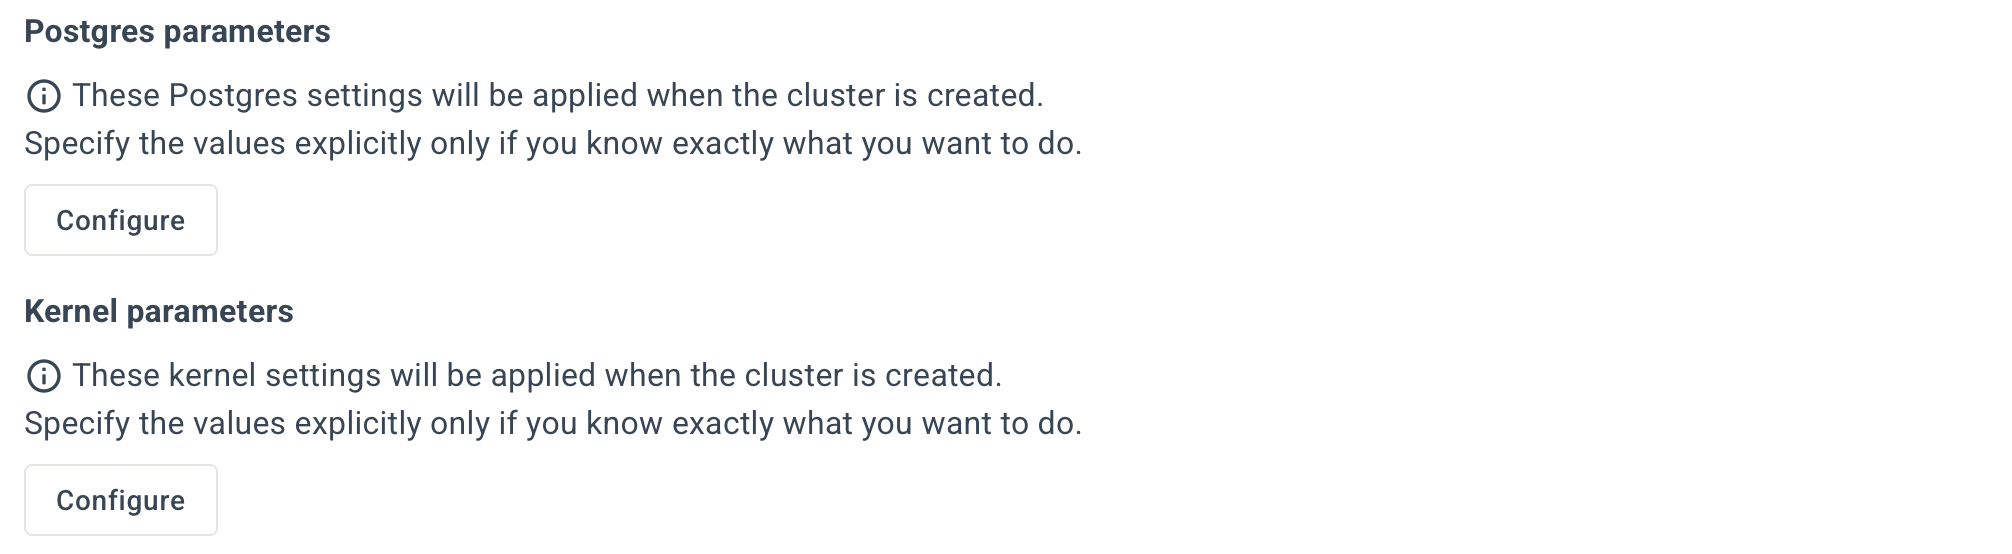
Example for Postgres parameters:
Example for Kernel parameters:
Optionally, specify the Additional settings.
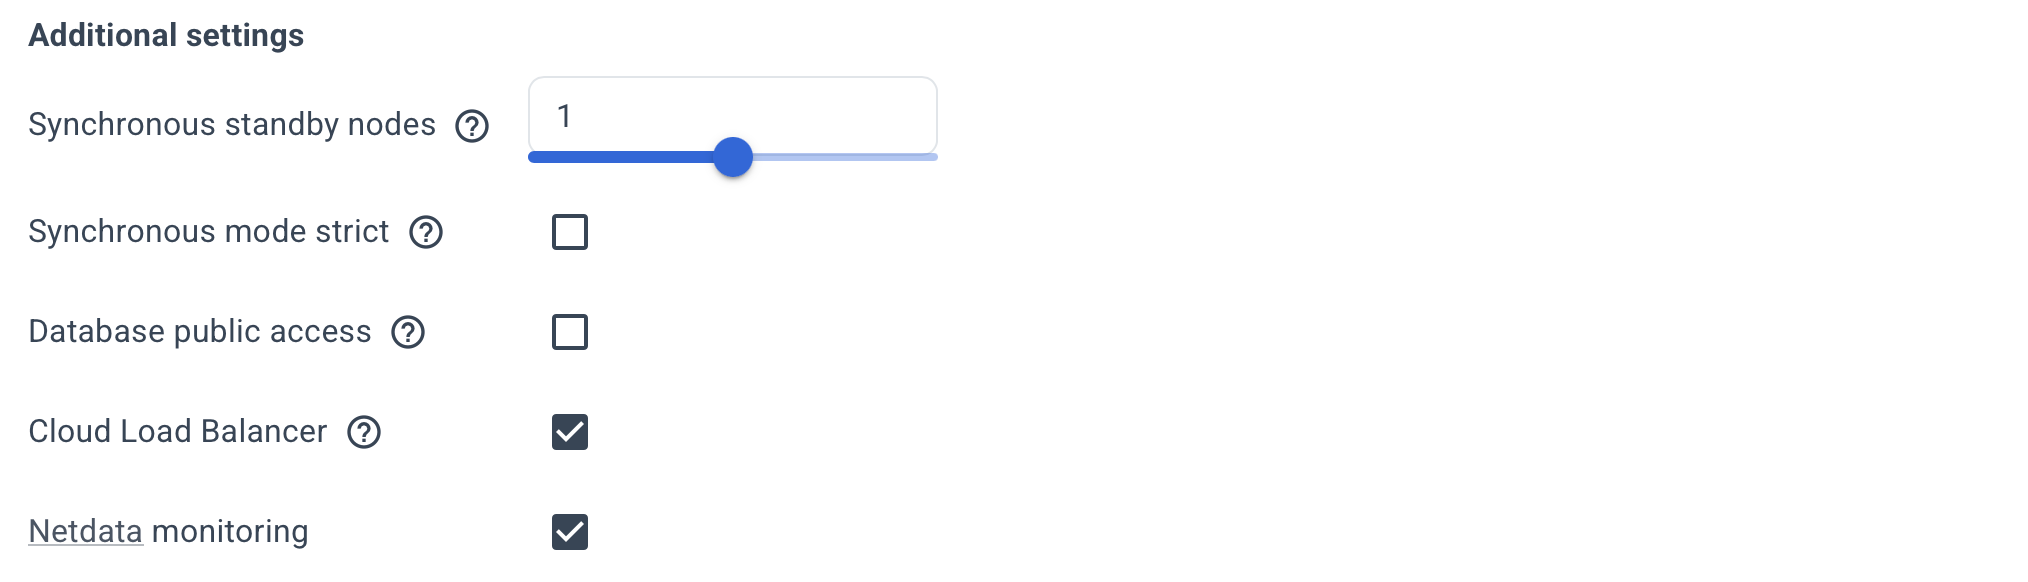
Use the hint (?) icon for a more detailed description of each option.
Review the summary and click the "Create Cluster" button.
The YAML editor allows you to specify any parameters that were previously available only in command-line mode.
Designed for experienced users.
To use the YAML tab, go to the Settings page and turn on “Enable expert mode” and “Enable YAML editor”.
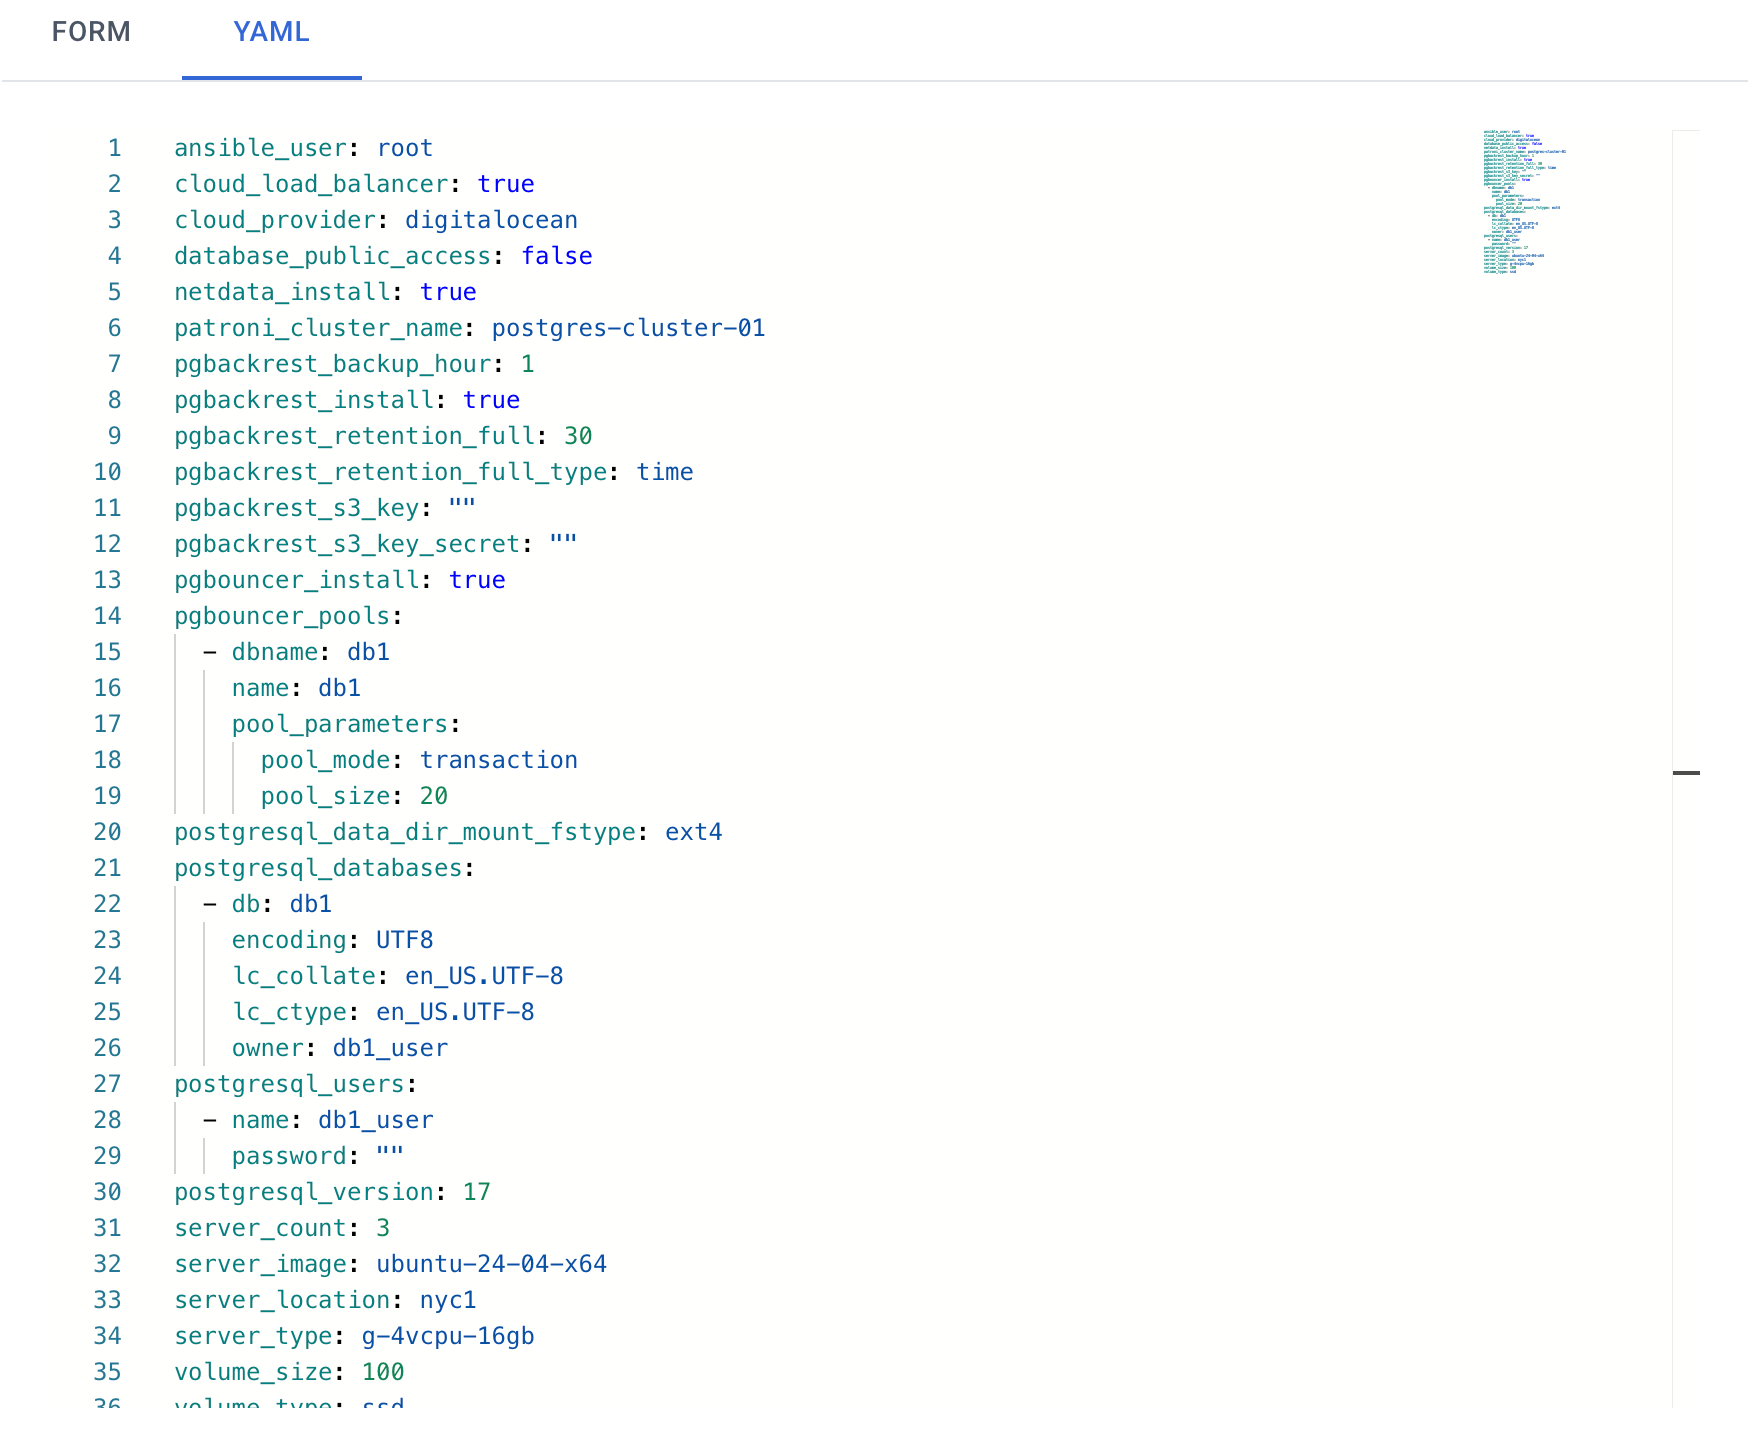
Autobase offers a wide range of functionality, and not all options can be fully represented in UI forms. That’s why we added a YAML editor — it allows you to set any parameters supported by Autobase. You can see available parameters here (for cloud resources) and here (for cluster settings).
Make the necessary changes and click the "Create Cluster" button.
Wait until deployment is complete. This process takes about 10 to 15 minutes.
You can see the deployment log in the "Operations" page.
Select the relevant event with the "deploy" type and click "Show details" under the Actions tab.
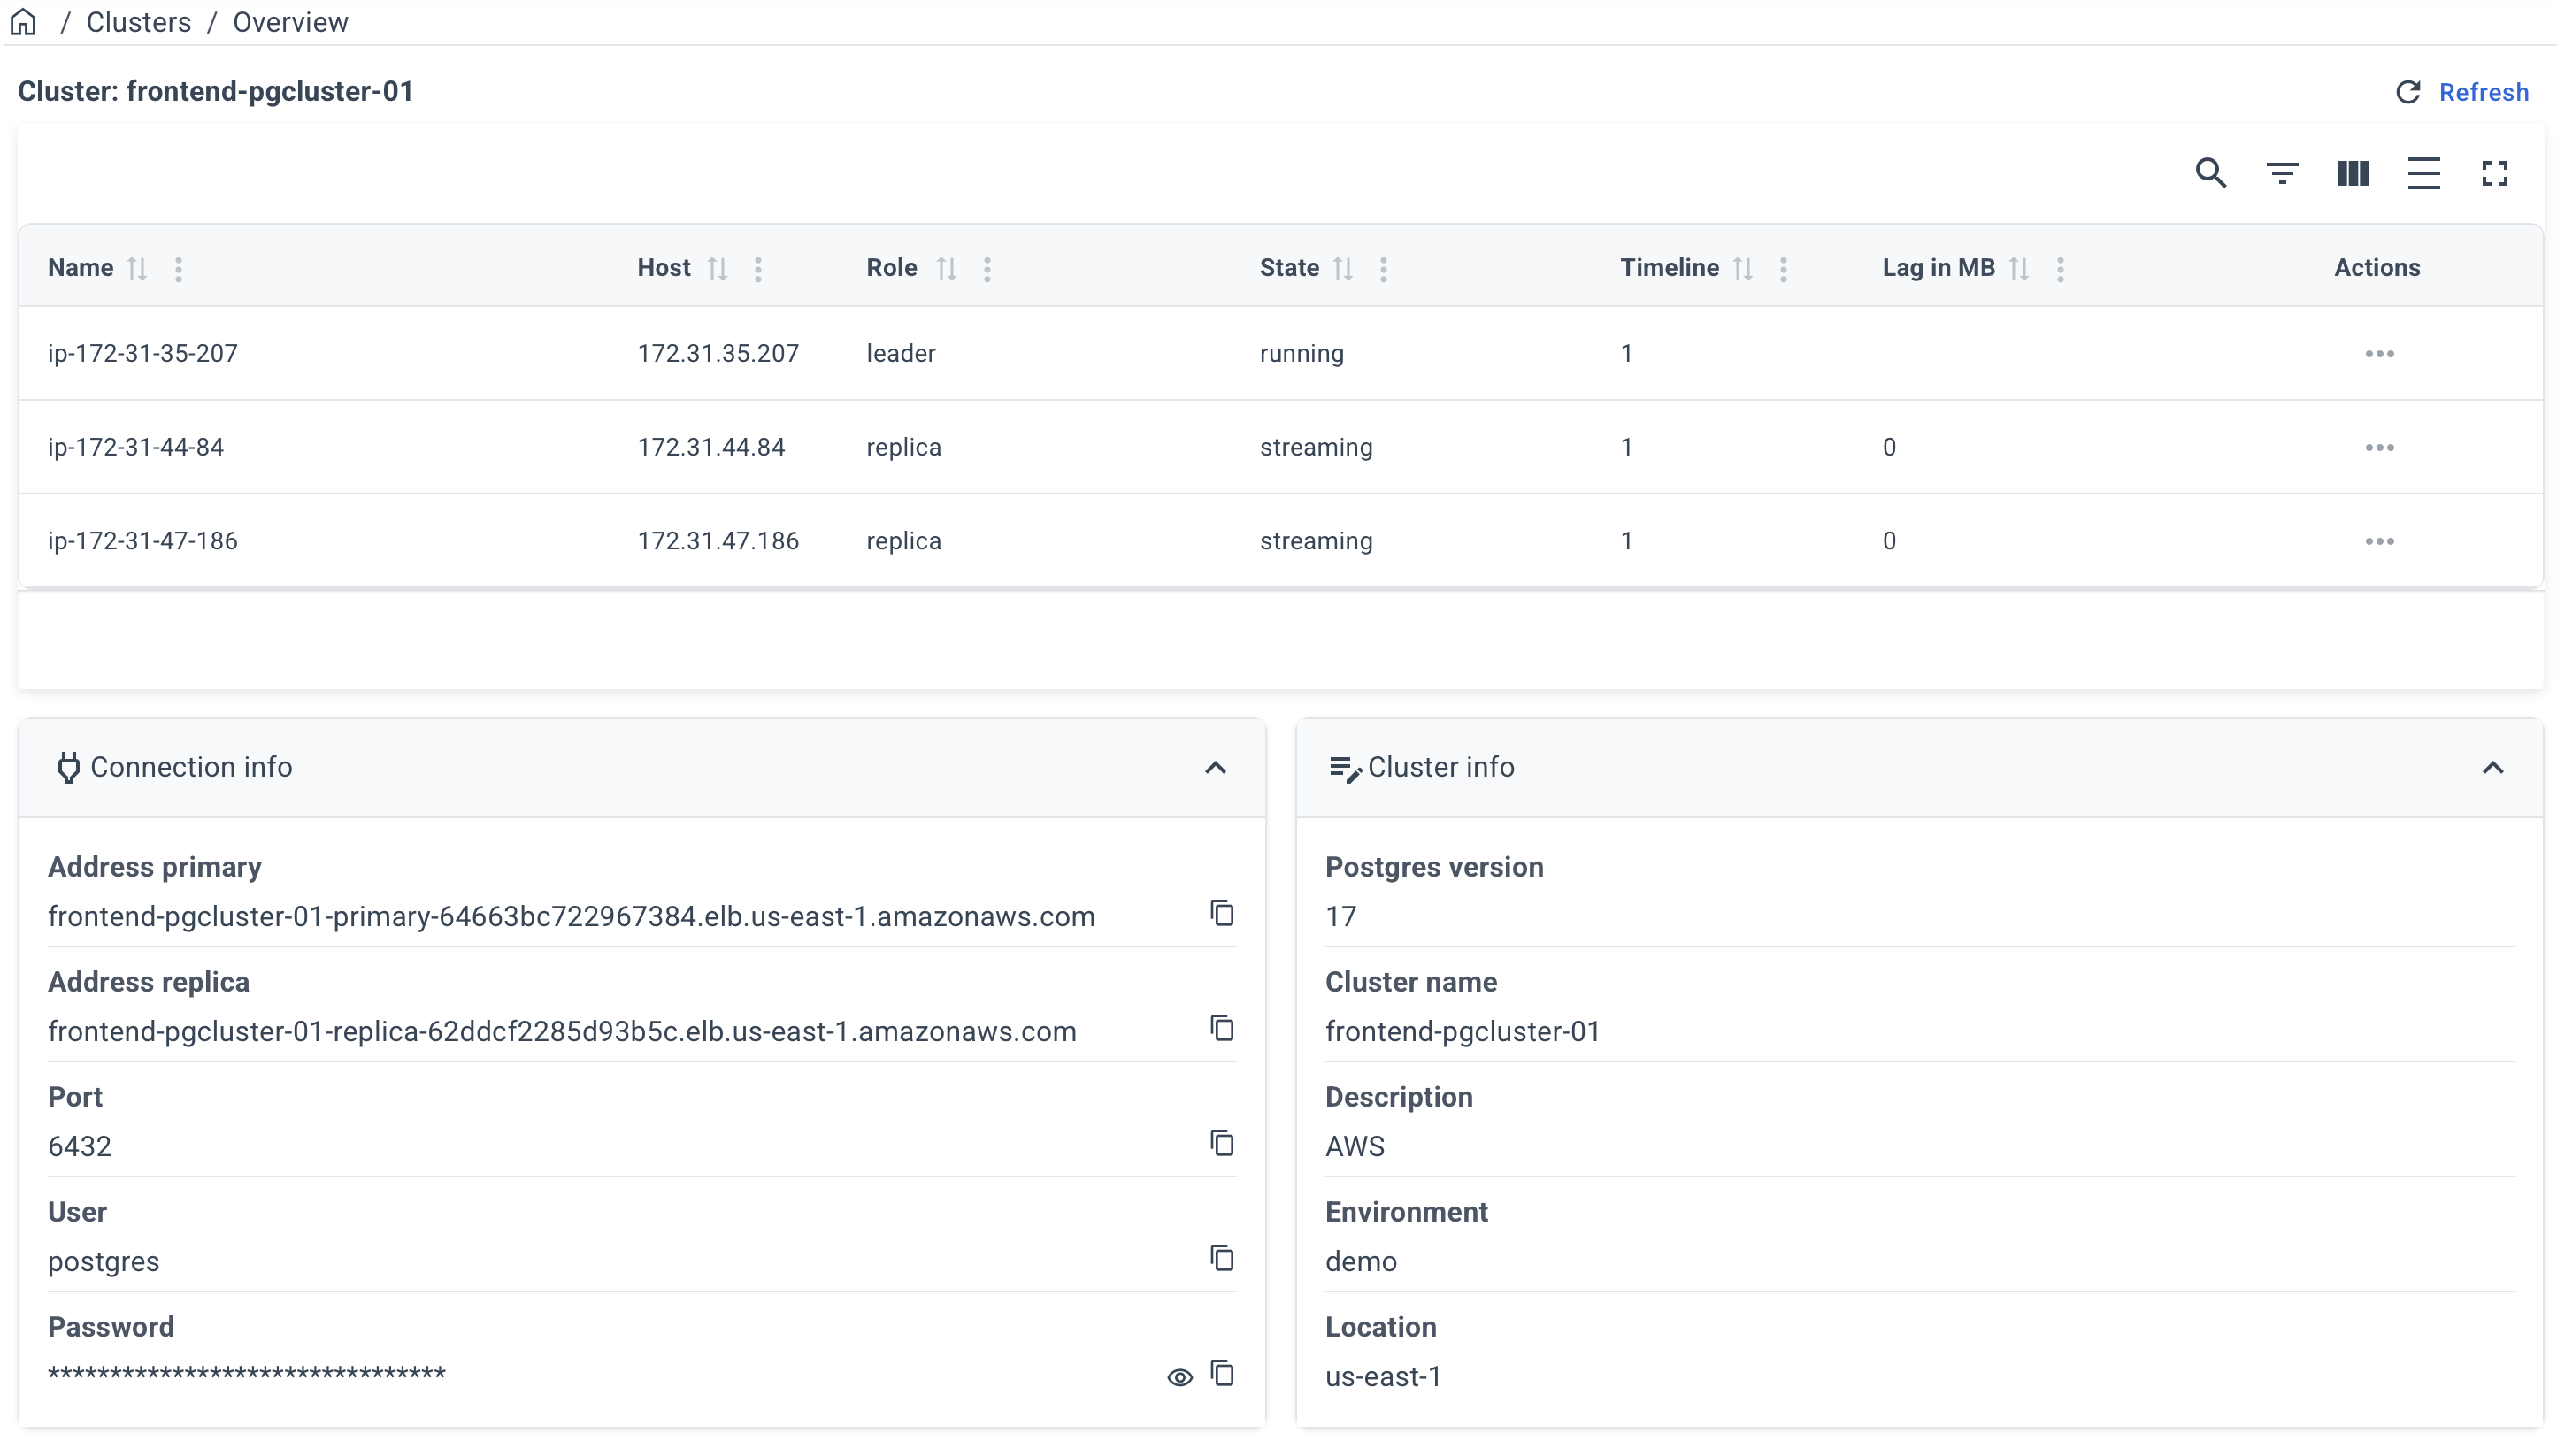
After a successful deployment, you can obtain the connection info on the cluster page.
Click on the name of your cluster on the "Clusters" page.


Example of a cluster page:
📩 Contact us at [email protected], and our team will provide you with deployment instructions tailored specifically to your infrastructure, including the most suitable parameters for optimal performance and reliability.
1. Set DigitalOcean API Token
Export your DigitalOcean API token to an environment variable:
export DO_API_TOKEN=<value>
2. Run the Deployment Command
Execute the following command to deploy a PostgreSQL cluster (example):
docker run --rm -it \
  --env DO_API_TOKEN=${DO_API_TOKEN} \
  autobase/automation:2.9.0 \
    ansible-playbook deploy_pgcluster.yml --extra-vars \
      "ansible_user=root \
      cloud_provider='digitalocean' \
      cloud_load_balancer=true \
      server_count=3 \
      server_type='g-4vcpu-16gb' \
      server_image='ubuntu-24-04-x64' \
      server_location='nyc1' \
      volume_size=100 \
      digital_ocean_spaces_access_key='YOUR_ACCESS_KEY' \
      digital_ocean_spaces_secret_key='YOUR_SECRET_KEY' \
      digital_ocean_spaces_region='nyc3' \
      pgbackrest_install=true \
      postgresql_version=18 \
      patroni_cluster_name='postgres-cluster-01' \
      ssh_public_keys='ssh-rsa AAAAB3NzaC1yc2EAAAA******whzcMINzKKCc7AVGbk='"
Replace YOUR_ACCESS_KEY and YOUR_SECRET_KEY with your actual S3 credentials.
Alternatively, you can remove the digital_ocean_spaces_*, and pgbackrest_install variables if you don’t plan to configure backups for your cluster (not recommended for production use).
Key Parameters:
cloud_provider: Specifies DigitalOcean as the provider.cloud_load_balancer: Adds a DigitalOcean Load Balancer to the cluster.server_count: Number of servers in the cluster (at least 3 servers are needed for high availability).server_type: Type of servers (e.g., 'g-4vcpu-16gb' for 4 vCPU 16 GB RAM).server_image: Operating system image for the servers (e.g., ubuntu-24-04-x64).server_location: Server location (e.g., 'nyc1' for New York).volume_size: Disk size (in GB) for the database.postgresql_version: PostgreSQL version.patroni_cluster_name: PostgreSQL cluster name.ssh_public_keys: Your SSH public key to access the database servers after deployment.
Backup Parameters:
pgbackrest_install: Enables backups using pgBackRest. Usewal_g_installinstead if you prefer WAL-G.digital_ocean_spaces_name: Name of the Spaces Object Storage (default: patroni_cluster_name-backup).digital_ocean_spaces_region: Region for the S3 bucket (default: server_location). Recommended to use a different region than the database cluster.digital_ocean_spaces_access_key: Spaces access key (required).digital_ocean_spaces_secret_key: Spaces secret key (required).
3. Wait until deployment is complete
This process takes about 10 to 15 minutes.
After a successful deployment, the connection information can be found in the Ansible log.